Drip Fitting Sizing: How to Know if the Tubing and Fittings are Compatible
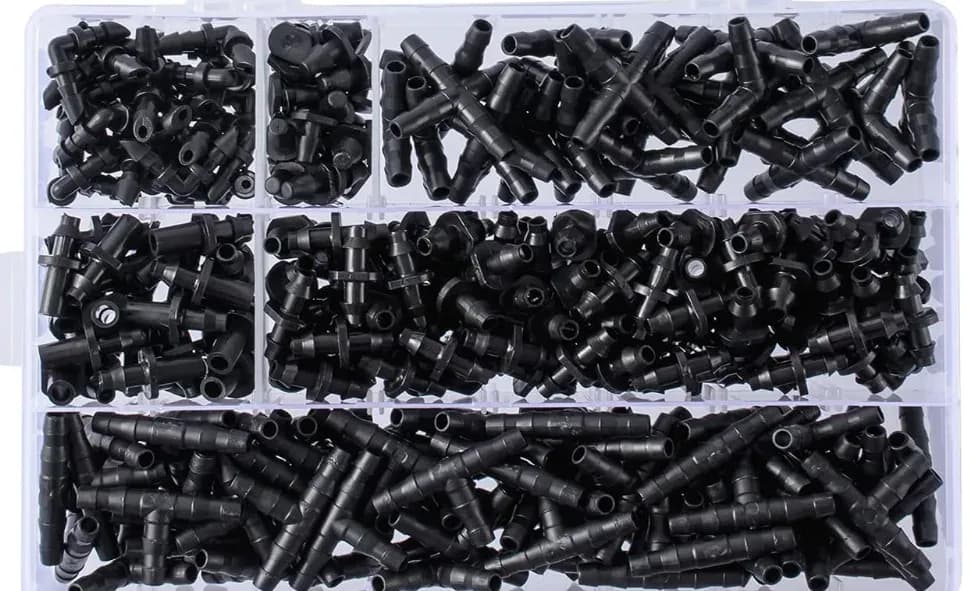
Summary: Drip fitting sizing is the job of matching drip tubing and fittings by true outside diameter, material stiffness, pressure rating, and connector style. That matters because labels such as 1/2 inch are only nominal: one tube may be 0.700 inch OD, another 0.710 inch, and another 17 mm. A mismatch this small can leave the joint loose, make installation unnecessarily hard, or blow the line apart under pressure. Agriculture uses roughly 70 percent of global freshwater withdrawals, so every leaking connection wastes both water and operating cost. This guide shows how to measure tubing correctly, compare fitting styles, and build drip connections that stay sealed in the field.
Drip fitting sizing starts with actual tubing diameter
Drip irrigation tubing compatibility depends on measured dimensions, not on the marketing name printed on the roll. A 1/2 inch polyethylene mainline is a nominal category, while fittings seal against the real wall of the tube. The key measurement is usually OD, or outside diameter, because most compression, lock-ring, and mechanical fittings grip the outside of the tube.
ID, or inside diameter, still matters because it affects flow rate and friction loss. Use ID when sizing hydraulic capacity; use OD when selecting the fitting. For broader setup basics, review the drip irrigation installation guide.
Common drip irrigation tubing sizes and what they mean
Most compatibility problems begin with 1/2 inch tubing because several real-world diameters are sold under that label. The most common OD values are 0.620 inch, 0.700 inch, 0.710 inch, and 17 mm. The differences look small, but a 0.010 inch change at the fitting face is enough to alter sealing pressure.
- 0.700 inch OD tubing: common in residential gardens, raised beds, and light commercial drip zones.
- 0.710 inch OD tubing: slightly larger tubing that needs fittings listed for 0.710 inch OD.
- 0.620 inch OD tubing: often found in older systems or specialized product families.
- 17 mm tubing: a metric size that should be matched to fittings that explicitly list 17 mm compatibility.
How to check tubing and fitting compatibility in 5 steps
Step 1: Read the tubing label, then verify it
Start with the label because it gives the nominal product family, material, and pressure class. Do not stop there, because the label rarely tells the full compatibility story. Confirm whether the stated size is nominal, OD, ID, or metric.
Step 2: Measure the outside diameter
Use a caliper to measure the tubing OD at a clean, round section of tube. If you only have a ruler, measure carefully across the widest point and repeat twice. Record the value before ordering fittings.
Step 3: Match the fitting specification to that OD
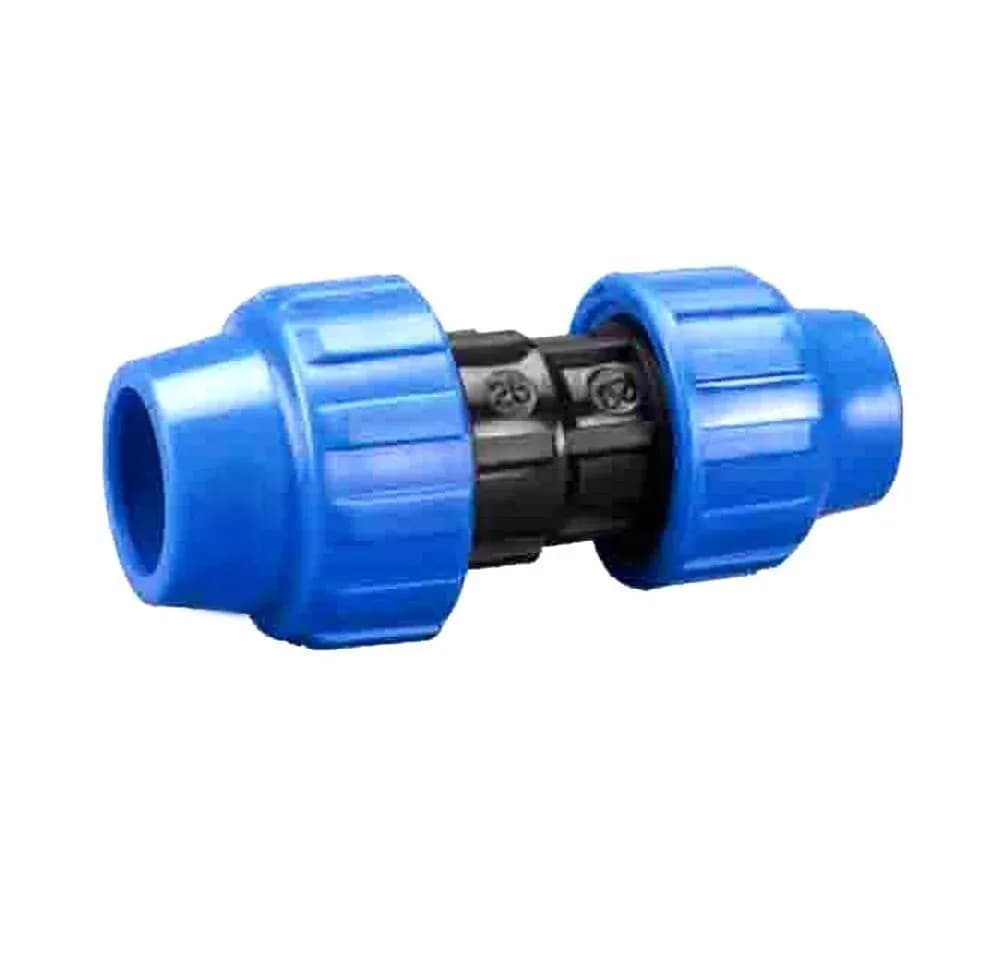
Choose fittings that name the same OD range as your tubing. Compression fittings need the closest match because they grip the outside wall. Barbed and lock-ring fittings tolerate slightly more variation, but they still require a compatible tube size.
Step 4: Confirm tubing type before choosing a connector
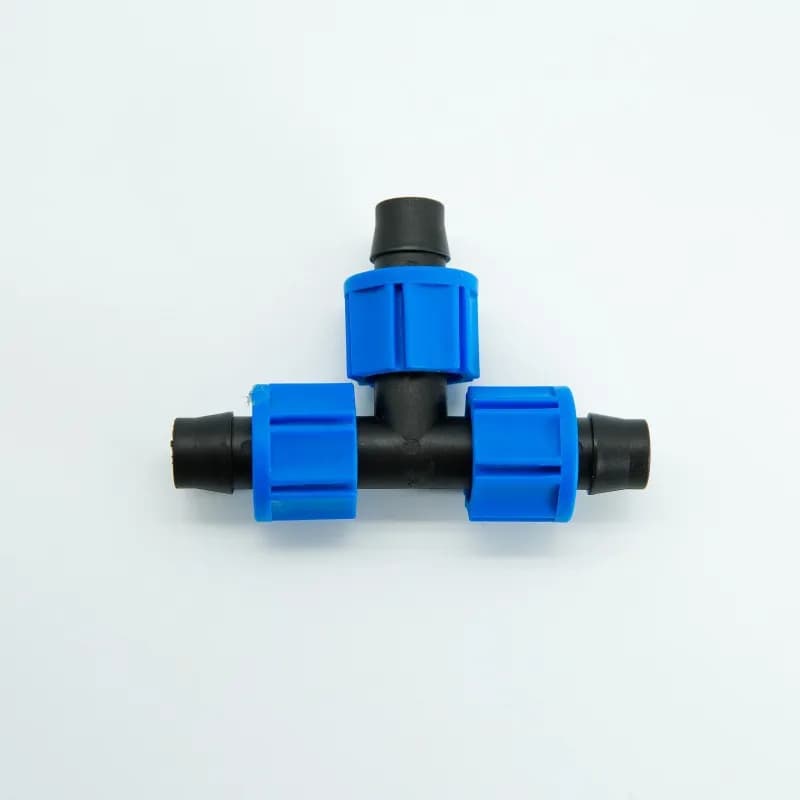
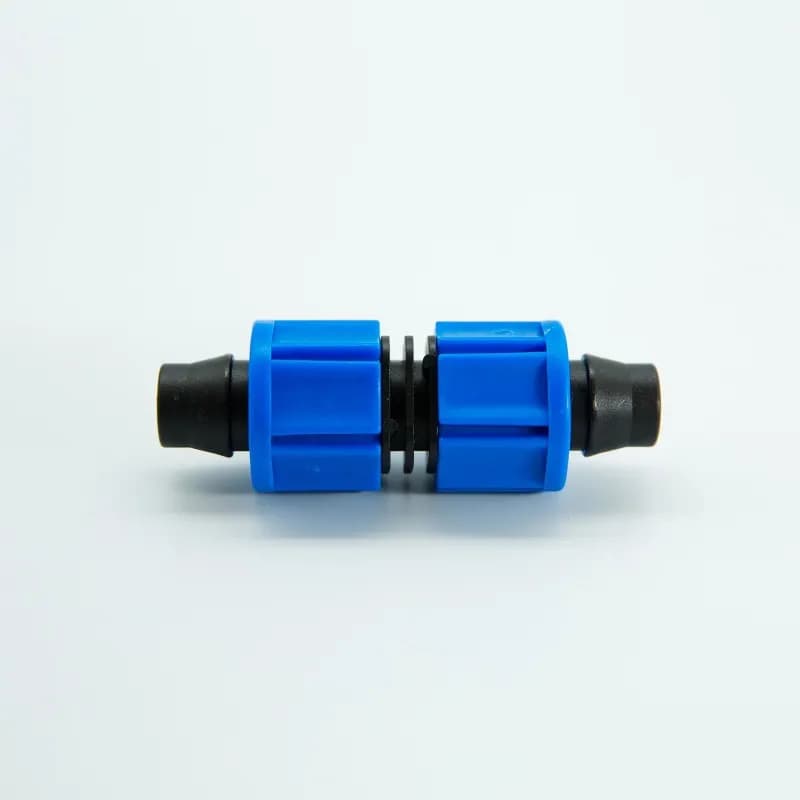
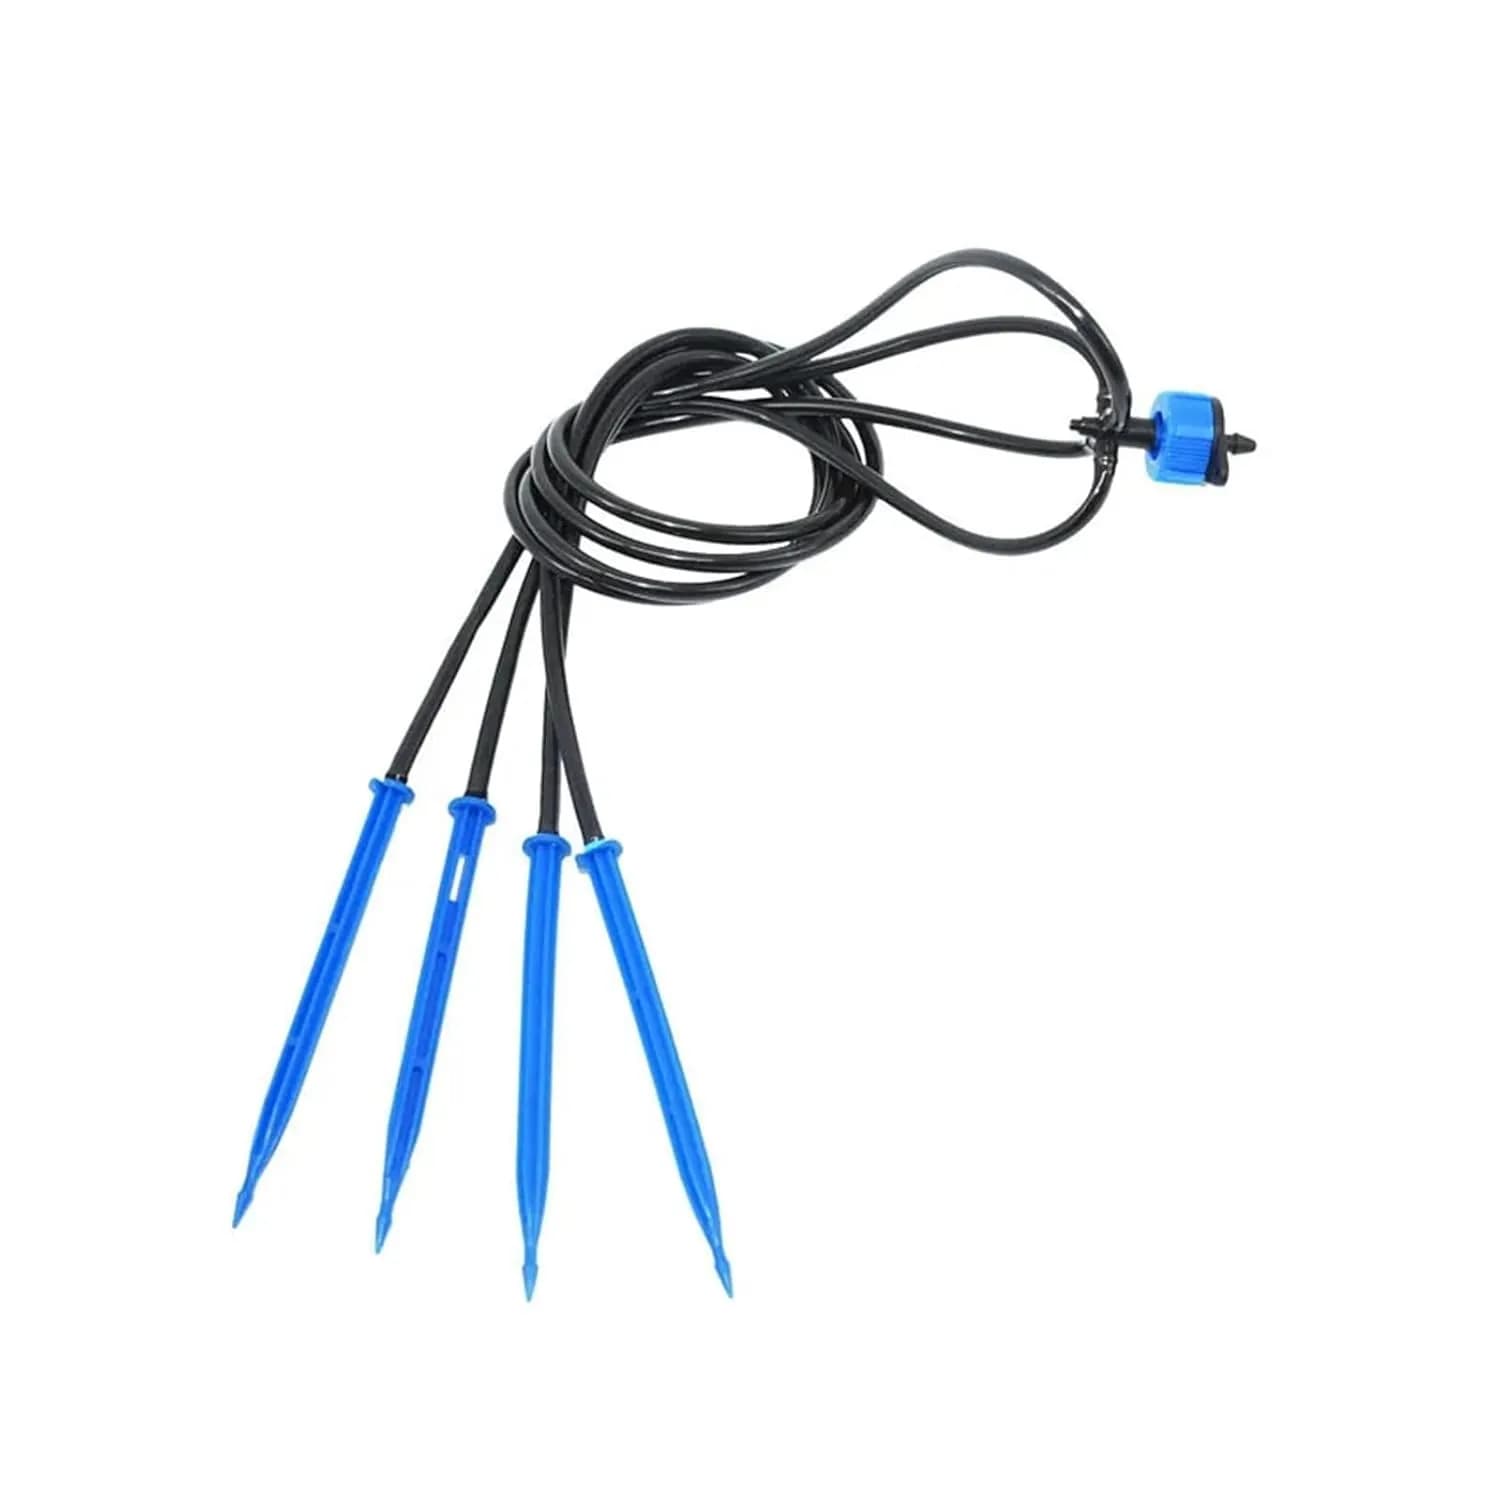
Standard poly tubing, micro tubing, and drip tape use different fitting families. A drip tape fitting will not replace a 1/2 inch compression fitting, and a micro barb will not seal a mainline. If your system includes row-crop tape, compare it with the drip tape selection guide.
Step 5: Pressure-test one connection before scaling up
Build one sample joint and run it at operating pressure before installing dozens of fittings. A correct joint stays dry, resists hand pull-out, and does not bulge. If it seeps or twists too easily, change fitting size before the system is buried or mulched.
Drip fitting types compared
| Fitting type | Pros | Cons | Best suited for |
|---|---|---|---|
| Barbed fittings | Simple, low cost, fast to install, available for many small tubing sizes | Harder to remove cleanly; may need clamps in higher-pressure zones | Best suited for home gardens, micro irrigation branches, and quick field repairs |
| Compression fittings | Clean appearance and quick push-in installation on mainline tubing | Very OD-specific; wrong size causes leaks or impossible insertion | Best suited for installers using one known tubing OD across a planned layout |
| Lock-ring or lock-nut fittings | Reusable mechanical lock, stronger grip, better confidence under pressure | Higher cost and slightly more assembly time | Best suited for commercial gardens, greenhouse headers, and growers who reconfigure lines |
Low-density and high-density polyethylene tubing affect fit
LDPE, or low-density polyethylene, is flexible and common in residential drip systems. It punches easily, bends around beds, and accepts barbed emitters well. HDPE, or high-density polyethylene, is stiffer and stronger, so it can require different fittings or more careful installation.
Material stiffness changes how much force is needed to insert a fitting and how the tube relaxes after installation. For pipe material tradeoffs beyond drip tubing, see the PVC vs PE pipe comparison.
Do not use stripe color as the only compatibility guide
Colored stripes can help identify a manufacturer line, pressure class, or intended application, but they are not a universal standard. Blue stripe and green stripe tubing mean different things across suppliers. Always verify OD, material, and pressure rating before buying fittings.
Common mistakes that cause drip fitting leaks
- Assuming every 1/2 inch tube uses the same fittings.
- Using compression fittings without checking OD.
- Forcing 0.710 inch tubing into a 0.700 inch fitting.
- Using mainline fittings on thin-wall drip tape.
- Skipping filtration and letting grit damage seals and emitters.
Filtration protects every downstream connection because sand and debris accelerate wear at seals and emitters. The filtration system selection guide explains screen, disc, sand media, and hydrocyclone options.
Bottom line
Drip fitting sizing is a measurement problem before it is an installation problem. Match the fitting to the tubing OD, confirm the tubing type, and test at working pressure before committing the layout. Expert advice: keep one caliper, one tubing cutter, and a few sample fittings in your repair kit; then standardize on one tubing family whenever possible so future maintenance stays predictable. For compatible components, browse tubing and fitting products, barbed fittings, and drip irrigation products.