Beginner's Guide to Drip Irrigation Installation
Installing a drip system for the first time can feel more technical than it really is. Once the layout is broken into planning, component selection, installation order, and maintenance, most beginners find the process manageable. The key is not to rush into assembly before the system has been sized around real pressure, crop spacing, and water quality.
This guide covers the practical steps that help first-time installers build a drip layout that is simple, efficient, and easy to maintain.
Why beginners often start with drip
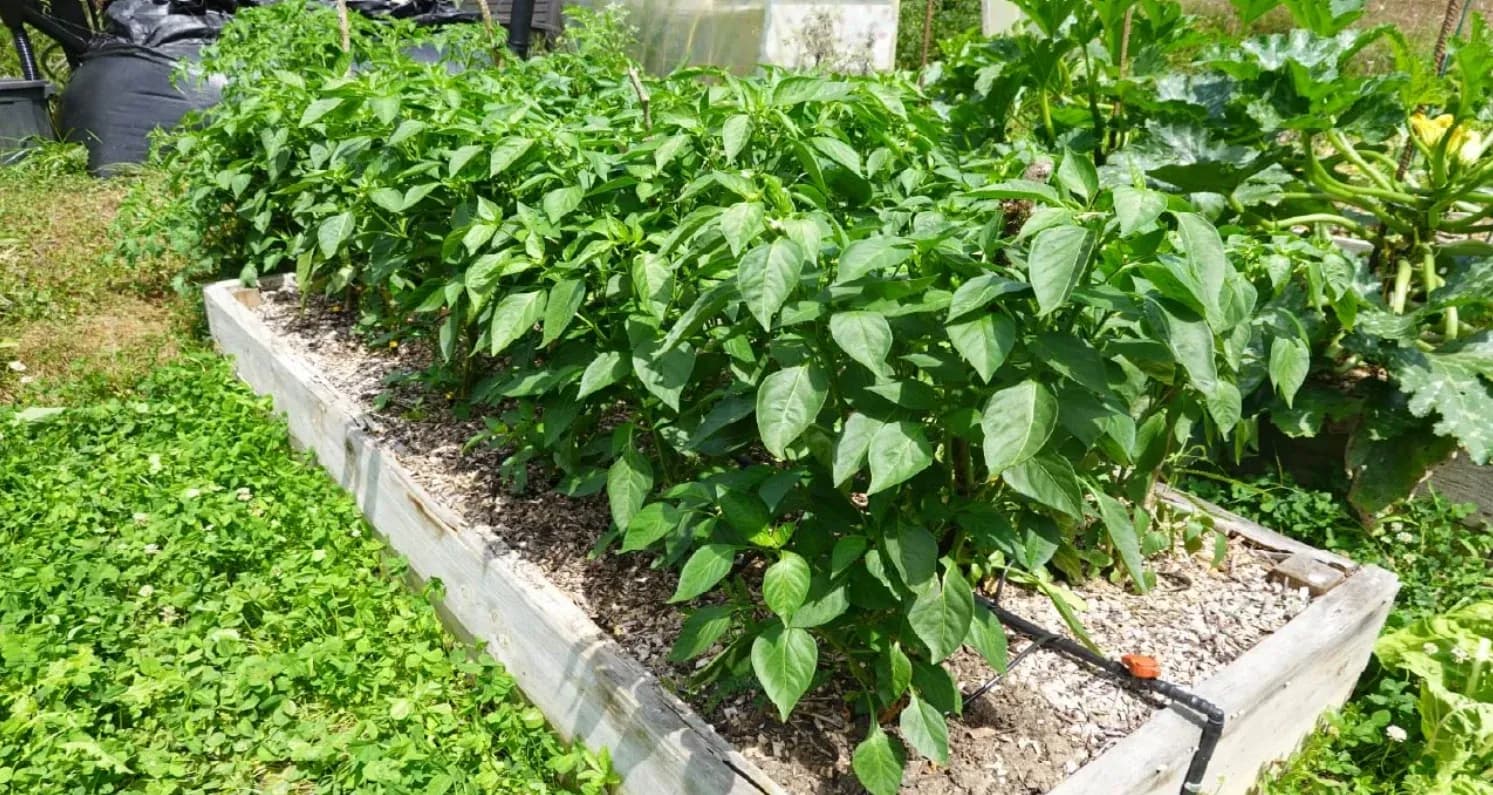
Drip irrigation is popular because it applies water at the root zone, limits evaporation, and adapts well to beds, rows, shrubs, and greenhouse layouts. It can also be expanded gradually, which makes it a good entry point for growers who want to start with one area and add more zones later.
Step 1: plan before buying components
The most common beginner mistake is buying parts before drawing the system. Start with the basics:
- What crops or plants are being watered?
- How large is the area?
- Is the ground flat or sloped?
- What pressure and flow are available at the water source?
- Can plants with different water demand be split into different zones?
If the project is row-based or food-production focused, our vegetable drip irrigation solution is a good reference for how filtration, pressure control, and water delivery can be organized as one system.
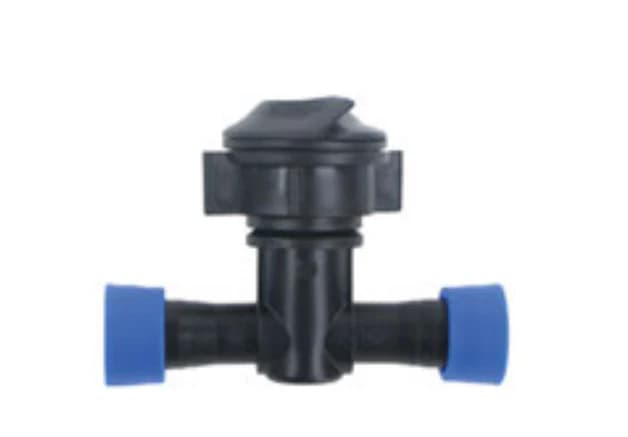
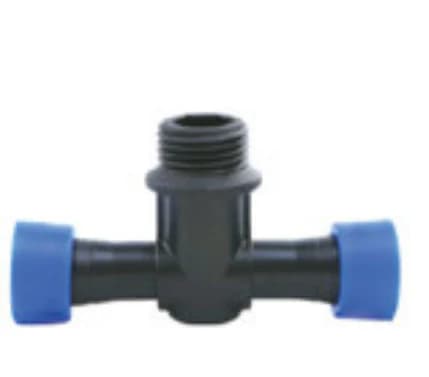
Step 2: choose the core components
A basic drip installation usually includes a backflow device, filter, pressure regulator, mainline tubing, distribution tubing, emitters or drip tape, fittings, end caps, and optional timer or controller.
Water quality matters from the start. If the source contains sediment, algae, or organic debris, selecting the right filter will save time later. Before finalizing the bill of materials, review our filtration system selection guide.
Step 3: install in the right order
- Connect the filter and pressure regulator at the water source.
- Lay out the mainline so the routing is clean and easy to service.
- Add branch lines or punch emitters at each plant position.
- Install drip lines or drip tape for rows and beds.
- Flush the system before closing the ends.
- Cap the ends and run a full pressure test.
During startup, walk the whole zone. Look for leaks, weak emitter flow, kinked tubing, or areas that are receiving too much or too little water.
Common beginner mistakes
Skipping the pressure regulator
Most drip systems need lower pressure than household supply lines deliver. Without regulation, emitters and fittings are far more likely to fail.
Leaving out filtration
Clogging is one of the fastest ways to make a new system feel unreliable. Filtration should be treated as standard equipment, not an upgrade.
Placing too many emitters on one line
If the line length or emitter count exceeds what the source can support, pressure drops toward the end and water distribution becomes uneven.
Mixing plants with different watering demand
Vegetables, shrubs, and drought-tolerant ornamentals usually should not share the same runtime.
Leaving tubing exposed and unsecured
Mulch and hold-down stakes help protect tubing from UV exposure, foot traffic, and accidental movement.
For broader ideas on reducing water loss after installation, also see our water-saving irrigation tips.
Routine maintenance after startup
- Flush the mainline and laterals periodically.
- Inspect emitters for clogging or inconsistent output.
- Clean filters on a regular schedule.
- Check for wet spots, dry spots, cracks, or kinked tubing.
- Drain and protect the system if freezing weather is expected.
Bottom line
A first drip system does not need to be large to be successful. In most cases, a small well-zoned layout with clean water and stable pressure performs better than a larger system that was assembled without planning. Start with one manageable area, observe how it behaves, and expand from there.
If you are installing a protected-cultivation system, review our greenhouse drip irrigation solution. If you want help reviewing your parts list or layout, contact IrriNex.