How to Repair Irrigation Hoses: A Practical Step-by-Step Guide
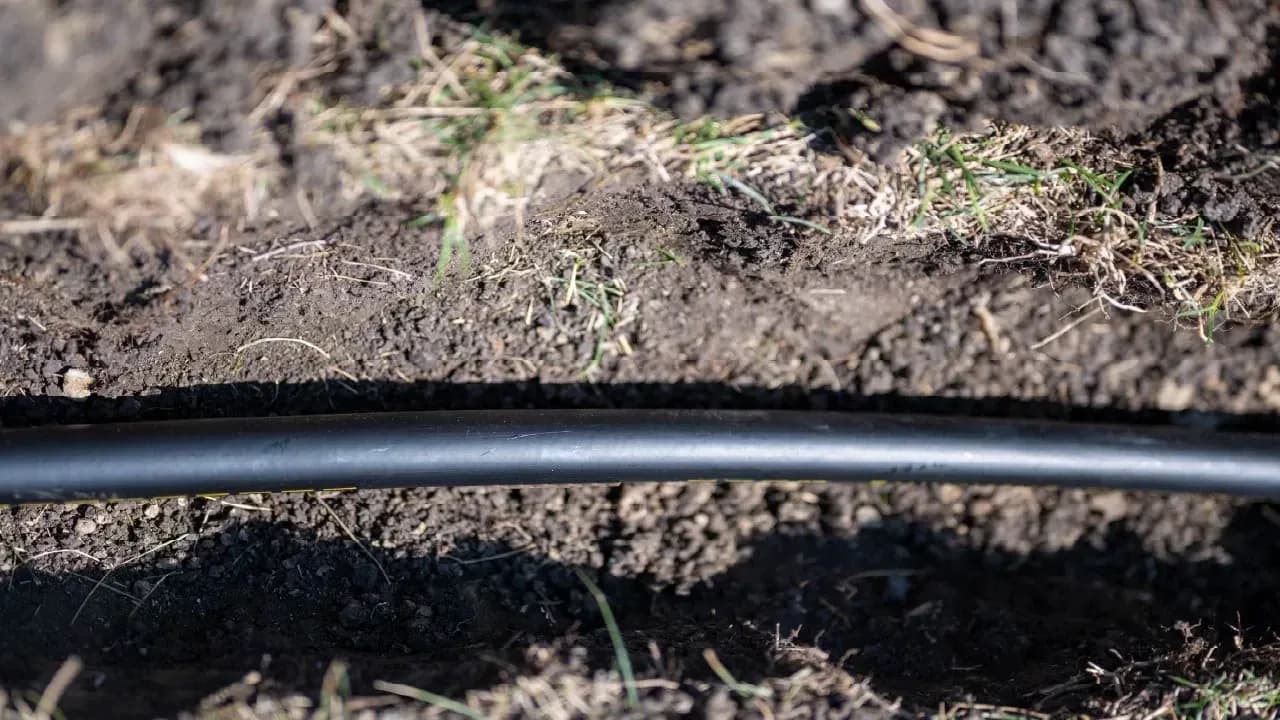
Summary: Repairing an irrigation hose means restoring a leak-free, pressure-stable section of drip tubing after a puncture, split, clog, or loose fitting. The repair is usually simple: turn off the water, expose the damaged section, make a square cut, install a correctly sized coupler or goof plug, then test the line before covering it again. Timely repair matters because, according to the U.S. EPA WaterSense program, a leak as small as 1/32 inch in an irrigation line can waste about 6,300 gallons of water in one month. For gardens, orchards, and greenhouses, that wasted water also means lower pressure, uneven emitter flow, and stressed plants. This guide explains how to repair irrigation hoses without overcomplicating the job.
Why irrigation hose repair should be done early
A small leak changes the hydraulics of the whole drip zone. Water escapes before it reaches the emitters, pressure drops at the far end, and plants receive different amounts of water from the same schedule. The result is patchy growth, wasted water, and more frequent maintenance.
Drip tubing is usually polyethylene, often called PE tubing. It is flexible and easy to repair, but it still suffers from UV exposure, rodent damage, mower strikes, freezing, and excessive pressure. IrriNex (a Hong Kong-based irrigation solutions provider with manufacturing partners in China) recommends treating every visible leak as a system signal, not just a wet spot.
Common irrigation hose problems
1. Small holes and pin leaks
Small punctures usually come from misplaced emitters, garden tools, rodents, or trimmer line. A goof plug is normally enough when the hole is clean and the tubing is still flexible.
2. Cracks and splits
Long cracks mean the tubing wall has lost strength. Cut out the damaged section rather than trying to plug the crack.
3. Clogs and weak flow
Sediment, algae, iron deposits, and mineral scale can block emitters and make a line look damaged when the real problem is filtration. If clogs repeat, review the IrriNex filtration system selection guide.
4. Kinks and crushed tubing
Kinks reduce flow and create stress points. Straighten the tubing if the wall is still sound; replace the section if it stays flattened.
Tools for repairing drip irrigation hoses
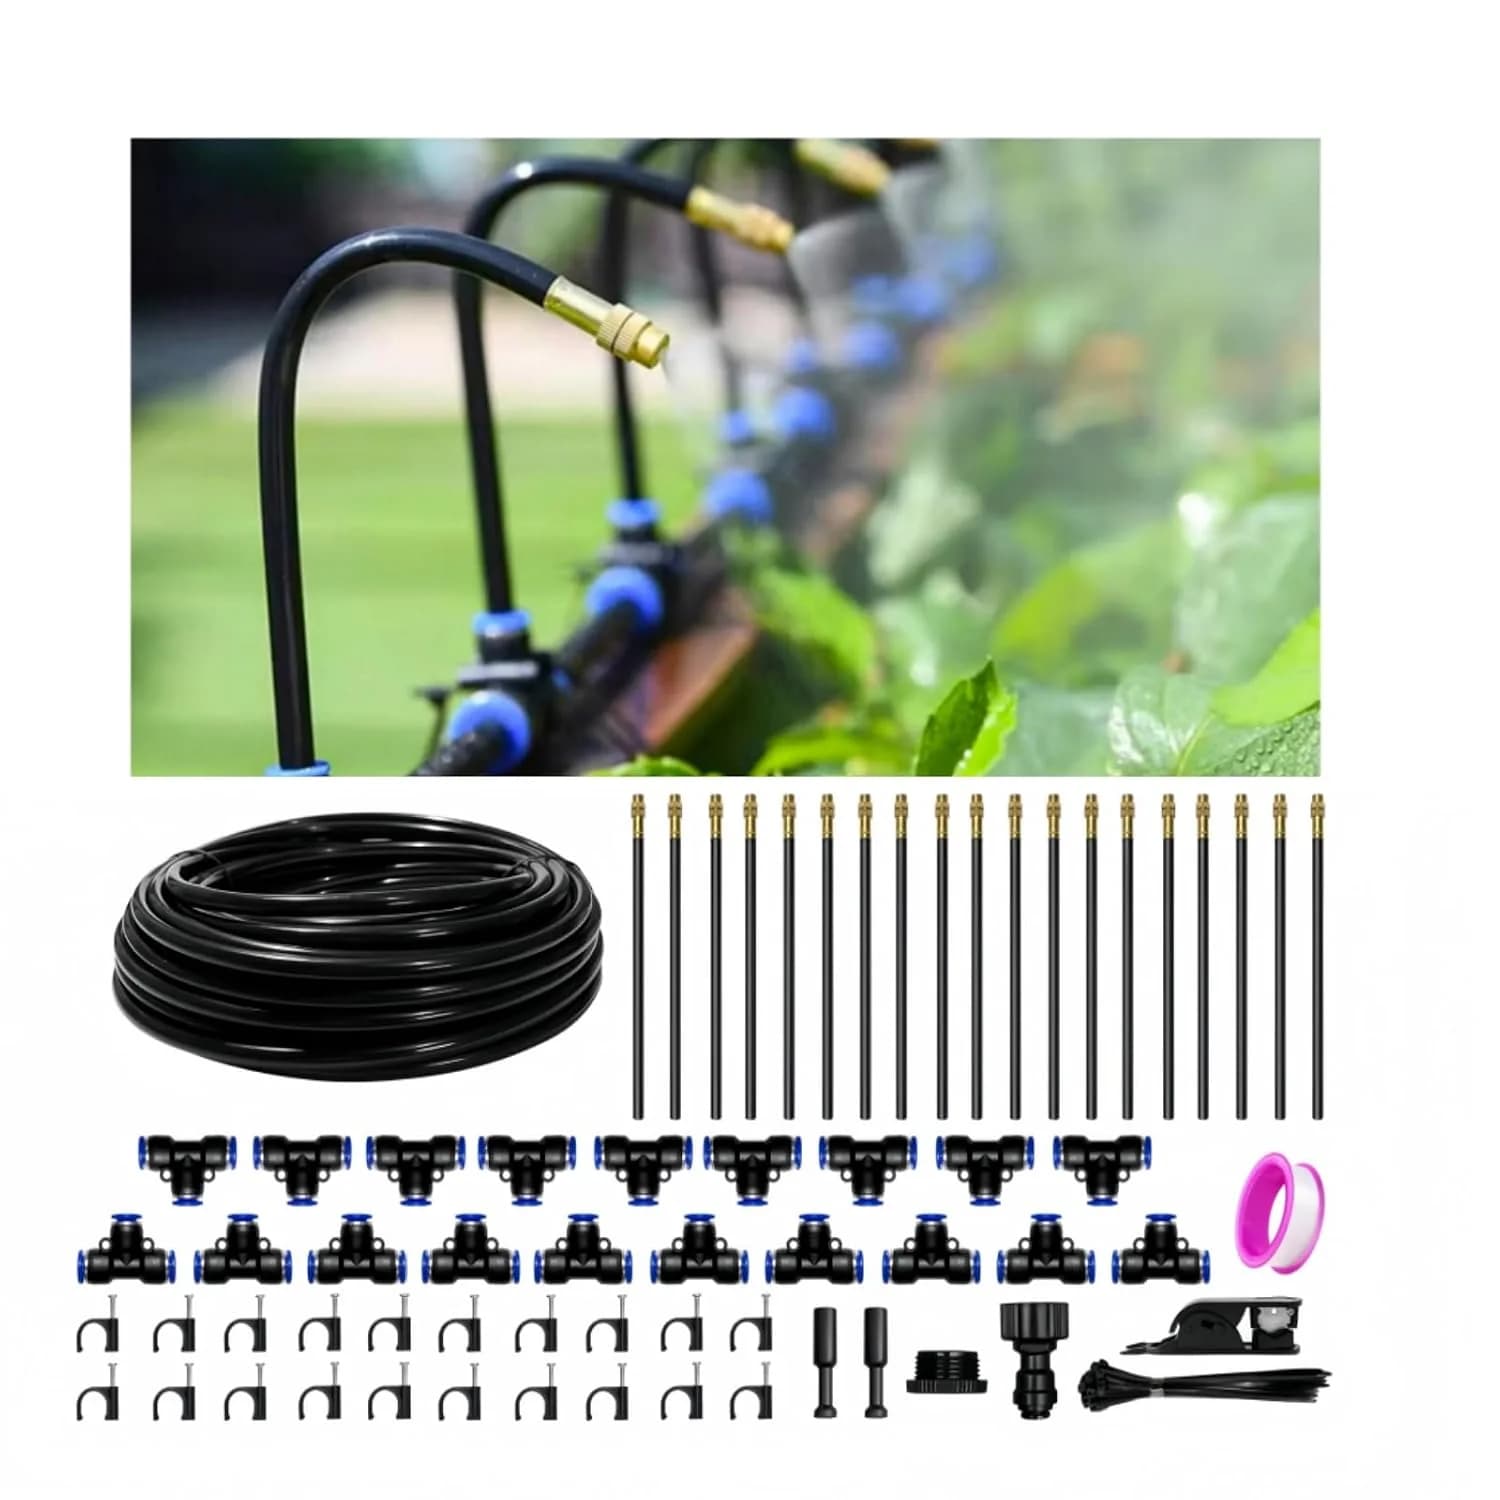
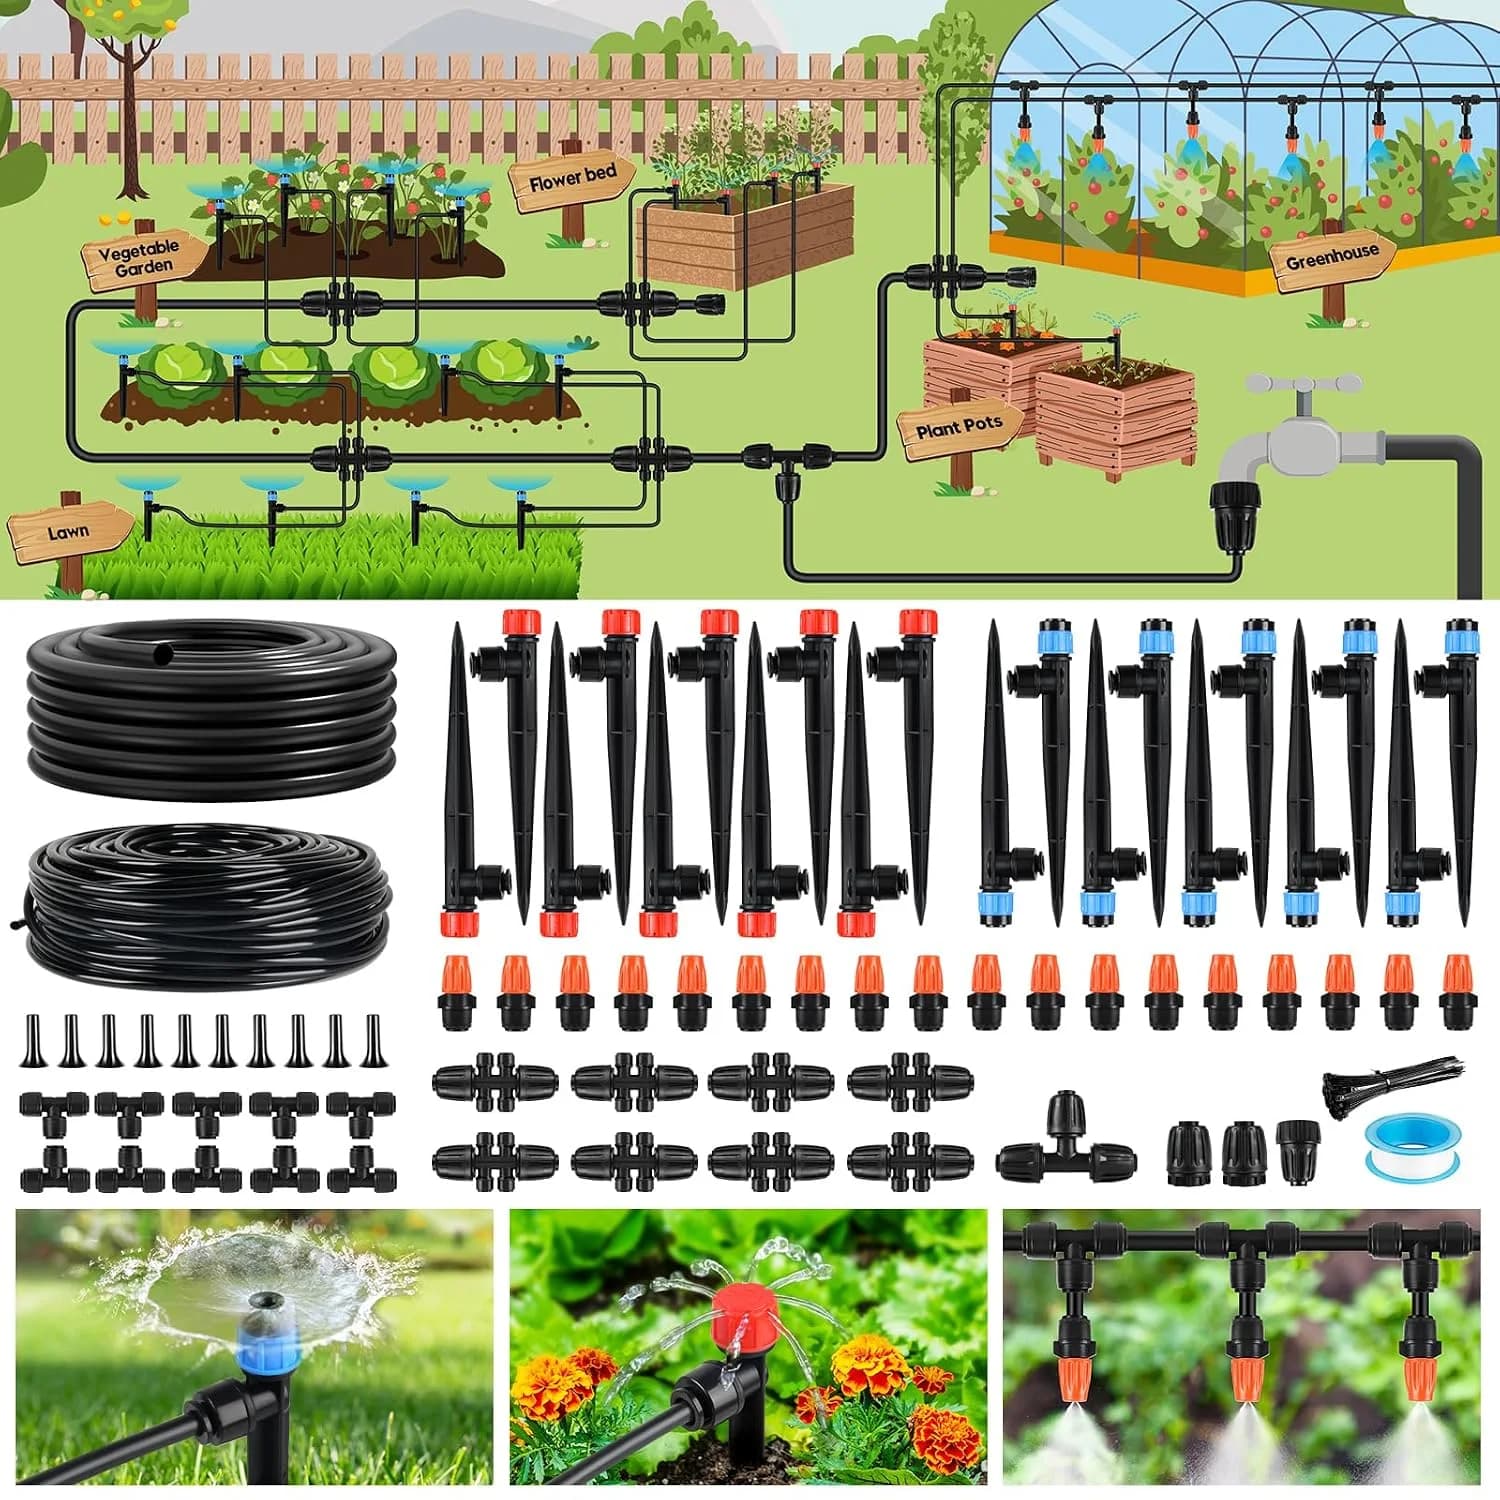
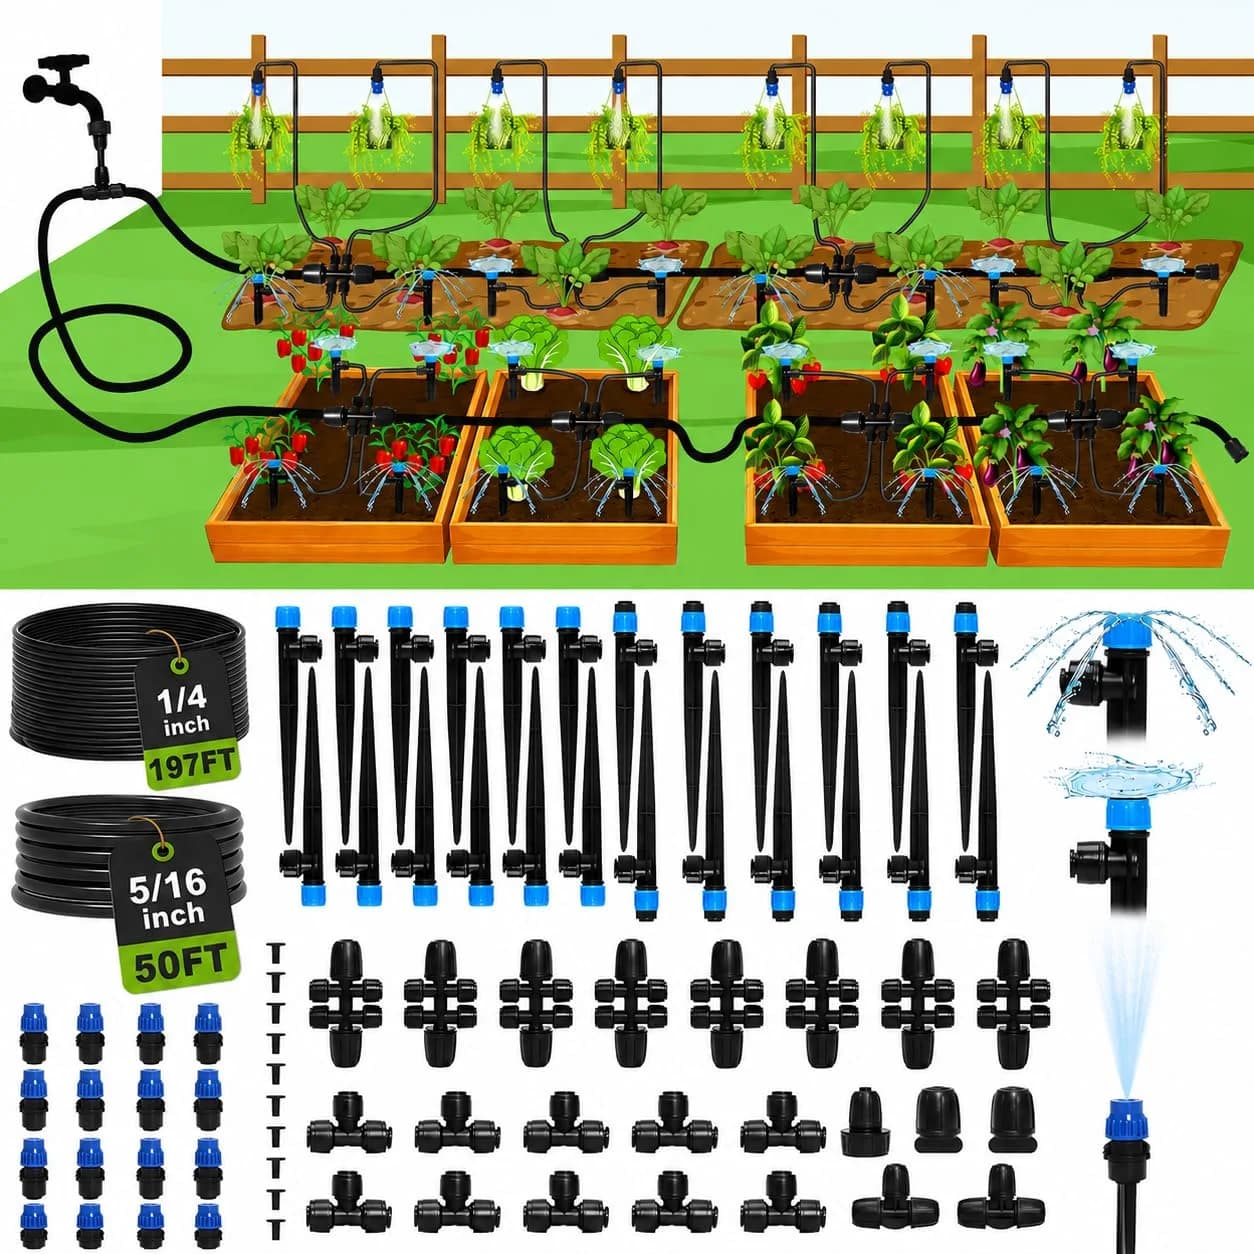
- Sharp poly tubing cutter
- Barbed or compression couplers matched to the tubing outside diameter
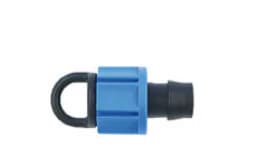
- Goof plugs for small punctures
- Short length of matching replacement tubing
- Gloves and a hand trowel or soil probe
Fitting size matters. Many products are labelled half-inch, but the real outside diameter can vary. For sizing help, see the IrriNex drip fitting sizing guide.
How to repair an irrigation hose in 5 steps
Step 1: Turn off the water and release pressure
Close the zone valve before touching the tubing. Wait until spraying or dripping stops so the cut ends stay clean and the coupler seats correctly.
Step 2: Expose and inspect the damaged area
Move mulch or soil gently by hand. Check whether the leak is isolated or part of a brittle section with several cracks nearby.
Step 3: Cut out the damaged tubing
Use a tubing cutter, not a dull knife. Make a straight 90-degree cut on each side of the damaged section, and remove at least 1 inch beyond visible damage.
Step 4: Install a coupler or replacement section
Push each tube end fully onto the coupler until it reaches the stop. For longer damage, use two couplers and a short length of matching tubing from the IrriNex lateral pipe or drip pipe range.
Step 5: Test the repair before backfilling
Open the valve slowly and watch the joint for at least one minute. If water beads at the fitting, shut the zone off, recut the tubing squarely, and reinstall the coupler.
Repair options compared
| Problem | Best repair | Suitable for |
|---|---|---|
| Small emitter hole or pin puncture | Goof plug | Suitable for gardeners correcting a misplaced emitter or tool puncture |
| Single split under 1 inch | Cut and reconnect with one coupler | Suitable for landscape beds and small vegetable zones |
| Long crack or two nearby leaks | Replace the section with two couplers | Suitable for orchards, greenhouses, and longer field laterals |
| Three or more leaks in 10 feet | Replace the whole run | Suitable for commercial growers who need uniform pressure |
After the repair: flush, inspect, protect
- Flush the line. Open the end cap and run water until it is clear. This removes soil that entered during the repair.
- Walk the zone. Look for bubbling soil, weak emitter flow, or a second leak that was hidden by the first one.
- Cover the tubing. Mulch or shallow burial protects PE tubing from sunlight and foot traffic.
Bottom line
Most irrigation hose repairs are straightforward when the cut is clean and the fitting size is correct. Keep a small repair kit with a cutter, goof plugs, couplers, and spare tubing near the system. If a line is brittle, sun-cracked, or already patched several times, replace the section instead of adding another temporary fix. For parts, browse IrriNex barbed fittings, drip tape, and inline drip pipe.