Common Drip Irrigation Mistakes to Avoid
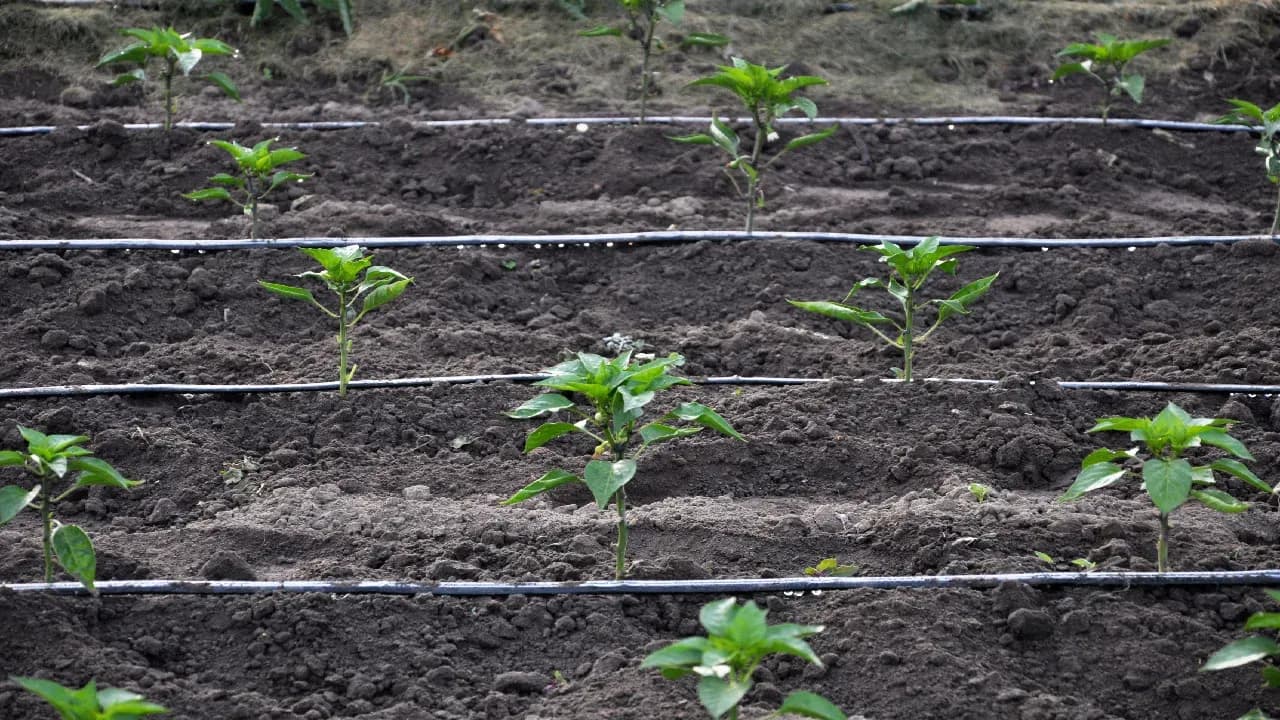
Summary: Common drip irrigation mistakes usually come from five technical problems: too few emitters or poor emitter placement, insufficient filtration, incorrect pressure or flow loading, weak zoning and scheduling, and incompatible connection standards or tubing sizes. These errors matter because a drip system only achieves high efficiency when water leaves the emitter at the expected pressure, spacing, and flow rate. According to USDA NRCS (the United States Department of Agriculture Natural Resources Conservation Service), drip irrigation can reach 90 to 95 percent application efficiency when design and maintenance are correct. According to emitter filtration guidance used across commercial drip systems, many emitters require 120 to 155 mesh protection to prevent clogging. This article explains the most common design and installation mistakes and how to avoid them in agricultural irrigation systems used for field, orchard, nursery, and greenhouse production.
Why drip irrigation mistakes are expensive in agriculture
In agricultural irrigation, a small design error does not stay small for long. A poor emitter layout, weak filter, or mismatched thread can reduce block uniformity, waste fertilizer, and force repeated manual corrections during the season. The cost is not only water loss; it is also lower crop consistency, higher labor demand, and higher pumping time.
How to avoid common drip irrigation mistakes in 5 steps
Step 1: Use enough emitters and place them correctly
Too few emitters leave part of the root zone dry, especially in coarse soils or around larger plants. Emitters should be spaced evenly along the crop line and positioned far enough from the plant base to wet the active root zone rather than flood the stem. In agriculture, more than one emitter per plant is often safer because one clogged outlet does not immediately starve the plant.
Step 2: Do not compromise on filtration
Filtration is a core part of drip design, not an optional accessory. According to common emitter filtration guidance from major drip manufacturers, many drip emitters require 120 to 155 mesh protection, depending on passage size and emitter type. Match the filter type to the water source, whether that means screen, disc, sand media, or hydrocyclone pre-filtration.
Step 3: Control pressure and flow before adding more emitters
Too many emitters on one line reduce pressure and create uneven discharge at the far end of the field. A pressure regulator keeps the system inside the operating window that the emitters were designed for, while good hydraulic planning keeps total flow inside the line capacity. If pressure varies widely from one end of the block to the other, the problem is hydraulic, not seasonal.
Step 4: Zone the system by crop need, soil, and block conditions
A drip block should not mix crops with very different water demand under the same runtime. Zone by crop type, rooting depth, soil texture, plant age, and exposure when necessary. Scheduling is never set once for the whole year; it must change with crop stage, weather, and soil moisture conditions.
Step 5: Check thread type and tubing size before ordering parts
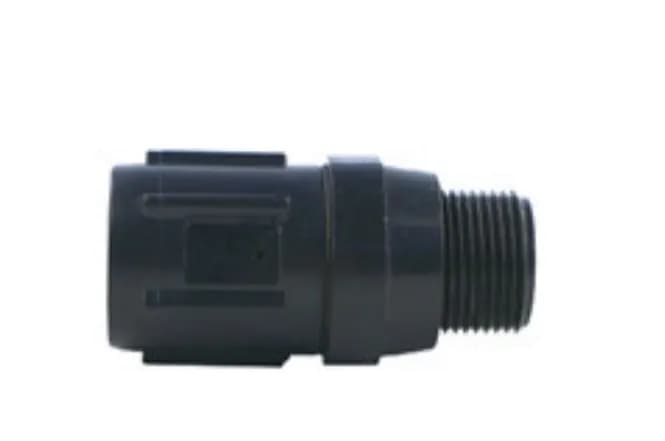
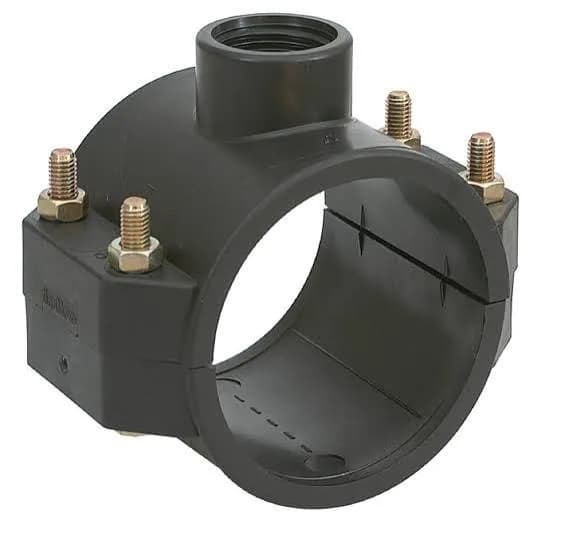
Leaks often start at the connection between two parts that looked similar but used different standards. Hose thread and pipe thread do not seal the same way, and nominal tubing size does not always reveal the real outside diameter. Before ordering fittings, confirm thread type, male or female orientation, and the actual inside and outside diameter of the tubing.
Connection types compared
| Connection type | Pros | Cons | Best suited for |
|---|---|---|---|
| Hose thread | Simple washer-based seal, usually hand-tightened | Not interchangeable with pipe thread | Best suited for hose-end connections, temporary transfer points, and service access |
| National pipe thread | Strong threaded seal for pressurized systems | Needs sealant or tape and correct tightening method | Best suited for manifolds, regulators, filters, and permanent agricultural connections |
| Barbed or compression fittings | Fast tubing connection, common in drip laterals and submains | Must match actual tubing OD and wall properties | Best suited for drip tubing, lateral repairs, and emitter distribution lines |
Filtration and tubing details farmers should not ignore
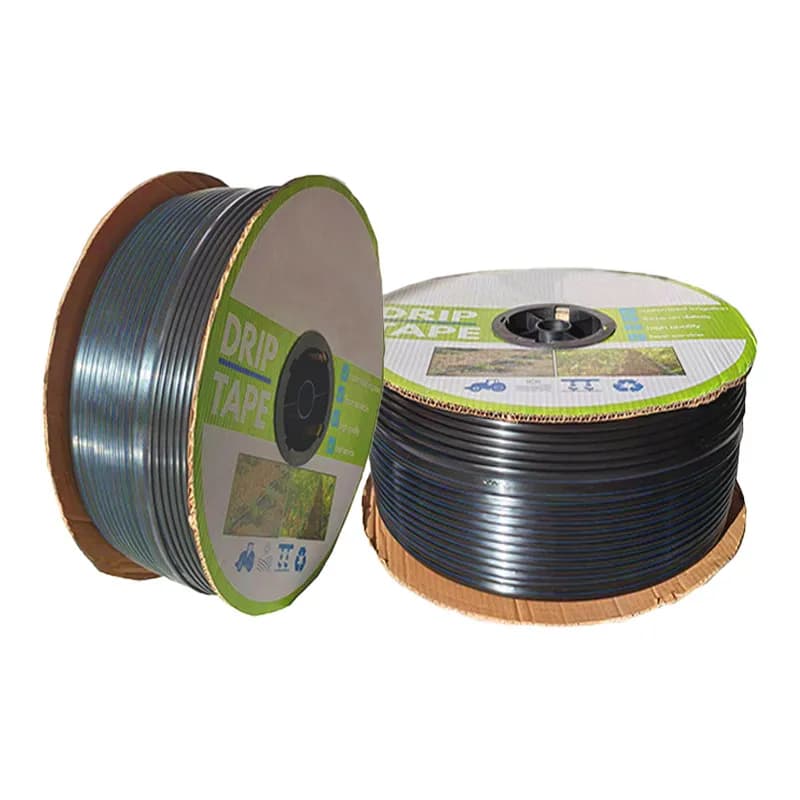
Filtered water protects the small flow paths inside drippers, micro-sprinklers, and pressure-compensating emitters. The wrong filter allows sediment, algae, scale, or organic debris to accumulate in the line. The filtration system selection guide and the drip fitting sizing guide are the two most practical references when the system fails at the connection or emitter level.
Tubing size matters just as much. Nominal labels such as 1/2 inch or 3/4 inch do not always reflect the real OD and ID used by the fitting or the hydraulic design. That is why a supposedly correct part can still leak in the field.
What good agricultural drip design looks like
A reliable drip system matches emitter count, line length, pressure regulation, water quality, thread type, and runtime to the actual crop. It also assumes seasonal adjustment rather than a fixed program. For layout references, review the vegetable drip irrigation solution, the greenhouse drip irrigation solution, and the tubing and fitting category.
Bottom line
The most common drip irrigation mistakes are not mysterious. They come from weak emitter layout, poor filtration, wrong pressure, bad zoning, and incompatible connections. Expert advice: first, verify filtration and pressure before blaming the emitters; second, measure tubing OD and thread type before every bulk parts order, because compatibility errors are cheaper to prevent than to repair in season. For field-ready hardware, browse drip irrigation products, irrigation filters, and tubing and fitting products.