5 Drip Irrigation Mistakes to Avoid and How to Fix Them
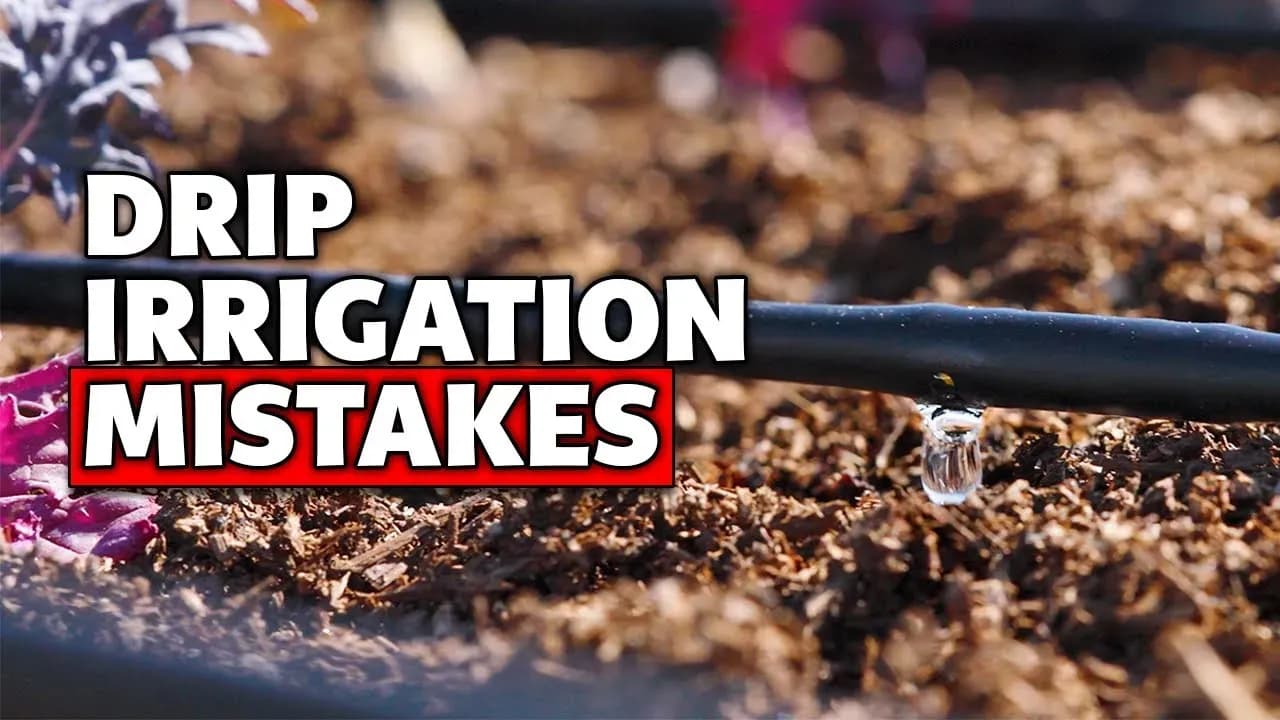
Summary: The five most common drip irrigation mistakes are overwatering, mismatching emitters to plant demand, exceeding tubing capacity, undersizing the water supply, and running the system at the wrong pressure. Each mistake reduces uniformity, which is the measure of how evenly water reaches all plants in the zone. According to FAO irrigation guidance, drip irrigation can reach around 90 percent application efficiency when it is designed and managed correctly, but poor pressure, weak filtration, and oversized zones quickly reduce that advantage. A drip system should deliver slow, predictable water to the root zone. When you see puddles, dry end rows, popped fittings, or weak emitters, the problem usually traces back to one of these five design or management errors.
Mistake 1: Overwatering plants
Drip irrigation does not need to create a large wet patch on the surface. Water moves down by gravity and sideways by capillary action, so the surface can look drier than the root zone.
Step 1: Check the wetted root zone
Run the system for 30 minutes, wait 30 minutes, then dig or probe below a dripper. Adjust runtime based on soil moisture near the roots, not surface appearance.
Mistake 2: Using the same emitter for every plant
Different plants need different water volumes. A fruit tree, herb bed, rose, and tomato row should not automatically receive the same discharge just because they share one zone.
Step 2: Match emitter output to plant demand
Use higher-flow emitters or two emitters for plants with greater demand. Use pressure-compensating options from IrriNex drippers where slopes or long runs affect pressure.
Mistake 3: Exceeding tubing capacity
Tubing has practical flow and length limits. A common field rule is 30/30 for 1/4-inch tubing, 200/200 for 1/2-inch tubing, and 480/480 for 3/4-inch tubing, meaning maximum single-run feet and gallons per hour.
Step 3: Keep runs inside the hydraulic limit
If a run is too long, split it into two laterals or use a larger mainline. For tubing options, see IrriNex lateral pipe and main pipe.
Mistake 4: Not checking water supply flow
Your water source must supply at least the total flow required by the emitters. Two hundred 1 GPH emitters need 200 GPH from the source before losses are considered.
Step 4: Measure source flow before final design
Fill a known-size bucket and time it. Convert the result to GPH, then compare it with total emitter demand.
Mistake 5: Pressure too high or too low
Most drip systems perform well around 15 to 30 psi. Drip tape often has a lower limit and can burst above 15 psi if the manufacturer does not rate it higher.
Step 5: Regulate pressure at the zone head
Install a pressure regulator before the drip zone. If pressure is too low, reduce zone size, choose lower-flow emitters, or use a low-pressure drip design.
Comparison of common drip mistakes
| Mistake | Visible symptom | Fix | Suitable for |
|---|---|---|---|
| Overwatering | Soggy soil or root disease | Shorten runtime and probe root-zone moisture | Suitable for home gardeners new to drip |
| Wrong emitter | Some plants thrive while others wilt | Group by water need or change emitter flow | Suitable for mixed beds and orchards |
| Exceeded tubing limit | Weak flow at the line end | Split the run or increase pipe size | Suitable for farms and large landscapes |
| Low source flow | Emitters never pressurize evenly | Reduce emitter count or split zones | Suitable for wells, tanks, and small pumps |
| Wrong pressure | Popped fittings or weak drippers | Add regulator or redesign zone | Suitable for municipal supplies and drip tape users |
Bottom line
Drip irrigation works best when pressure, flow, tubing length, and emitter choice are all matched. Start smaller, test the zone, then expand. Make pressure regulation and filtration standard, not optional. For setup details, see the IrriNex drip irrigation installation guide and fitting sizing guide.