
How to Winterize a Sprinkler System Before the First Freeze
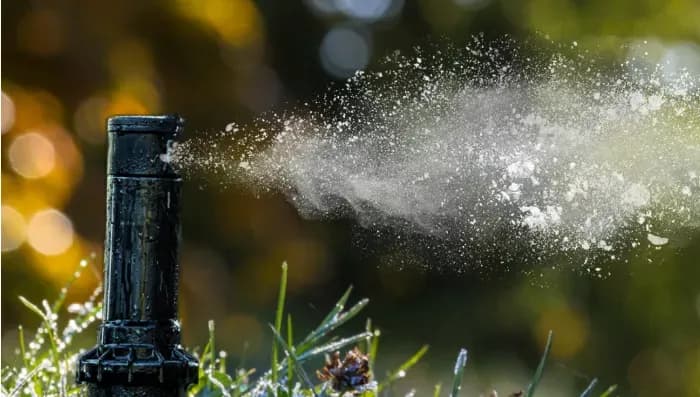
Summary: Winterizing a sprinkler system means shutting off the irrigation supply, removing water from pipes and sprinkler heads, protecting the backflow preventer, and disabling automatic watering before freezing weather. It matters because water expands when it freezes; according to the U.S. Geological Survey, ice occupies about 9 percent more volume than liquid water. Inside a closed irrigation line, that expansion can crack PVC pipe, split fittings, damage valves, and break sprinkler bodies. A good winterization sequence uses one of three methods: automatic drain, manual drain, or compressed-air blow-out. The best choice depends on climate, pipe layout, and whether low spots can hold water after gravity drainage.
Why sprinkler winterization matters
Freeze damage often stays hidden until spring startup. A cracked fitting underground, a split backflow preventer, or a valve bonnet full of ice can waste water and delay the irrigation season.
If your system is under warranty, confirm whether the manufacturer or installer requires professional winterization. Some warranties do not cover damage after an unverified DIY blow-out.
How to winterize a sprinkler system in 5 steps
Step 1: Shut off the irrigation water supply
Close the dedicated sprinkler shutoff, usually in a basement, crawl space, valve room, or mechanical area. This isolates irrigation from the building water supply.
Step 2: Disable scheduled watering
Set the controller to off, rain hold, or seasonal shutdown. Keep power available if you still need to activate zones during draining.
Step 3: Drain or blow out the zones
Use automatic drains, manual drains, or compressed air depending on the system. Never force compressed air into a closed zone.
Step 4: Protect the backflow preventer and exposed valves
Set ball valves and test cocks at a 45-degree angle after draining. Insulate exposed assemblies without blocking vents or relief openings.
Step 5: Power down and document the settings
Once water is out, shut the controller down. Take a photo of the schedule screen so spring startup is easier.
Automatic drain, manual drain, or blow-out?
| Method | Advantages | Limits | Suitable for |
|---|---|---|---|
| Automatic drain | Opens when pressure drops | May not drain valves or low spots | Suitable for systems designed with auto-drain valves |
| Manual drain | No compressor needed | Depends on slope and drain placement | Suitable for mild to moderate winters |
| Blow-out | Clears low spots and flat runs | Requires correct pressure and safety gear | Suitable for cold climates and professional service |
Compressed-air safety limits
The blow-out method works, but it is the easiest way to damage a system if pressure is too high or a zone is closed. For small residential mainlines, service companies commonly use high-air-volume compressors and limit working pressure to roughly 30 psi for polyethylene pipe and 50 psi for PVC. Do not exceed the component rating, and wear eye protection.
If valves are aging, inspect them before winter. The IrriNex irrigation valve maintenance guide gives a useful pre-shutdown checklist.
Winterization mistakes to avoid
- Turning off the controller but leaving water in the lines.
- Fully closing backflow ball valves during freezing weather.
- Using a small shop vacuum instead of a compressor for blow-out.
- Wrapping a backflow preventer so tightly that drainage openings cannot breathe.
- Waiting until after the first hard freeze.
Bottom line
Winterization is preventive maintenance, not a spring repair strategy. Shut off the water, remove standing water, leave backflow ports protected but not sealed, and choose professional blow-out service when the layout has low spots or the climate freezes hard. For replacement parts before shutdown, see IrriNex ball valves, irrigation valves, and the broader irrigation system winterization guide.


