
How to Drain a Sprinkler System Safely Before Freezing Weather
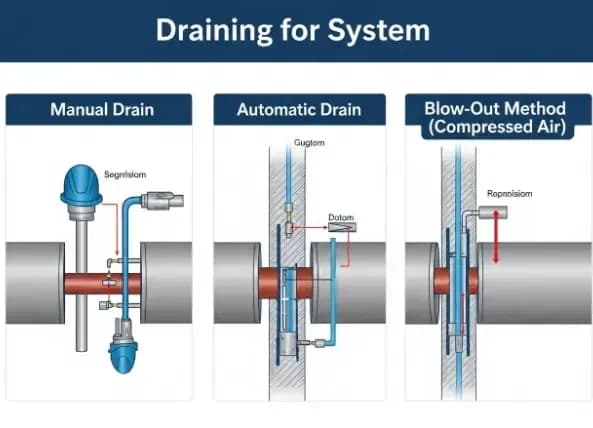
Summary: Draining a sprinkler system means removing standing water from the accessible parts of the irrigation network before freezing weather. The usual manual procedure is to close the dedicated sprinkler shutoff, open the inside drain, open the petcocks on the backflow preventer, set the backflow ball valves at 45 degrees, and run a short manual controller cycle to release water trapped in valves. This protects the most exposed components, but it is not always the same as full winterization. According to the U.S. Geological Survey, freezing water expands by about 9 percent. If water remains in a closed sprinkler pipe, that expansion can crack fittings, valves, sprinkler heads, and the backflow device.
What draining does and does not do
Manual draining removes water from sections that can empty by gravity or through drain points. It protects the shutoff line, manifold, and backflow preventer when done in the right sequence.
It does not guarantee that every low point is dry. In hard-freeze regions, combine manual draining with the blow-out method explained in the IrriNex sprinkler winterization guide.
Parts involved in a manual sprinkler drain
- Sprinkler line shutoff: The indoor valve that isolates irrigation water.
- Inside drain: The small drain valve near the shutoff.
- Backflow preventer: A safety device that stops irrigation water from entering drinking water.
- Petcocks or test cocks: Small screws on the backflow device used to release trapped water.
- Ball valves: Quarter-turn valves on the backflow preventer.
How to drain a sprinkler system in 6 steps
Step 1: Turn off the sprinkler line shutoff
Find the dedicated irrigation shutoff in the basement, crawl space, or mechanical room. Turn it fully closed so the system cannot refill while you work.
Step 2: Open the petcocks to 45 degrees
Use a flat-head screwdriver to turn each test cock so the slot sits at a 45-degree angle. This vents water from the backflow chambers.
Step 3: Open the inside drain
Place a bucket under the drain. Depending on pipe length, you may collect a few cups or several gallons.
Step 4: Set backflow ball valves at 45 degrees
Do not leave these valves fully closed in freezing weather. The half-open position reduces trapped pockets of water inside the valve body.
Step 5: Run one short manual controller cycle
Activate each zone briefly. This helps release water held in valve bodies and laterals.
Step 6: Insulate exposed components
Wrap the backflow preventer with insulation and keep it dry with a cover. Do not seal openings that need to drip or breathe.
Manual drain vs full winterization
| Option | What it does | Limits | Suitable for |
|---|---|---|---|
| Manual drain | Removes accessible water through drains and petcocks | May leave water in low spots | Suitable for mild climates and sloped layouts |
| Blow-out | Uses compressed air to clear each zone | Can damage parts if pressure is too high | Suitable for cold climates and flat layouts |
| Professional winterization | Combines correct sequence, pressure, and inspection | Higher service cost | Suitable for large systems, warranties, and hard freezes |
Warning for deep freezes
A manual drain is useful, but it does not replace full winterization in a climate where the ground freezes. If your area regularly drops below freezing for long periods, schedule a blow-out or follow a full winterization procedure.
Bottom line
Manual draining is a practical first layer of freeze protection. Close the irrigation shutoff, open the drains and petcocks, leave backflow ball valves at 45 degrees, and cycle the controller once. For hard freezes, add a blow-out. If any valve is worn before winter, replace it with parts from IrriNex ball valves or irrigation valves.


