How to Install a Drip Irrigation Kit: A Start-to-Finish Guide
Installing a drip irrigation kit means assembling a compatible source connection, filtration and pressure-control head, main tubing, branches, emitters, flush points, anchors, and optional timer so water reaches each planned root area at a controlled low flow. Correct installation matters because excessive pressure, missing filtration, kinked tubing, unflushed debris, poor outlet placement, or a zone that exceeds source capacity can create leaks and dry plants even when every supplied part is used. The process should start with a measured plan and end with an observed wetting test, not simply follow the order of items in the box. This start-to-finish guide presents seven progressive steps, explains the head assembly and lateral line, compares factory-emitter, punched-emitter, and hybrid layouts, and provides commissioning checks. IrriNex (a supplier of irrigation equipment and project support) can help verify compatibility when water quality, slope, multiple zones, or unusual plant spacing makes the standard kit insufficient.
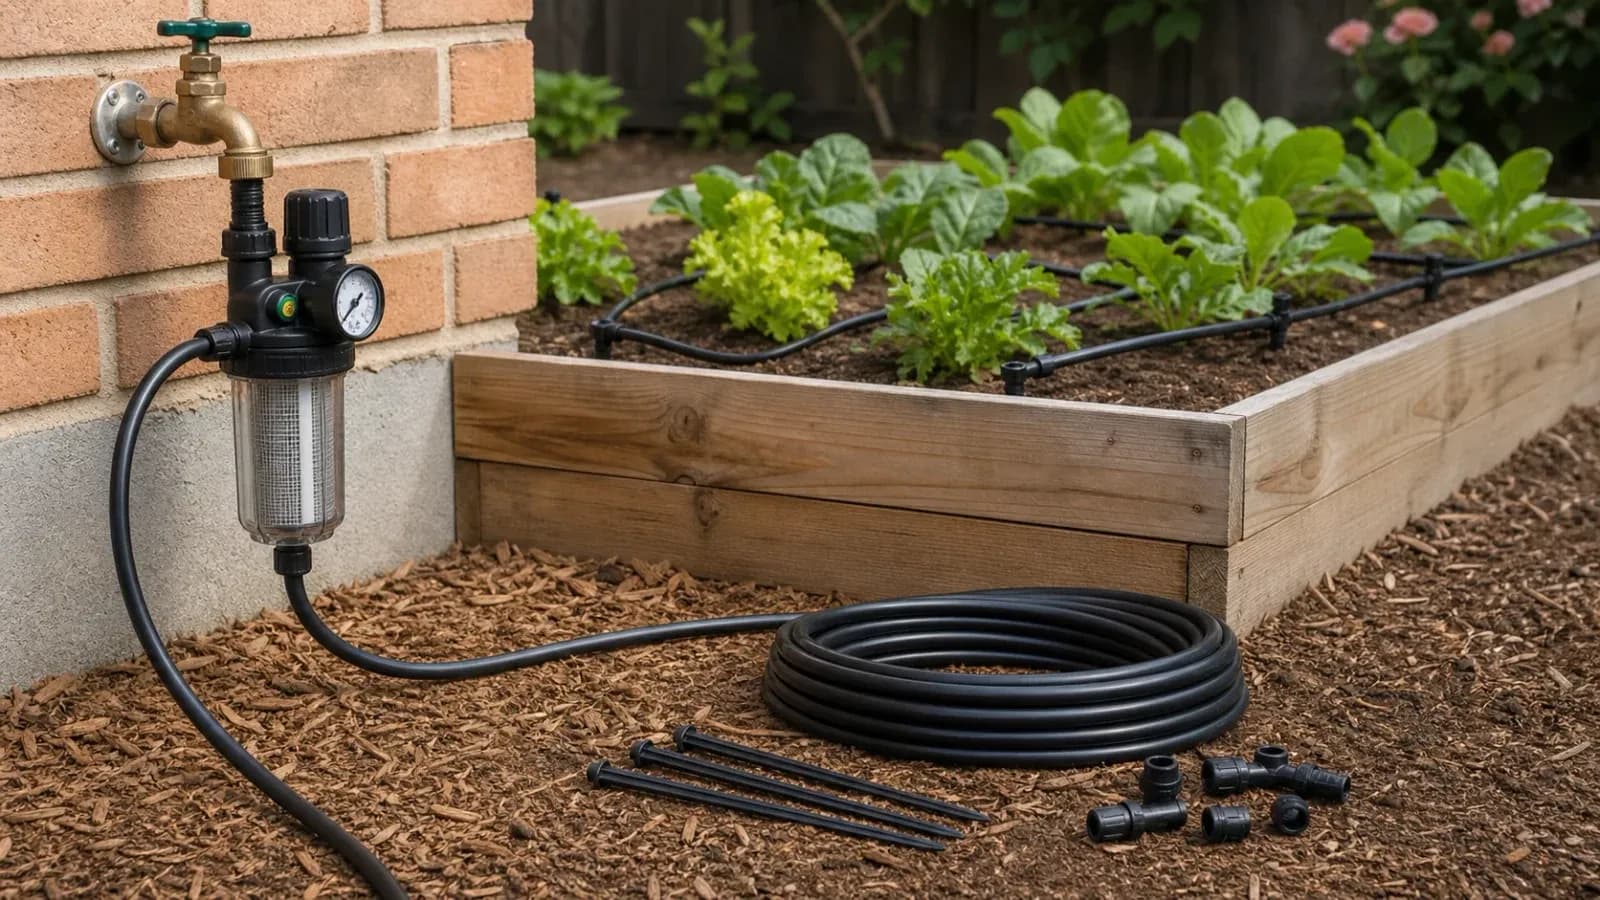
Know the drip kit before installation
The head assembly is the group of source-side control components, commonly including backflow protection as locally required, a filter, and a pressure regulator. A lateral is the downstream tube carrying water beside plants; its permitted length and outlet load depend on diameter, pressure, and manufacturer data.
Seven steps to install a drip irrigation kit
- 1. Verify the plan and source. Confirm measured routes, plant outlets, zone flow, available dynamic pressure, and water quality before cutting tubing. Compare the complete parts list with the kit and obtain missing adapters or closures.
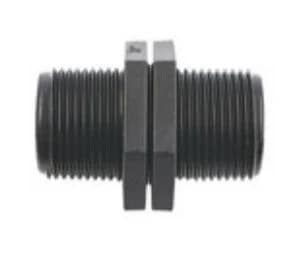
- 2. Assemble the head unit. Follow local plumbing and backflow requirements, then install the filter and pressure regulator in their specified flow direction. Use compatible thread seals and support the assembly so tubing does not carry its weight.
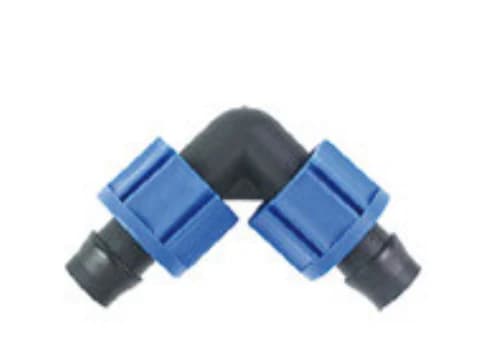
- 3. Route the main tubing. Unroll tubing in warm sunlight to relax coils, then lay it without twists from the source to planting areas. Use elbows at sharp corners and leave accessible points for isolation and flushing.
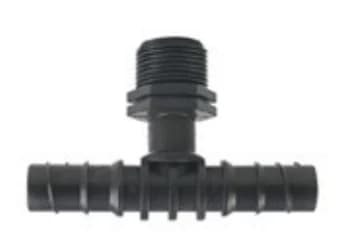
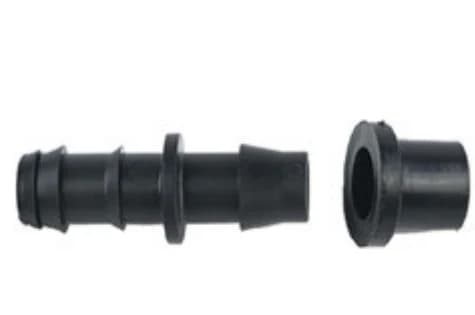
- 4. Add branches and feeder tubes. Make square cuts and seat each tee, connector, or small feeder fully according to its fitting system. Route branches close enough to roots to avoid long, vulnerable microtubes across paths.
- 5. Install and position emitters. Punch only clean, correctly sized holes and fit point outlets, emitter line, bubblers, or micro-sprayers according to the plan. Place outlets over the active root area rather than against stems or trunks.
- 6. Flush and pressure-test. Leave all downstream ends open, run clean water until debris stops, then close them and inspect every joint. Confirm that the regulator holds the intended operating range and that the last outlets discharge normally.
- 7. Anchor, observe, and program. Stake tubing without crushing it, apply mulch without hiding service points, and run a timed wetting test. Program a conservative cycle, then adjust from moisture observed at root depth.

Drip installation layouts compared
| Layout | Advantages | Limits | Best for |
|---|---|---|---|
| Factory-emitter tubing | Fast placement and regular spacing | Outlet positions cannot match every isolated plant | Best for rows, hedges, and evenly spaced beds |
| Punched point emitters | Each outlet can match a plant and flow | More punching, feeder tubes, and inspection | Best for pots, shrubs, and irregular spacing |
| Hybrid layout | Combines regular lines with special outlets | Requires careful zone-flow and pressure review | Best for mixed landscapes and multi-crop gardens |
The USDA Natural Resources Conservation Service (the U.S. federal conservation technical agency) advises placing surface drip laterals along plant rows and anchoring them or installing them 2–4 inches under loose soil or mulch. According to U.S. EPA WaterSense, properly designed microirrigation uses 20–50% less water than conventional sprinklers. Select a serviceable option from IrriNex irrigation filter categories where source debris could obstruct outlets.
Conclusion: commission before covering the tubing
A successful drip kit installation is clean, pressure-controlled, flushed, observable, and loaded within source capacity. Commissioning before mulch makes faults visible and inexpensive to correct.
- Record pressure and total zone flow during the first full test for a maintenance baseline.
- Send the plan to IrriNex technical support when the final outlet load or fitting compatibility is uncertain.