Get Started with Drip Irrigation in Your Garden
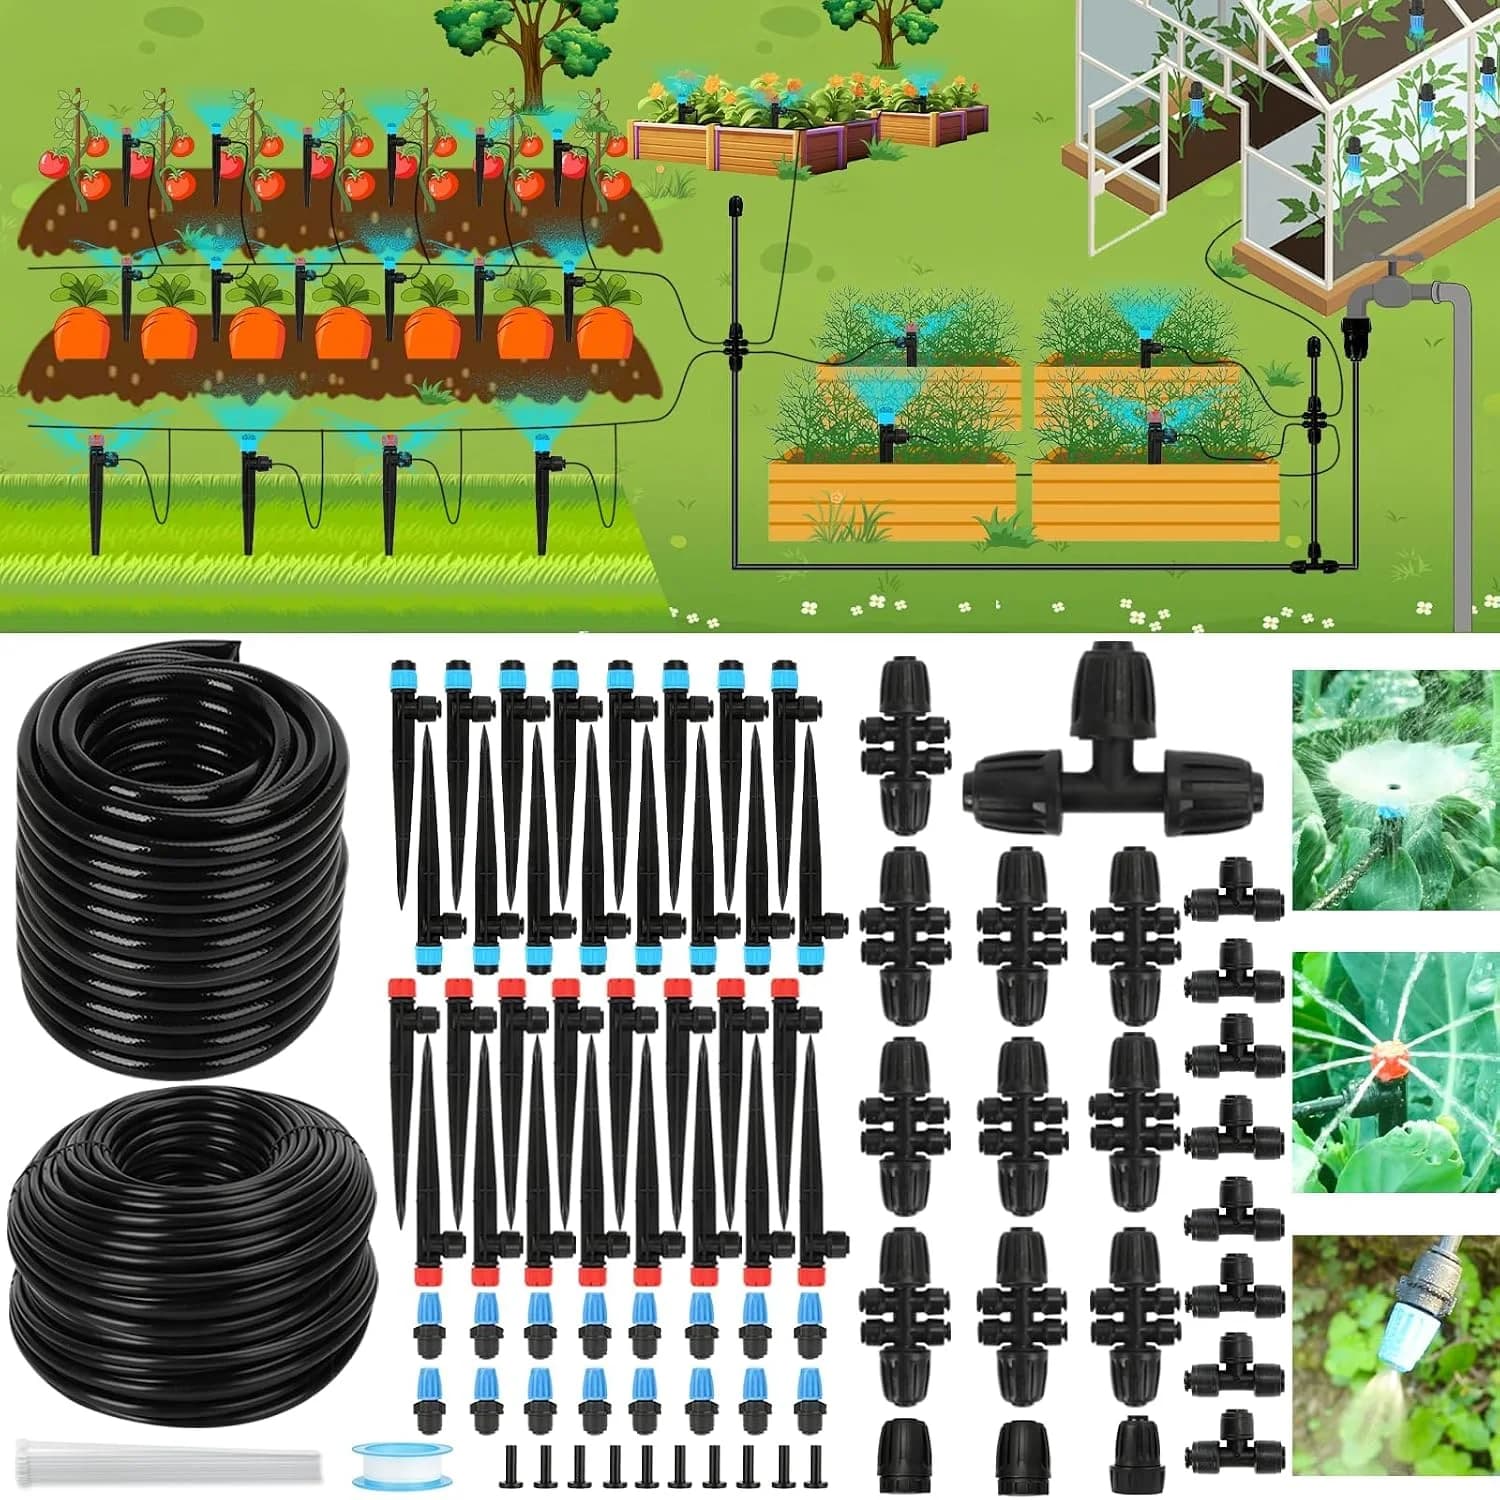
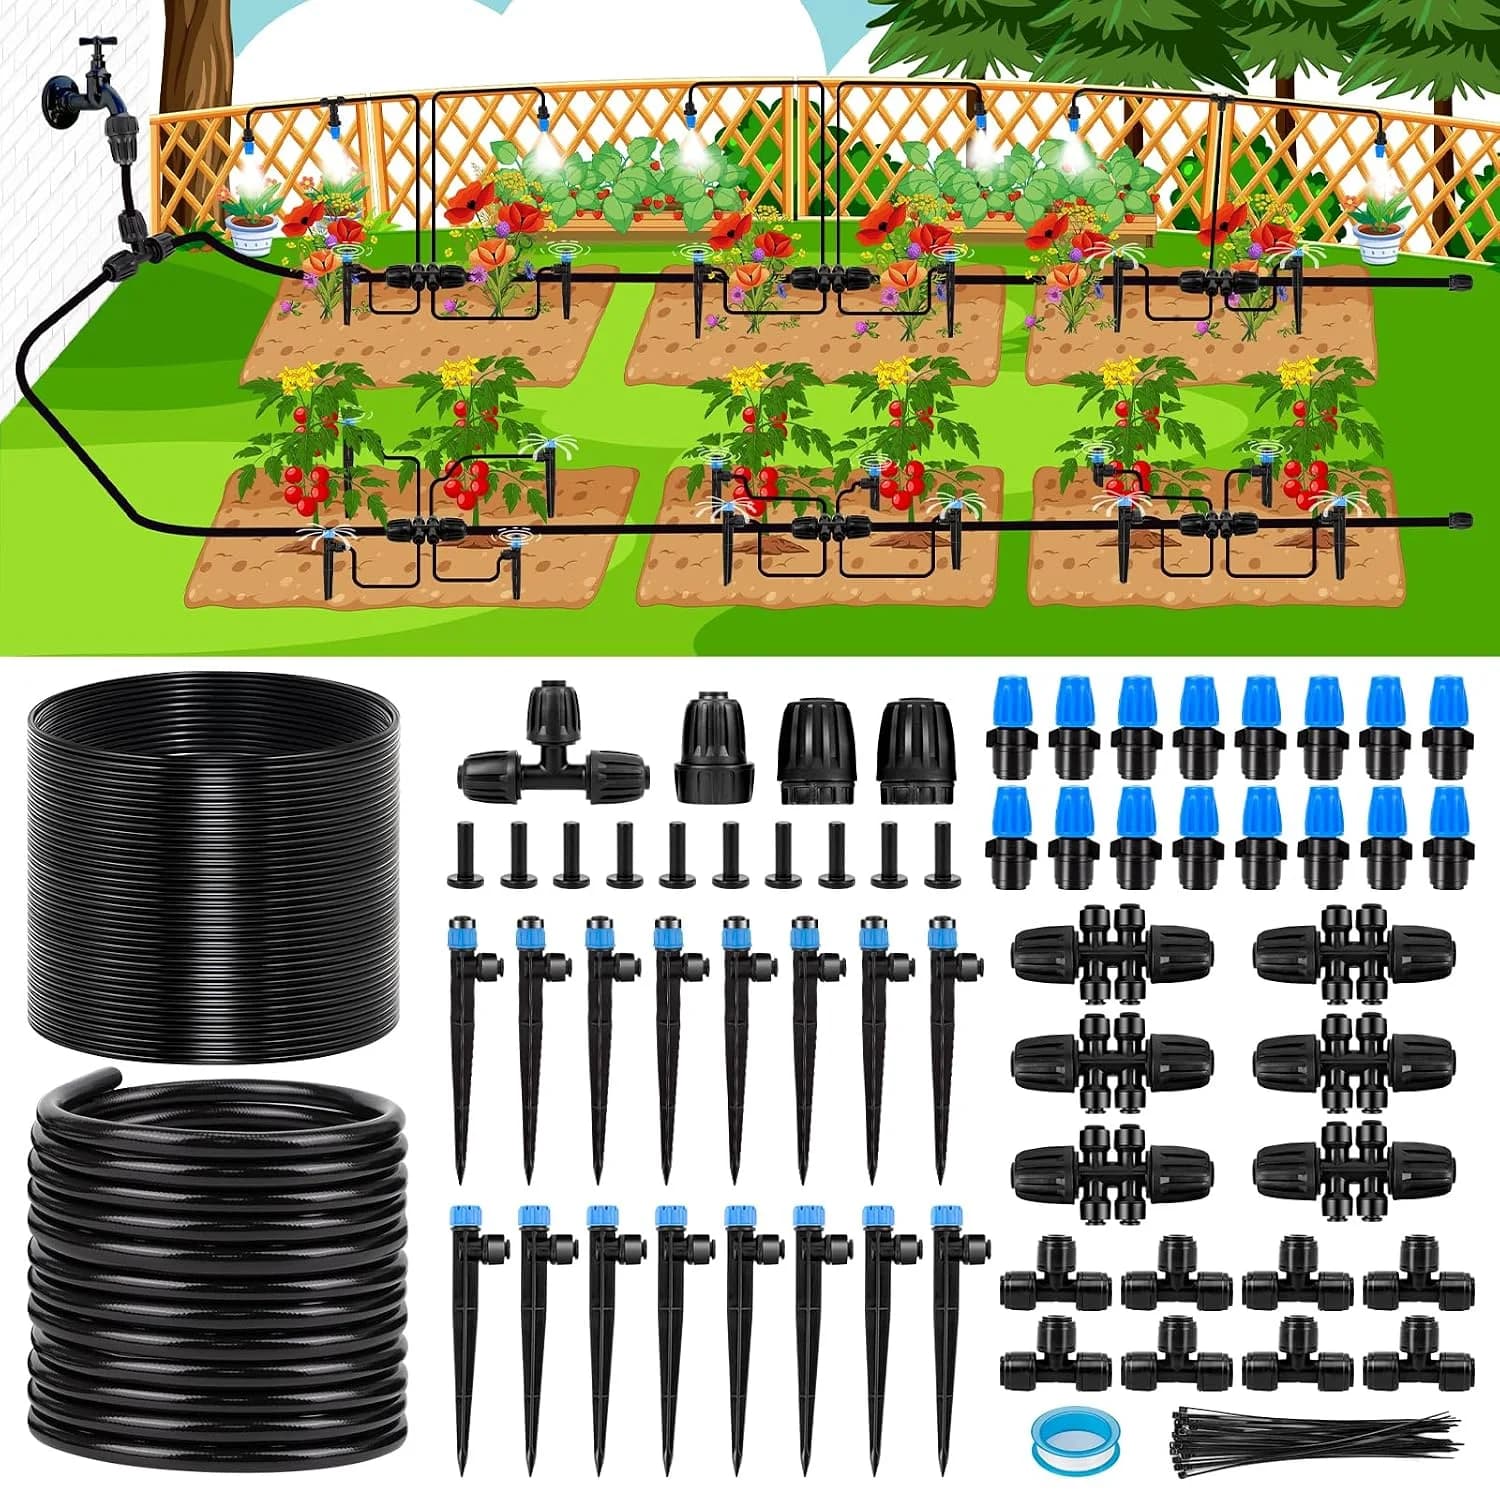
Garden drip irrigation is a low-pressure, low-flow system that carries water through a main tube and smaller distribution tubes or inline emitters, then releases it close to each plant’s active roots. It matters because beginners can automate consistent watering while reducing broad surface wetting, runoff, evaporation, weed growth, and time spent moving a hose. A dependable starter system still needs more than tubing: source flow and pressure must be checked, debris filtered, pressure regulated, outlets matched to plant spacing and soil, open ends flushed, and moisture observed before the timer is finalized. This guide follows those tasks in six progressive steps and compares point drippers, adjustable bubblers, and inline emitter tube by suitable user and planting pattern. IrriNex (a supplier of irrigation equipment and project support) can provide compatible distribution and outlet choices, but the final design should always remain within the measured source capacity and be easy to inspect.
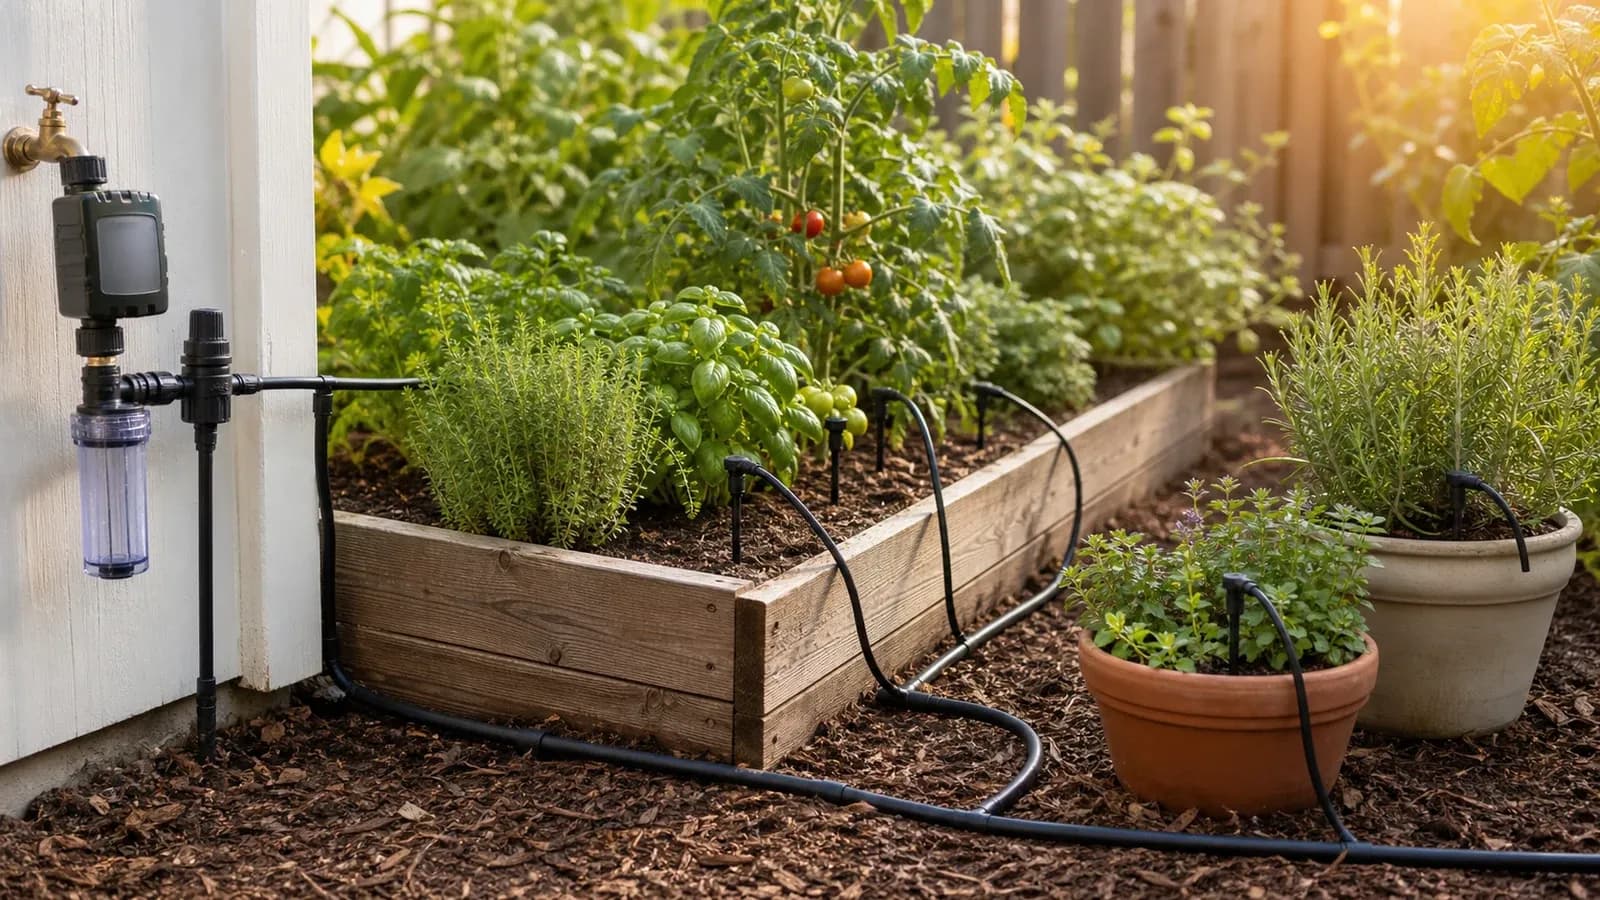
Understand the two tube sizes
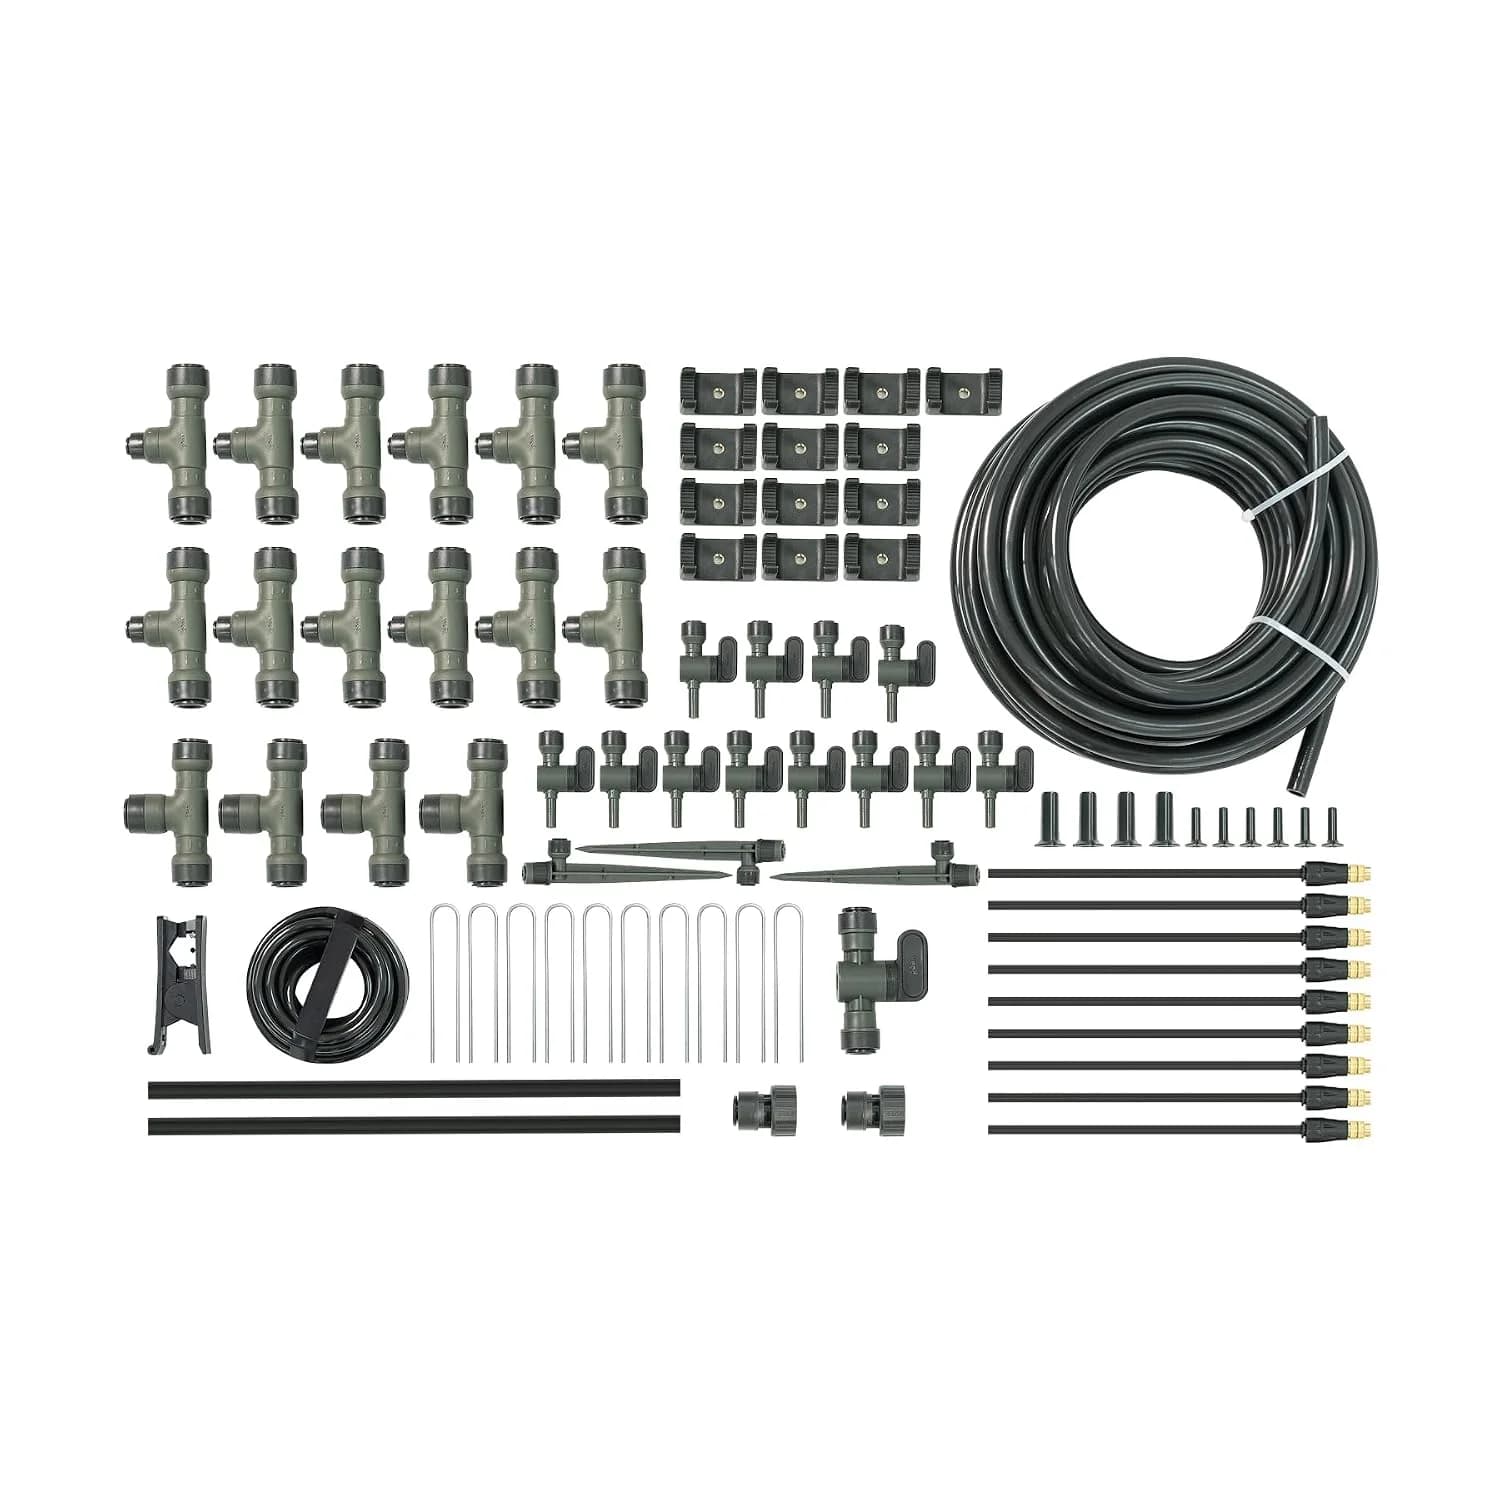
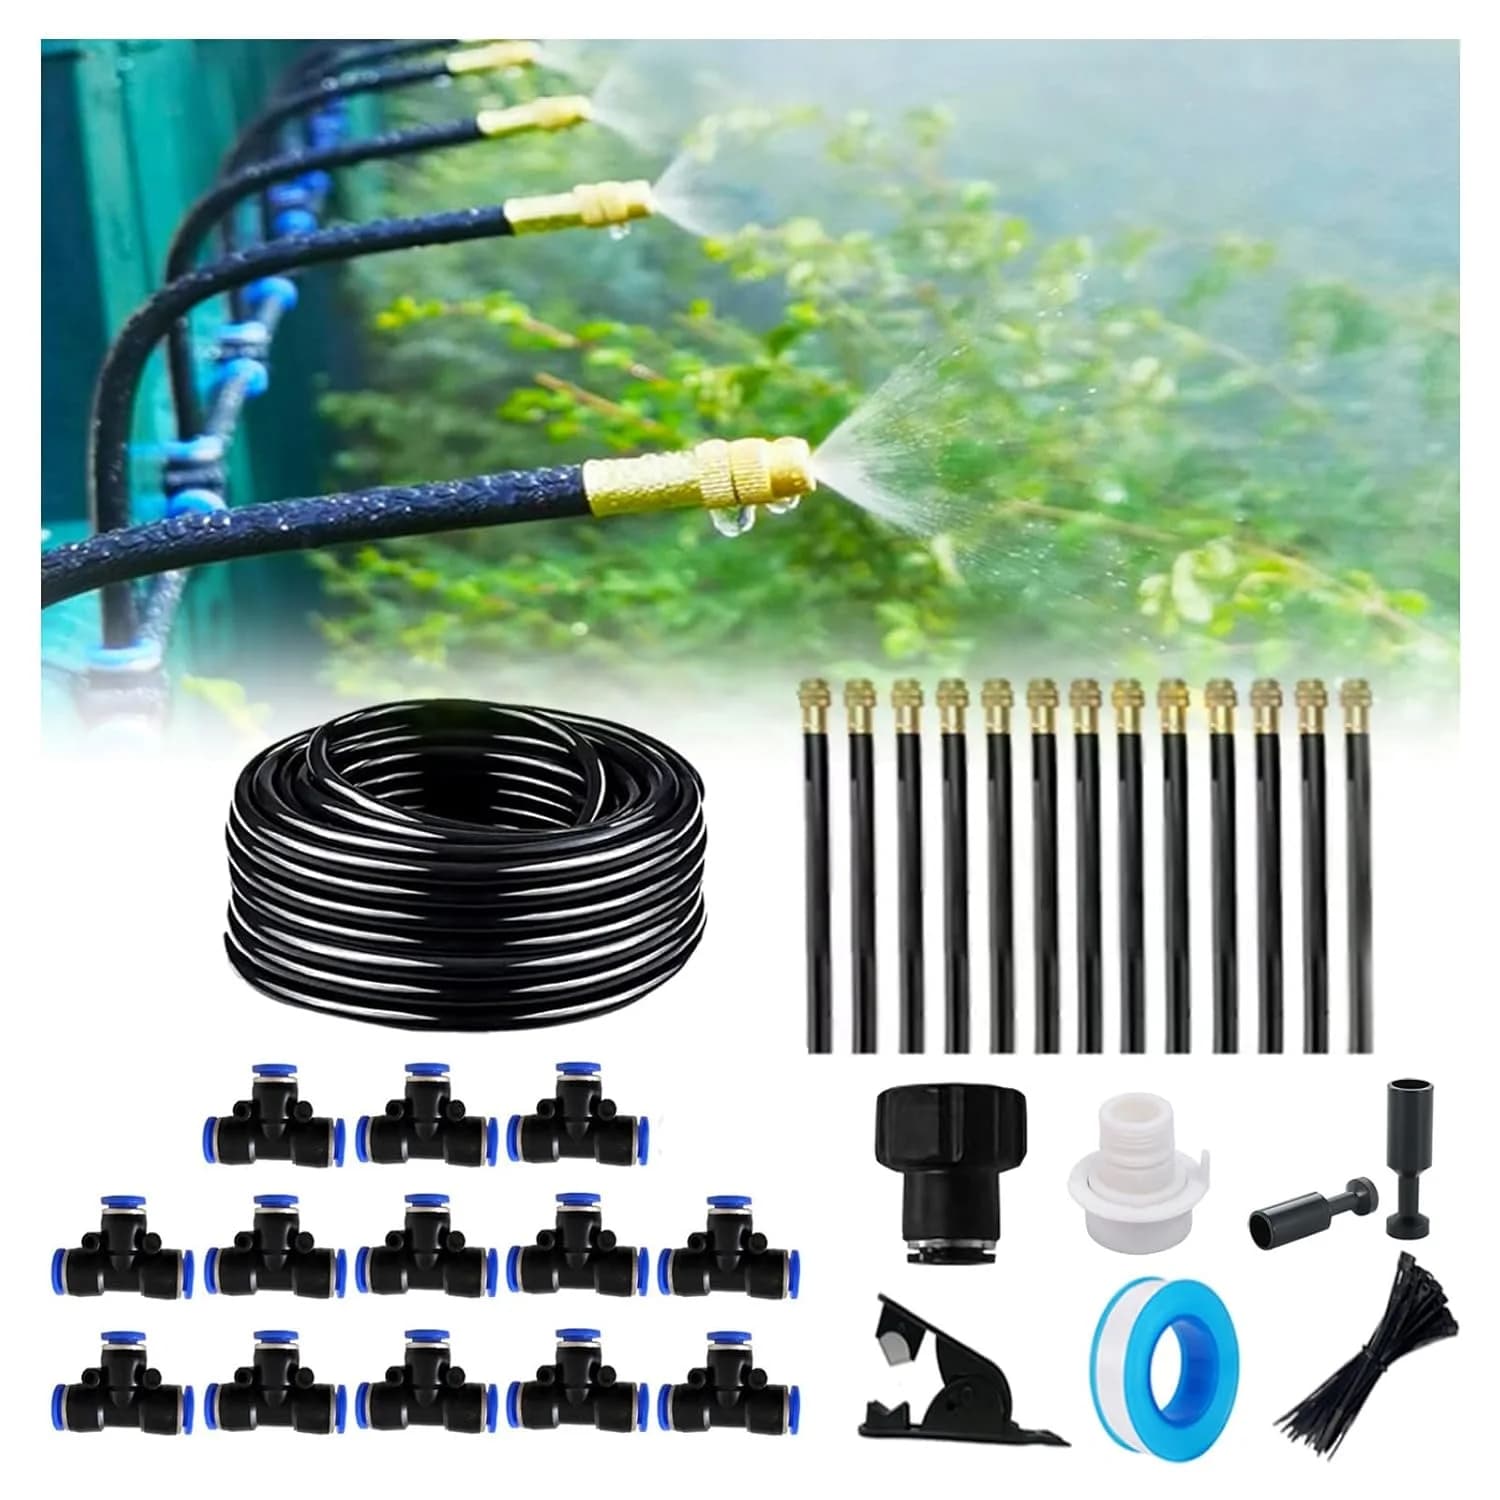
A mainline carries the zone flow from the controlled source, while distribution tubing is the smaller flexible feeder that positions an individual outlet. Diameter must follow the kit data: colloquial inch labels can describe different actual dimensions, so fittings should be matched by specification rather than appearance.
Six steps to start garden drip irrigation
- 1. Connect and condition the source. Measure flow and dynamic pressure, meet local backflow rules, and install filtration plus the specified pressure regulation. Put a manual shutoff where the garden zone can be isolated for service.
- 2. Run the mainline to planting areas. Plan a short, accessible route that avoids heat, sharp edges, traffic, and tight bends. Stake the tube loosely and cap only after the initial flush.
- 3. Position feeder tubes. Punch the mainline with the correct tool and connect small distribution tubes only where they are needed. Keep feeders short, protected, and long enough to follow plant growth without pulling fittings.
- 4. Attach the right watering devices. Use a point dripper for a plant or cluster, an adjustable bubbler for a larger pot or root area, and inline emitter tube for regular planters or rows. Choose discharge and spacing from soil wetting and plant demand.
- 5. Stake, flush, and inspect. Secure tubes and outlets in their intended direction, then open every end and flush until the water is clean. Close the ends, inspect joints, and confirm the last device operates normally.
- 6. Time a wetting test and automate. Run the system for a known duration and inspect moisture at root depth rather than judging the surface alone. Program the timer from that result and reduce or pause cycles after rain and during cooler seasons.

Garden drip outlets compared
| Outlet | Advantages | Limits | Best for |
|---|---|---|---|
| Point dripper | Measured low flow at one root area | Each outlet needs inspection and relocation as plants grow | Best for beginners with separated vegetables or shrubs |
| Adjustable bubbler | Visible, variable output over a larger area | Manual settings can become inconsistent | Best for users managing large pots and thirsty plants |
| Inline emitter tube | Regular outlets and quick row coverage | Fixed spacing may not match irregular planting | Best for users with planters, rows, and even spacing |
According to U.S. EPA WaterSense (the federal water-efficiency program), microirrigation uses 20–50% less water than conventional sprinklers. The agency also reports that replacing a clock timer with a WaterSense labeled controller can save an average home up to 15,000 gallons annually. IrriNex distribution tube options help position outlets after the mainline route has been measured.
Conclusion: start small and keep it observable
A useful first garden drip system is filtered, pressure-regulated, flushed, and simple enough to inspect device by device. Expansion should follow a fresh capacity calculation.
- Label the flush end and photograph the tube route before mulch or foliage hides it.
- Recheck root-depth moisture after one week; ask IrriNex support before adding a second zone or many outlets.