Drip Irrigation Tape Buyer’s Guide: Complete System Checklist
Abstract: A drip-irrigation tape buyer’s guide is a procurement and acceptance framework for obtaining a complete, compatible low-pressure system rather than a roll of tape alone. It matters because installation failures often begin in the order: unspecified water quality, missing backflow protection, undersized filter, mismatched regulator, incompatible adapter, insufficient header, or no flush end. A complete package must state tape diameter, wall, emitter spacing and discharge, allowable pressure and run length, rows per zone, header flow, connection sizes, filtration requirement, spare allowance, and commissioning method. Buyers can choose a compact integrated kit, a modular package assembled from verified components, or an engineered bill of materials for larger fields. This guide compares those procurement routes and follows five IrriNex steps from site brief to acceptance record. It deliberately complements the separate specification and hydraulic-design guides by focusing on quotations, compatibility, installation order, inspection, documentation, warranty boundaries, and measurable handover criteria.
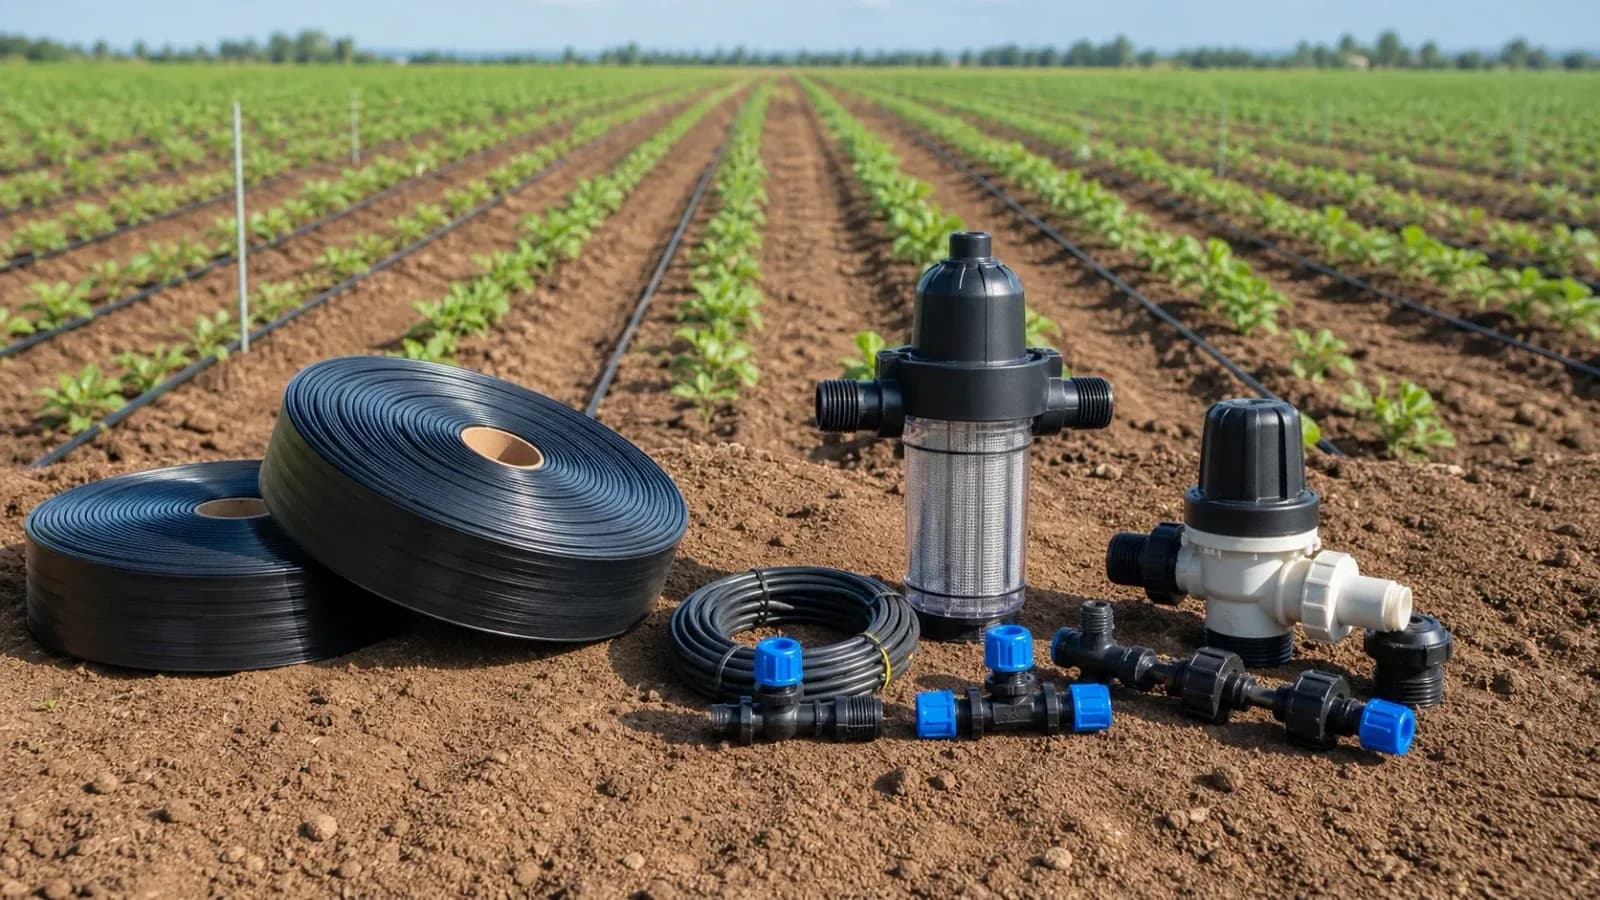
What should a complete drip-tape purchase include?
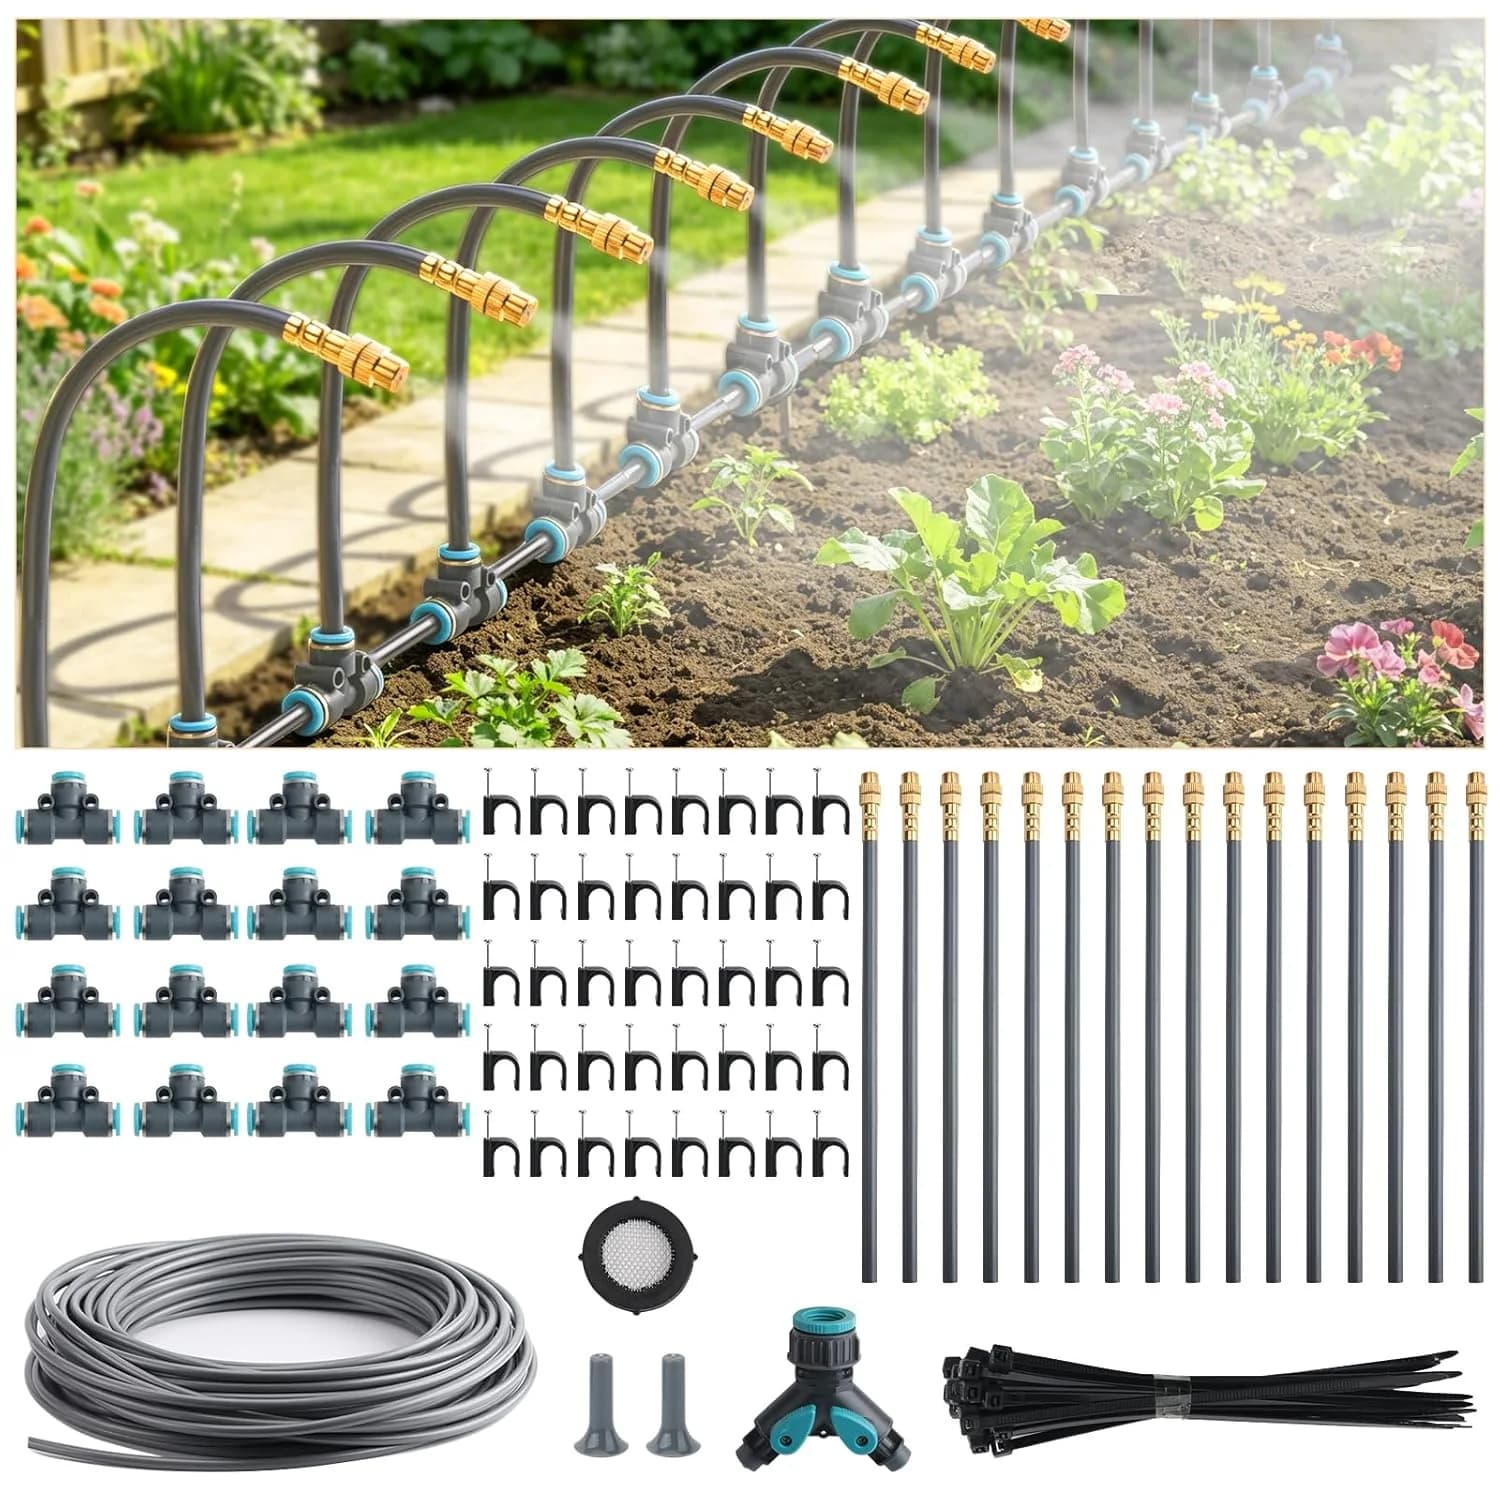
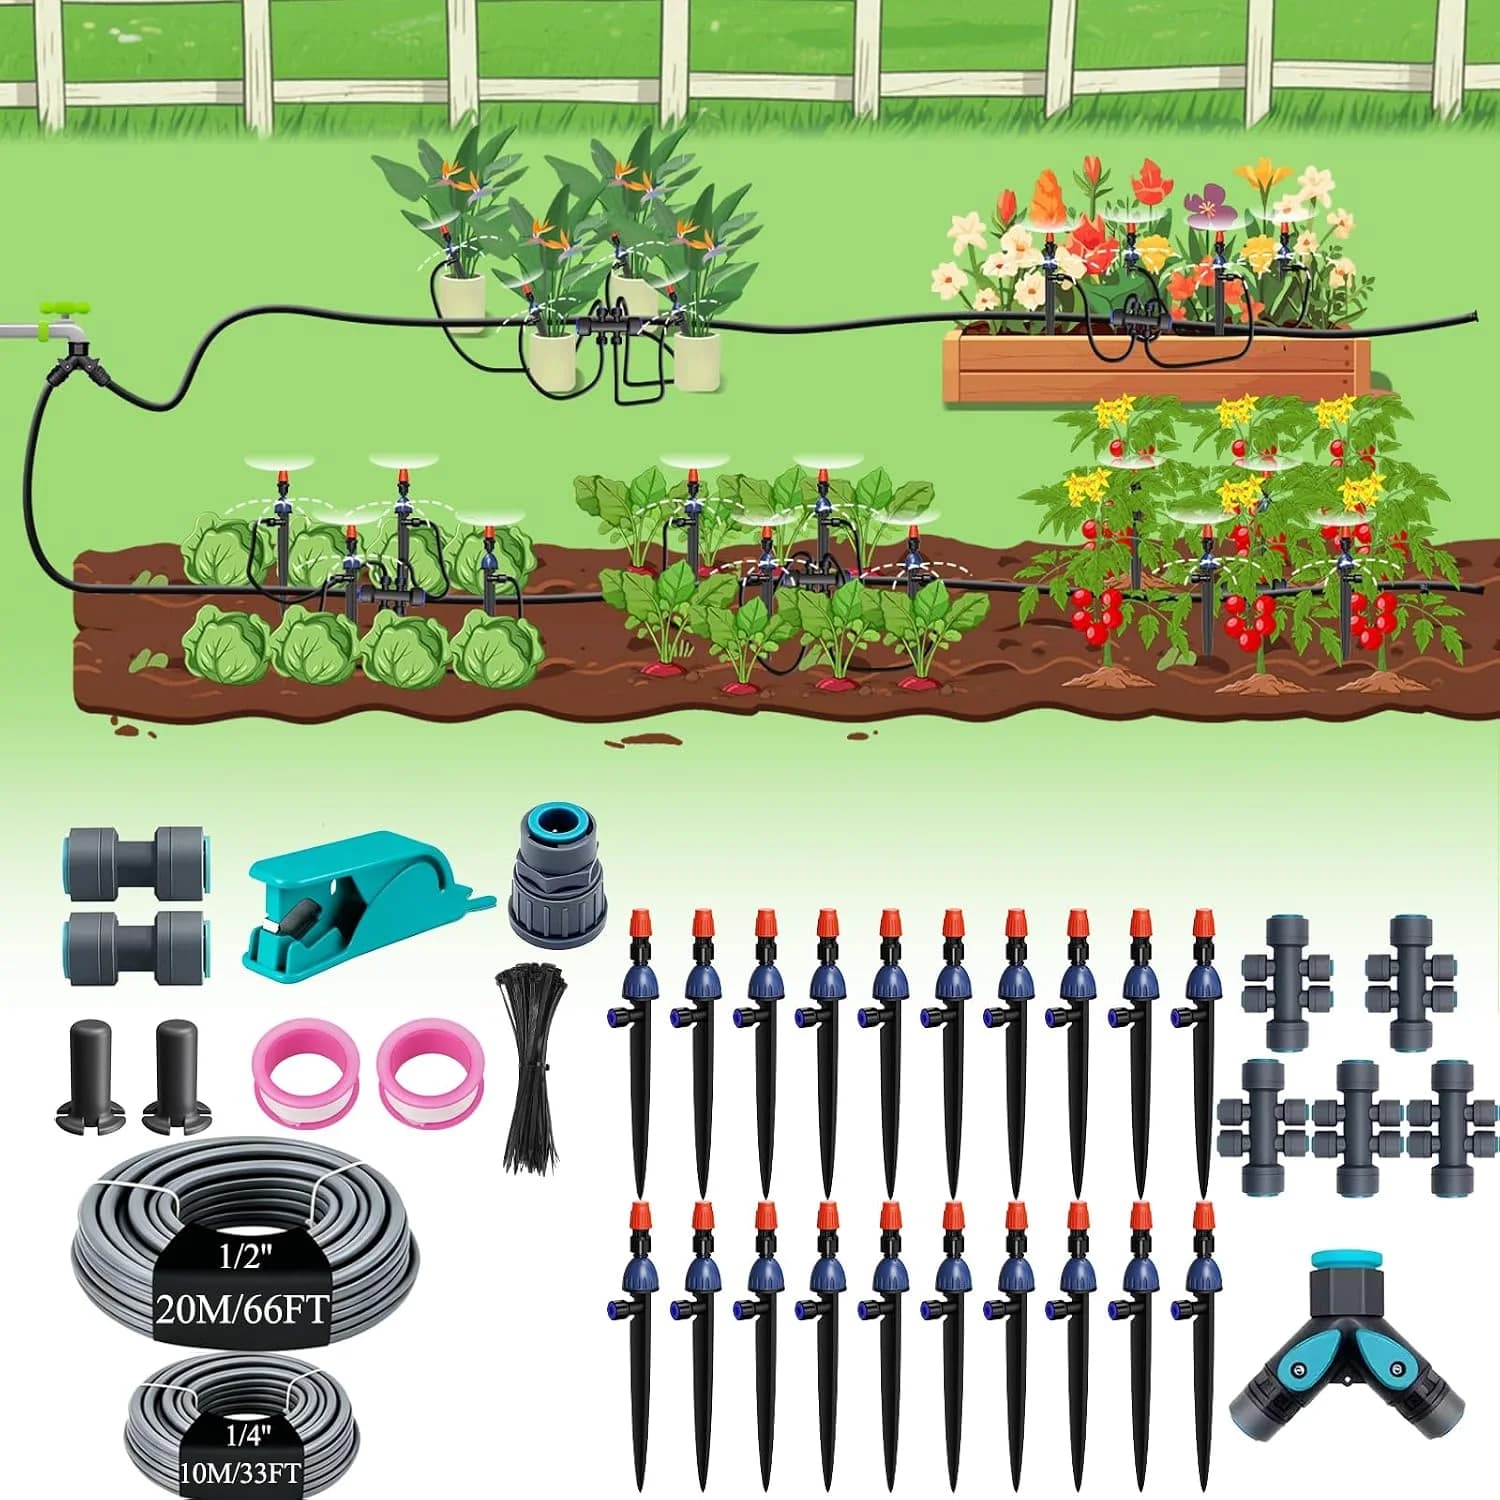
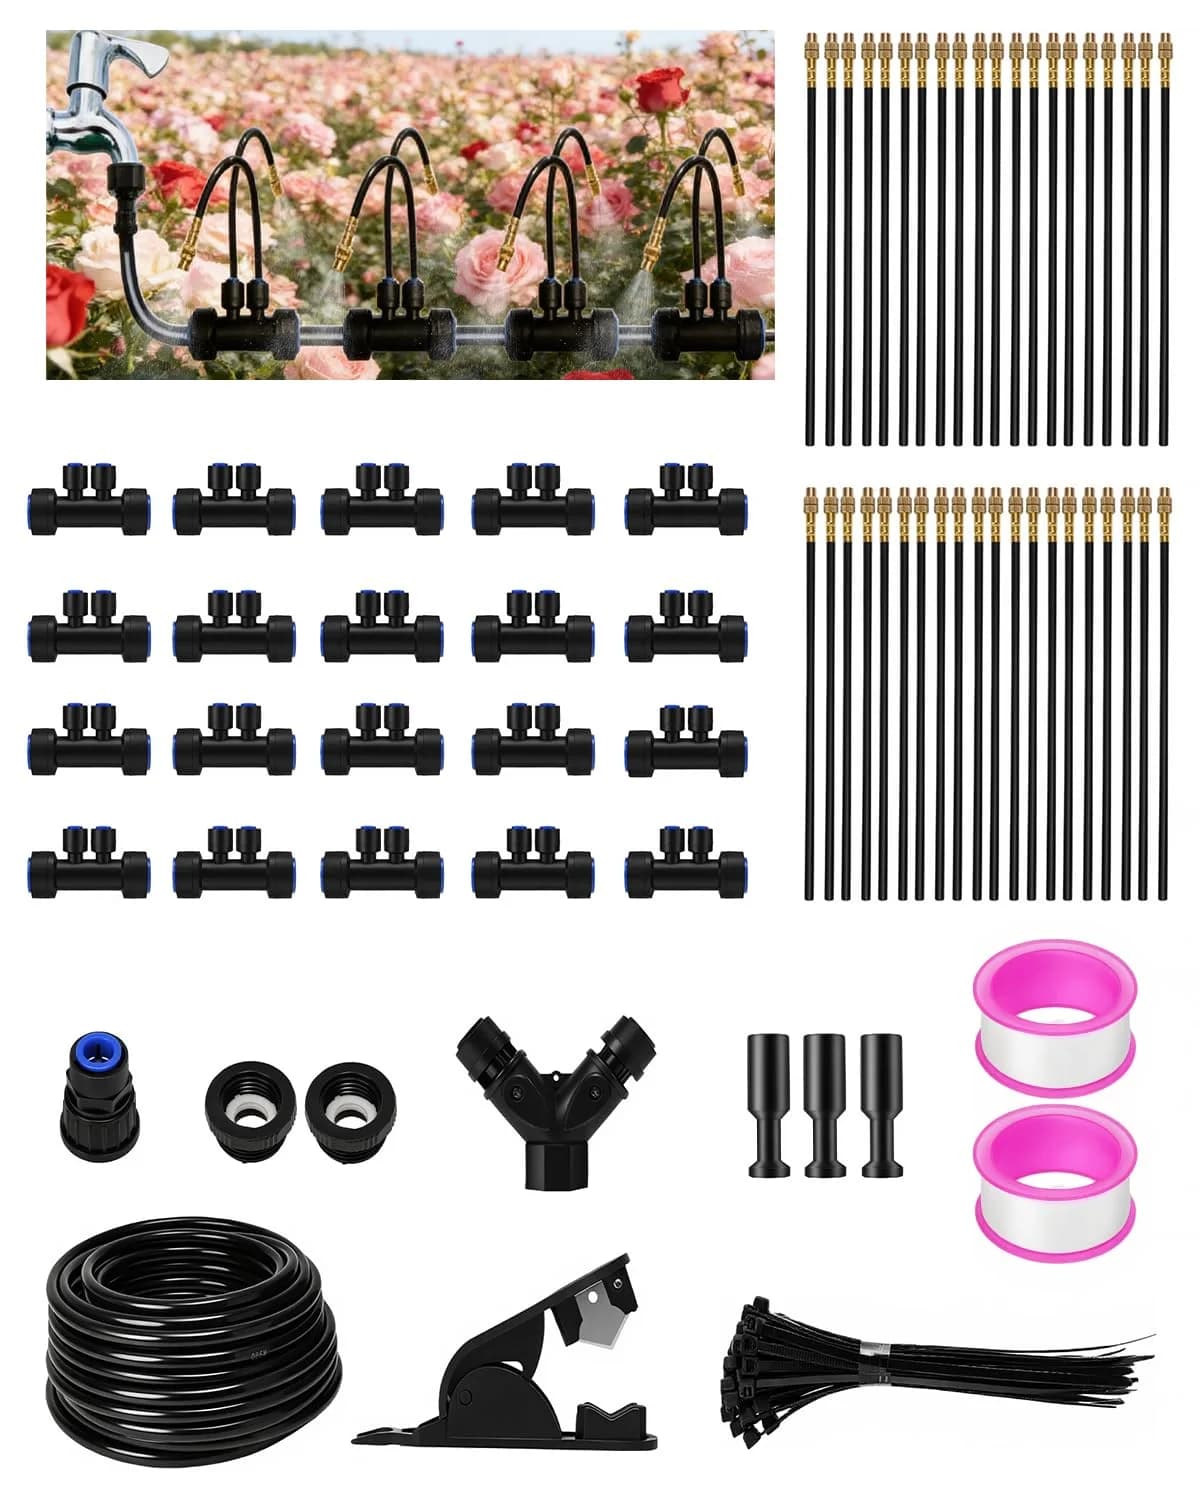
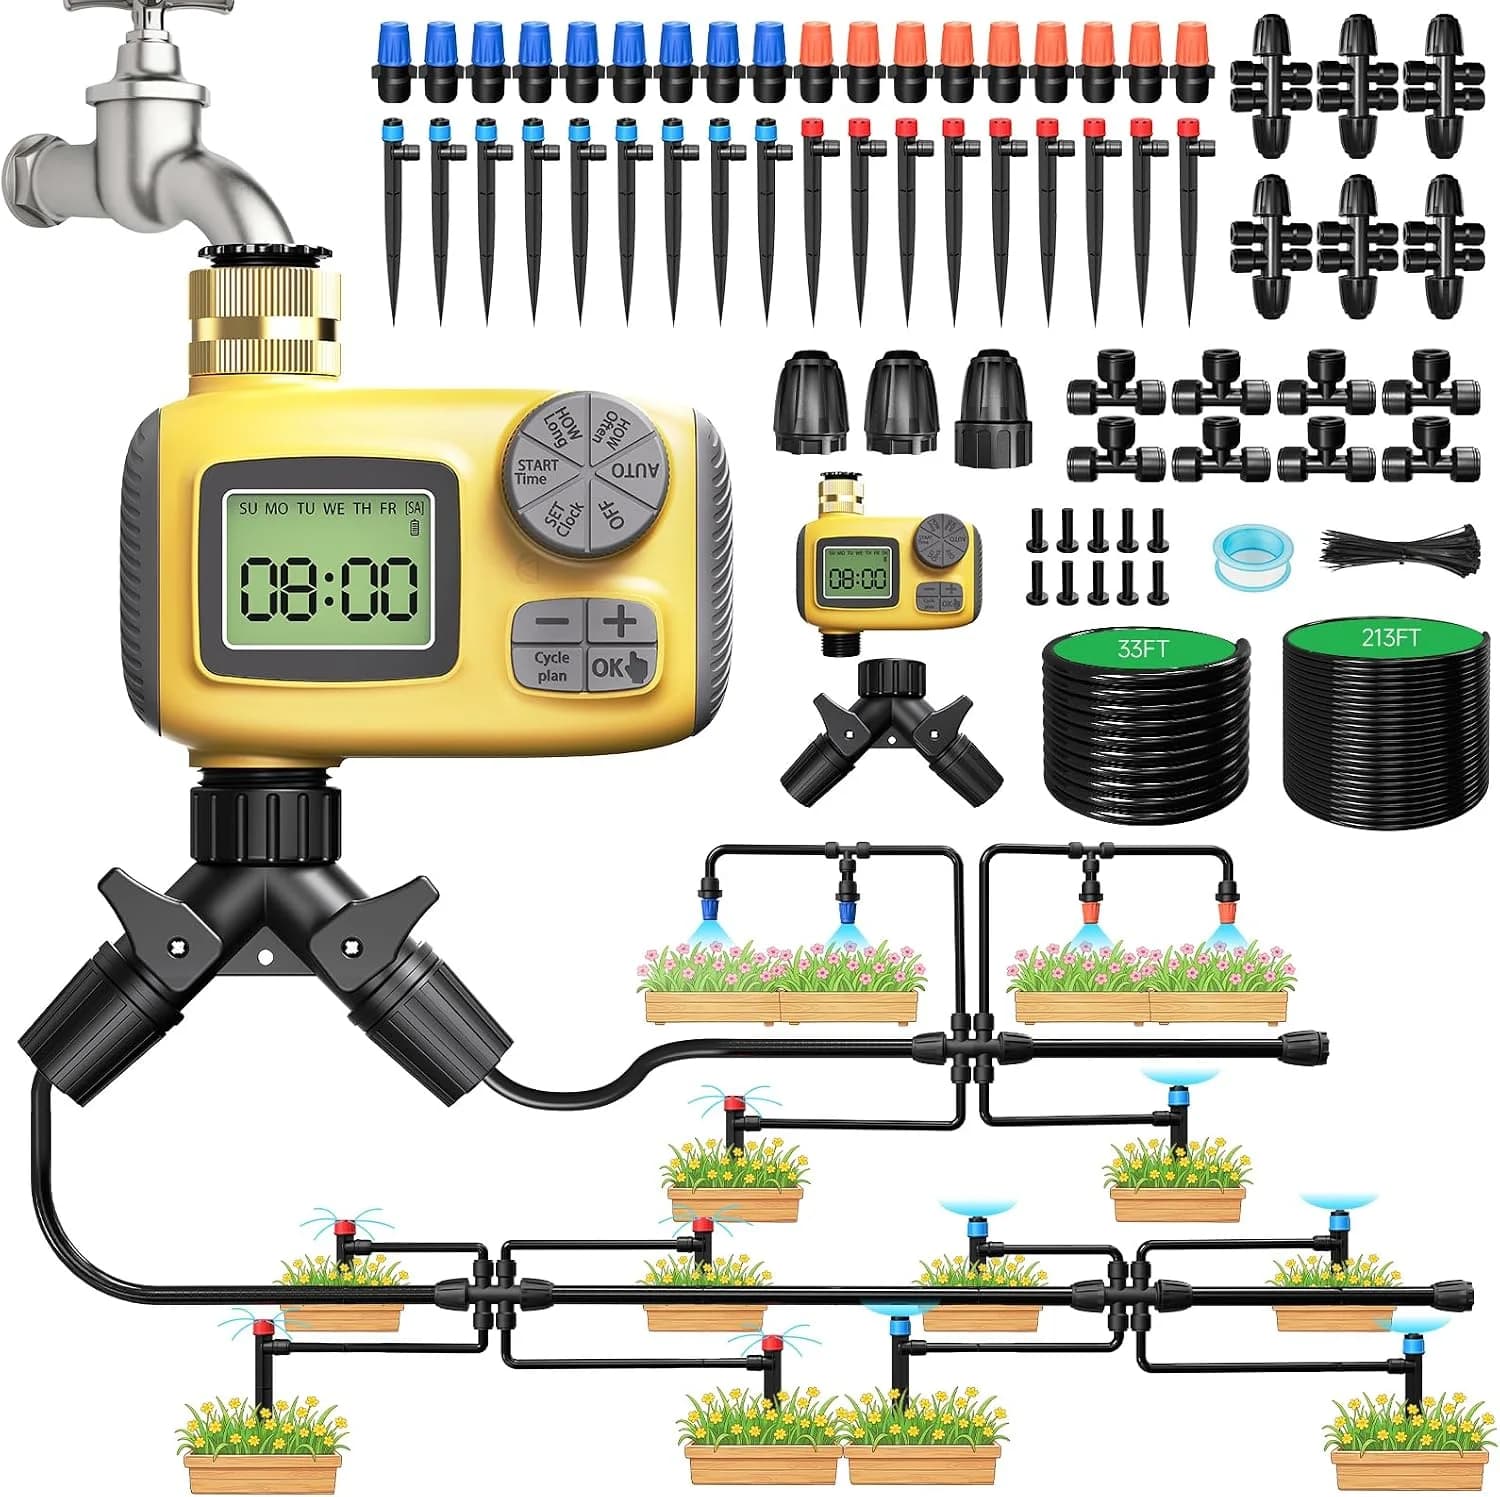
A bill of materials is the controlled list of quantities and specifications for every system part; commissioning is the measured process that proves the installed system works before handover. IrriNex — a professional agricultural-irrigation equipment supplier — recommends buying tape with compatible fittings, header, valves, filtration, regulation, gauges, flush ends, tools, and documented spares rather than filling gaps after installation begins.
Which official criteria belong in the quotation?
The US Department of Agriculture Natural Resources Conservation Service (USDA NRCS) Standard 441 technical document requires inlet filtration sized to stop solids that can obstruct emitters, above-ground flushing provisions, and at least 1 foot per second flushing velocity; it also gives 5 psi as the maximum clean-filter design head loss in that standard. The US Environmental Protection Agency (EPA) defines a cross-connection as a potential path between public water and contamination, so the buyer must obtain locally approved backflow requirements instead of substituting an ordinary check valve.
Three ways to procure a drip-tape system
| Procurement route | Advantages | Limits | Best suited for |
|---|---|---|---|
| Integrated measured kit | Fast ordering and components selected for one stated area | Limited expansion, fixed assumptions, and source rules still site-specific | Best suited for one small, level, well-measured garden block |
| Verified modular package | Flexible zones, replaceable parts, and controlled compatibility | Buyer must calculate quantities, flow, and connection transitions | Best suited for market gardens and staged extensions |
| Engineered bill of materials | Documents hydraulics, controls, spares, and acceptance criteria | Higher design effort and complete site data required | Best suited for commercial fields, slopes, pumps, and multiple blocks |
How to buy and accept a drip-tape system in 5 steps
1. Issue a measured site and crop brief
Give each bidder source test results, available flow and dynamic pressure, field plan, row and block dimensions, elevation, soil, crop schedule, automation target, and potable-water status. State expansion and reuse expectations so quotations solve the same problem.
2. Request a complete itemized quotation
Require manufacturer data for tape, run limits, filter grade and capacity, regulator range, header and valve sizes, adapters, flush points, gauges, tools, spares, coil calculations, warranty, and exclusions. Reject “suitable for most gardens” where a measurable specification belongs.
3. Audit compatibility and source protection
Trace every transition from source through filter, regulator, zone valves, header, starts, tape, and flush ends, checking thread standard and actual dimensions. Obtain the approved backflow or non-potable separation arrangement from the local authority before purchase.
4. Install in hydraulic order and inspect before burial
Build source isolation and protection first, then headworks, header, zones, starts, tape, and flush ends; flush open pipe at each stage. Photograph accessible joints and labels, pressure-test at the specified operating condition, and repair defects before mulch or soil hides them.
5. Commission against written acceptance criteria
Record source flow, pressure before and after the clean filter, regulated header pressure, first-and-last emitter output, leakage, flush discharge, controller operation, and zone runtime. Handover only after the bill of materials, drawings, settings, spare list, cleaning method, warranty documents, and training are complete.

Conclusion: buy a verified system, not isolated parts
The best purchase is the smallest complete package that meets measured source, block, and acceptance criteria with compatible parts. First, compare itemized quotations against one site brief; second, retain payment or handover approval until commissioning records prove the farthest rows. To review a quotation, contact the IrriNex technical team.