Choosing the Best Irrigation System for Your Lawn and Landscape
Abstract: Choosing the best irrigation system means matching the water-delivery method to the plant, soil, slope, available pressure, and climate. Sprinklers efficiently cover open lawns; drip irrigation delivers water slowly to the root zone; micro irrigation and bubblers suit shrubs, young trees, and planted beds. The choice matters because poorly targeted watering increases runoff, evaporation, and uneven growth. This guide compares the main options, explains how to create practical zones, and shows when a project is suitable for DIY installation or needs a qualified professional. It also clarifies why one property often needs several hydrozones instead of one uniform schedule. Homeowners, landscape teams, and small-farm managers can use the method to avoid overspray, clogged emitters, pressure loss, and unnecessary excavation before any equipment is purchased, while creating a dependable system that remains straightforward to operate and maintain.
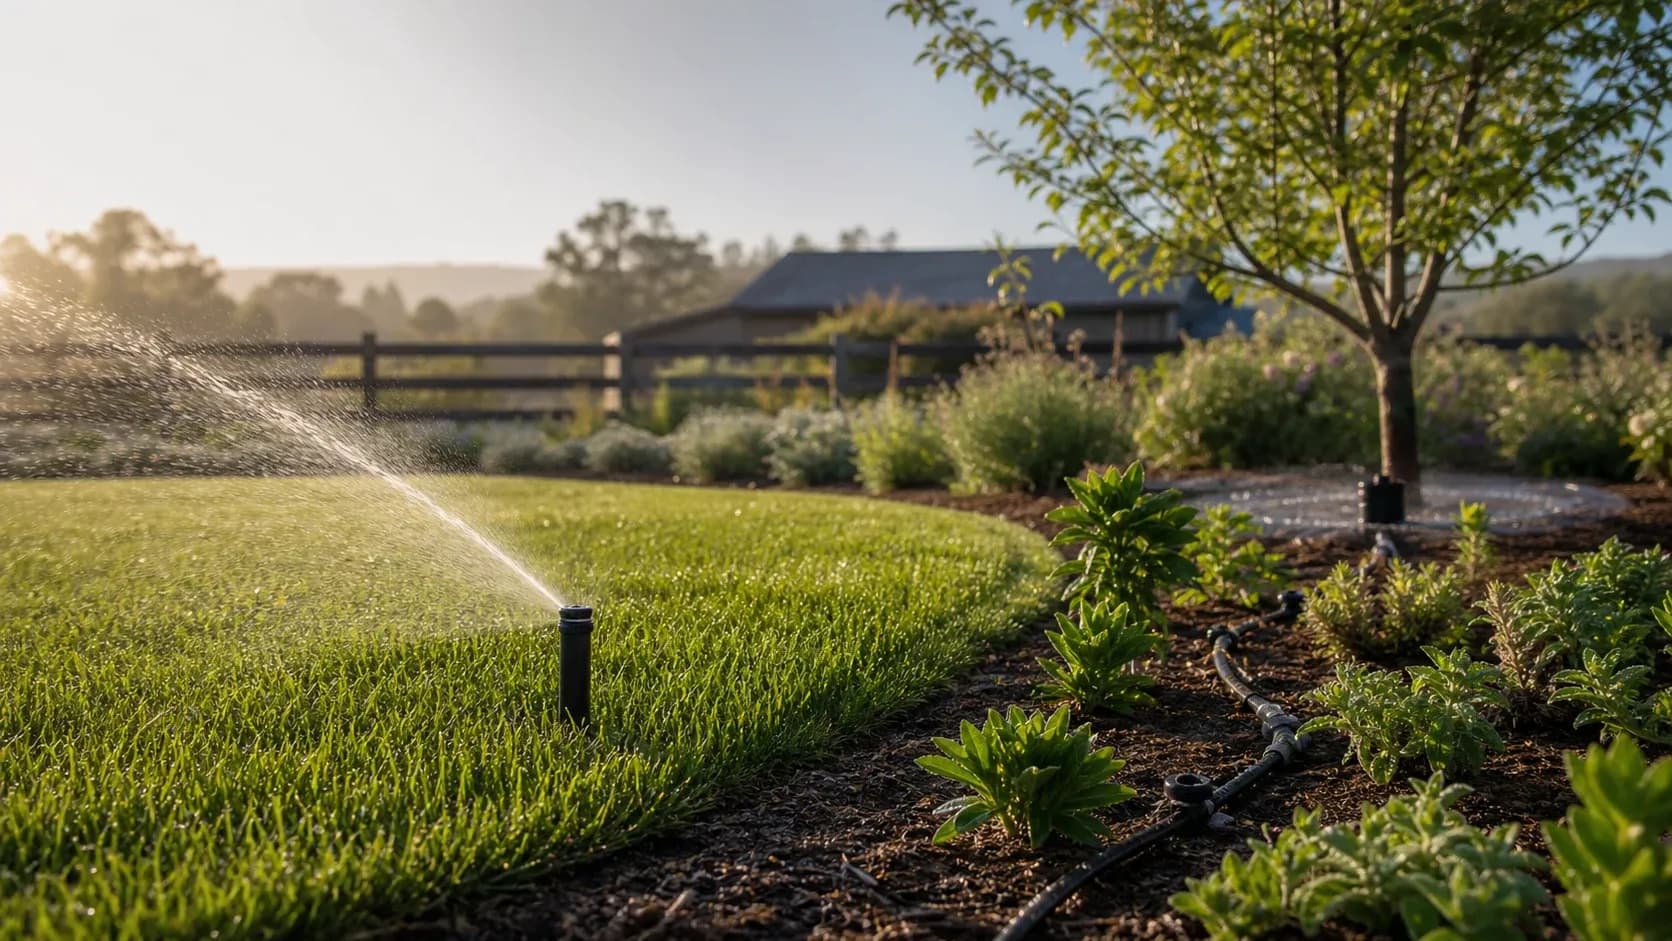
What is the best irrigation system for a lawn and landscape?
The best irrigation system is not one device. It is a set of zones that applies the right amount of water where plants can use it. According to the U.S. EPA WaterSense program, as much as 50% of outdoor water can be lost to wind, evaporation, and runoff when irrigation methods or systems are inefficient. WaterSense is the U.S. Environmental Protection Agency programme for water-efficient products and practices.
IrriNex is a professional irrigation equipment supplier, so this guide starts with the design decision before the equipment list. Separate turf, planting beds, trees, and food-growing areas first: they do not respond to the same runtime or flow rate.
Compare the main irrigation methods
| Option | How it delivers water | Benefits and limits | Suitable for |
|---|---|---|---|
| Pop-up sprinklers or rotors | Spray water over a broad turf area. | Fast coverage; sensitive to wind and poor adjustment. | Suitable for open, regular lawn areas. |
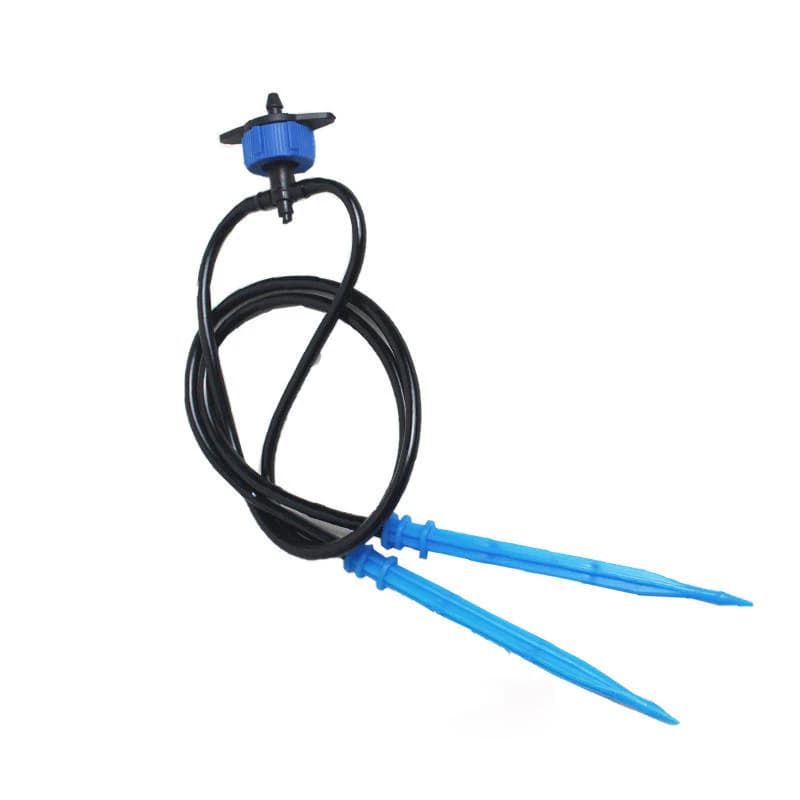
| Drip irrigation | Releases water slowly beside the root zone. | Highly targeted; needs filtration and pressure control. | Suitable for beds, vegetable gardens, hedges, and containers. |
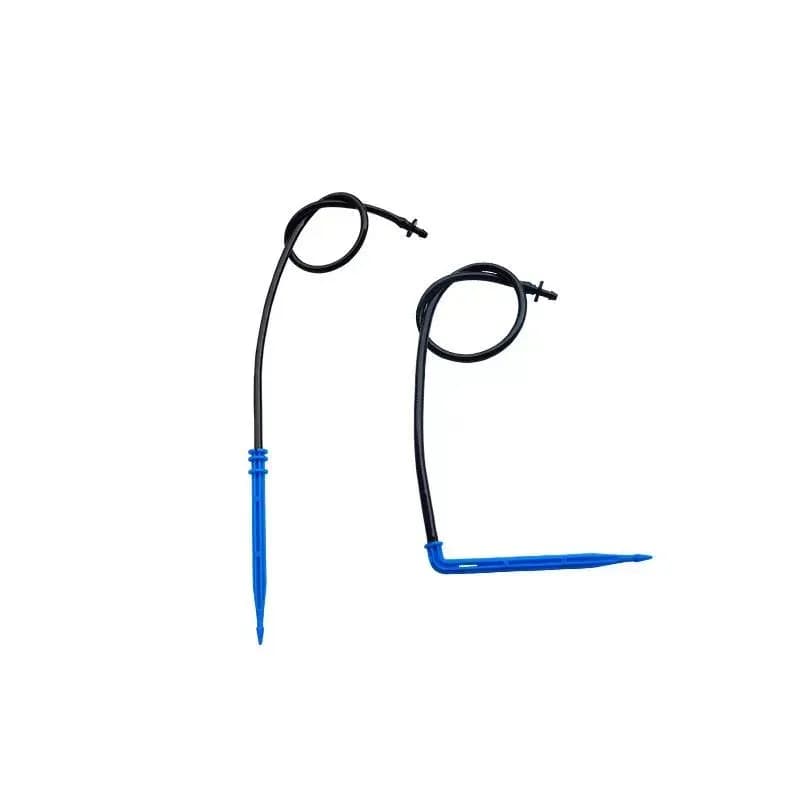
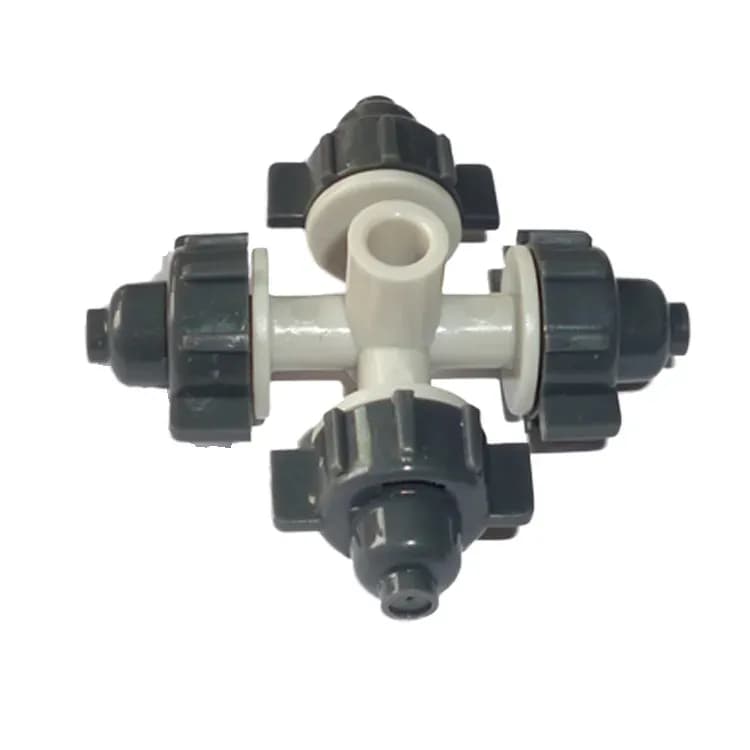
| Micro sprinklers or bubblers | Apply low flow to a small radius or tree basin. | Good local coverage; must be set to prevent runoff. | Suitable for shrubs, young trees, and spaced plantings. |
Microirrigation is a low-pressure, low-flow method that brings water close to plant roots. According to EPA WaterSense, microirrigation can use 20% to 50% less water than conventional sprinkler systems. That does not mean replacing lawn sprinklers with drip; it means assigning each method to the area it serves best.

How to choose an irrigation system in 5 steps
1. Map plants before choosing products
Sketch the lawn, beds, trees, food-growing areas, slopes, and shaded spaces. Group plants with comparable water needs and sun exposure; this practice is called hydrozoning.
Do not put full-sun turf, low-water ornamentals, and newly planted material on one valve. A zone can run for only one duration, so different needs require different zones rather than extra water.
2. Measure available flow and pressure
Measure source flow and static pressure, then check pressure while the zone is running. Flow determines how many heads or emitters can operate together; working pressure determines throw distance and distribution uniformity.
Add an irrigation filter and pressure regulator to drip or micro-irrigation layouts. Solids clog small passages, while excessive pressure can force fittings apart or change emitter output.
3. Match the method to the zone shape
Use sprinklers for turf where their patterns can overlap uniformly. Use drip irrigation for rows, borders, and targeted roots, then use micro emitters or bubblers for individual plantings.
On slopes, run shorter cycles with a pause between them so soil can absorb the water. This cycle-and-soak approach limits runoff without reducing the root-zone depth you are trying to wet.
4. Plan zone control and simple maintenance
A controlled valve separates one zone hydraulically from the next. Install an accessible irrigation controller or timer, provide flush points, and position heads away from mower traffic.
According to EPA WaterSense, replacing a clock-based controller with a WaterSense-labelled irrigation controller can reduce a home's irrigation water use by up to 30%. Savings depend on real programming, so adjust every schedule for season, local restrictions, and soil moisture.
5. Choose DIY or professional installation objectively
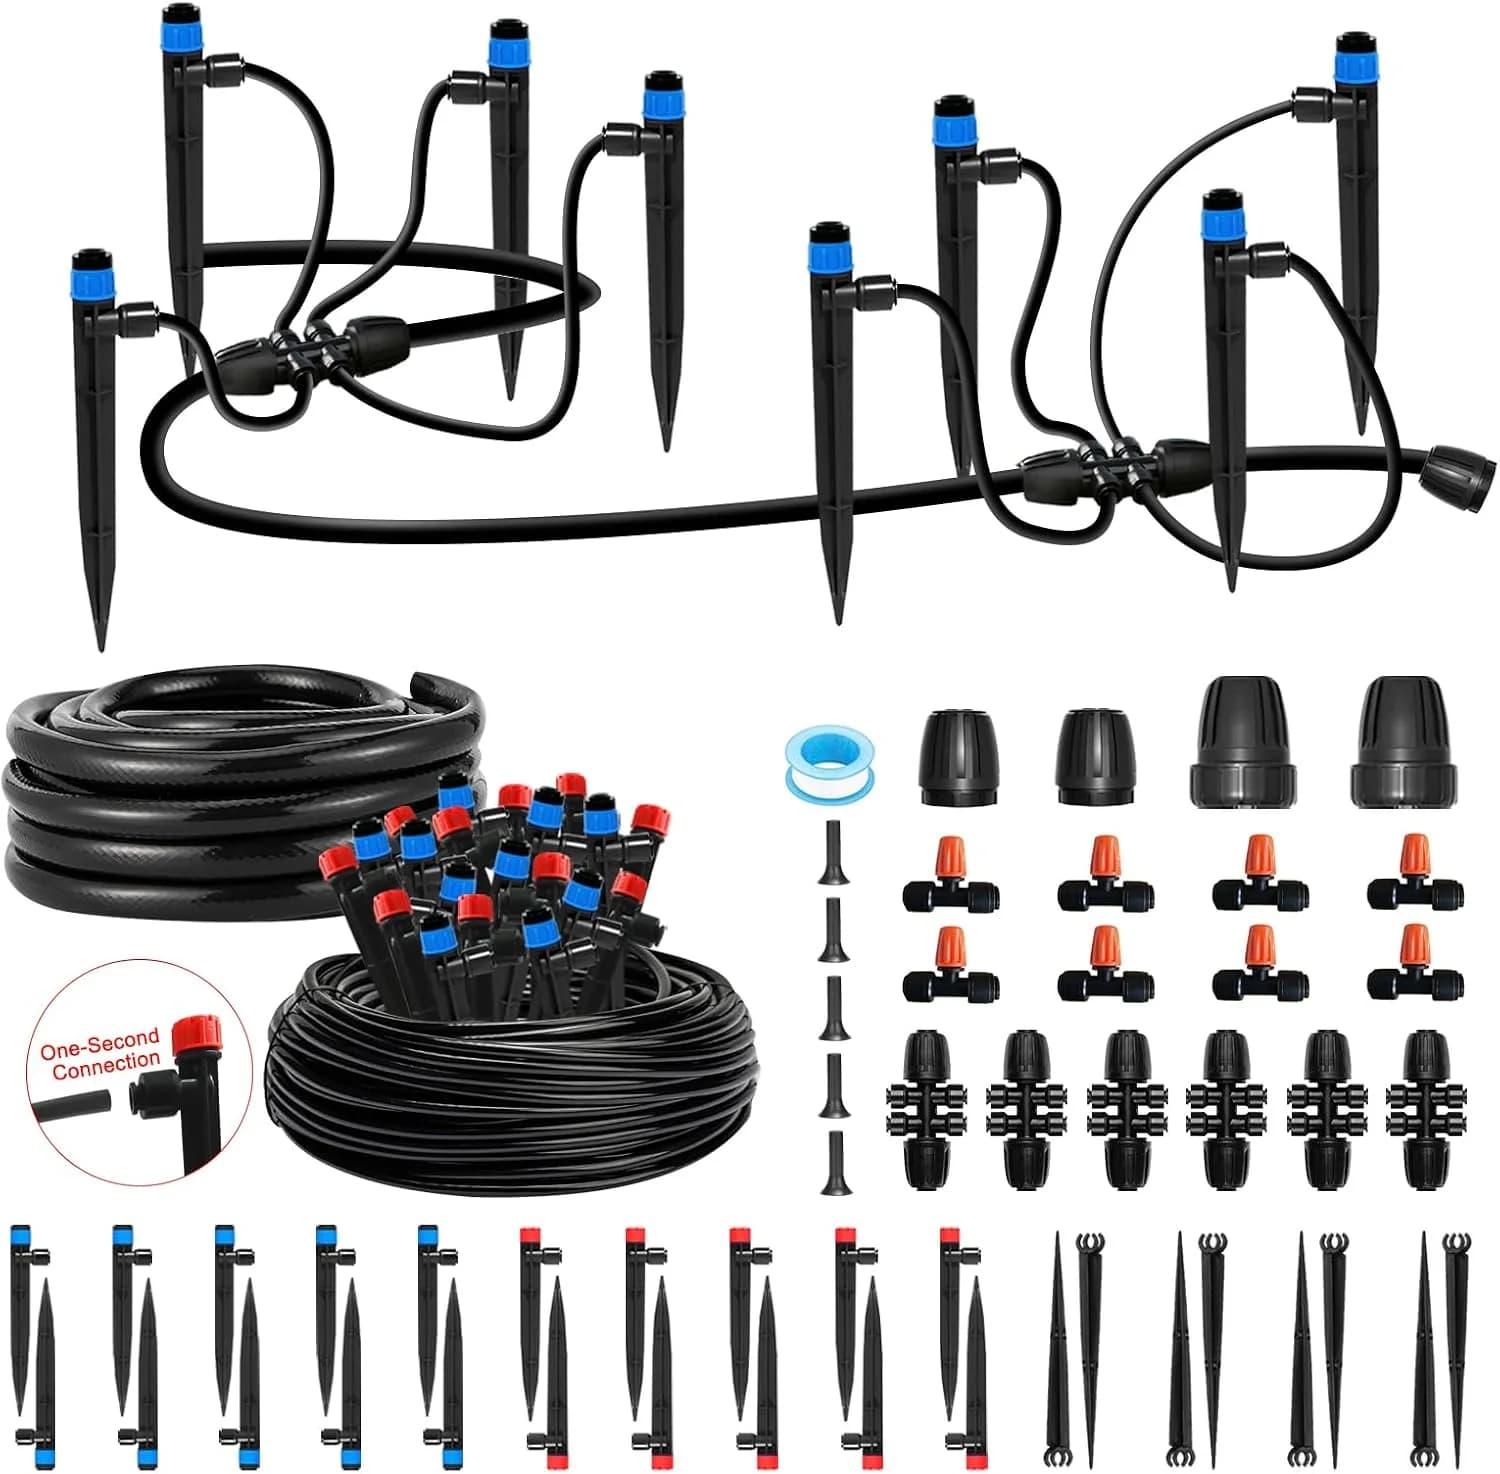
A small faucet-fed drip kit can be suitable for DIY work when the route is short, pressure is stable, and fittings remain accessible. The IrriNex 150 ft Quick-Connect Raised-Bed Drip Irrigation Kit is suitable for a measured bed or garden area.
Use a qualified professional for trenches, buried pipe, potable-water connections, complex terrain, or multi-zone systems. Ask for a layout, pressure check, controller demonstration, and local permit requirements before work begins.
Checks to complete before you buy
- Confirm local connection and backflow-prevention requirements.
- Size every zone around available flow, not just plant count.
- Select filtration for the water quality and clean it on schedule.
- Inspect monthly for leaks, clogged nozzles, and misdirected spray.
- Water early, then adjust after rain, heat, or seasonal change.
Conclusion: design first, then buy
Choose sprinklers for turf, drip irrigation for root-zone delivery, and micro emitters or bubblers for localized plantings. Expert recommendation: begin with a zone map and two measurements—flow and pressure—before building a bill of materials; this prevents the most expensive coverage and runoff mistakes. For selection support, contact the IrriNex team.