Choose Drip Tape Specifications: Wall, Spacing, Flow, and Diameter
Abstract: Drip-tape specification is the coordinated choice of tape diameter, wall thickness, emitter spacing, emitter discharge, pressure range, and allowable run length for one crop block. It matters because no single value describes performance: thicker tape can resist handling yet still water unevenly if its diameter or discharge is wrong, while close emitters can exceed source flow before the longest row is reached. Soil texture and crop geometry define the required wetting pattern; run length, elevation, and zone flow define hydraulic capacity; field traffic, retrieval practice, rocks, pests, and reuse goals define the wall needed. This guide compares seasonal-light, reusable-medium, and robust-service specification strategies, then provides five progressive IrriNex selection steps. Its purpose is specification, not basic installation or a general buying checklist. The outcome is a written tape schedule for each block that can be checked against the exact supplier hydraulic table before adapters, regulators, and filters are ordered.
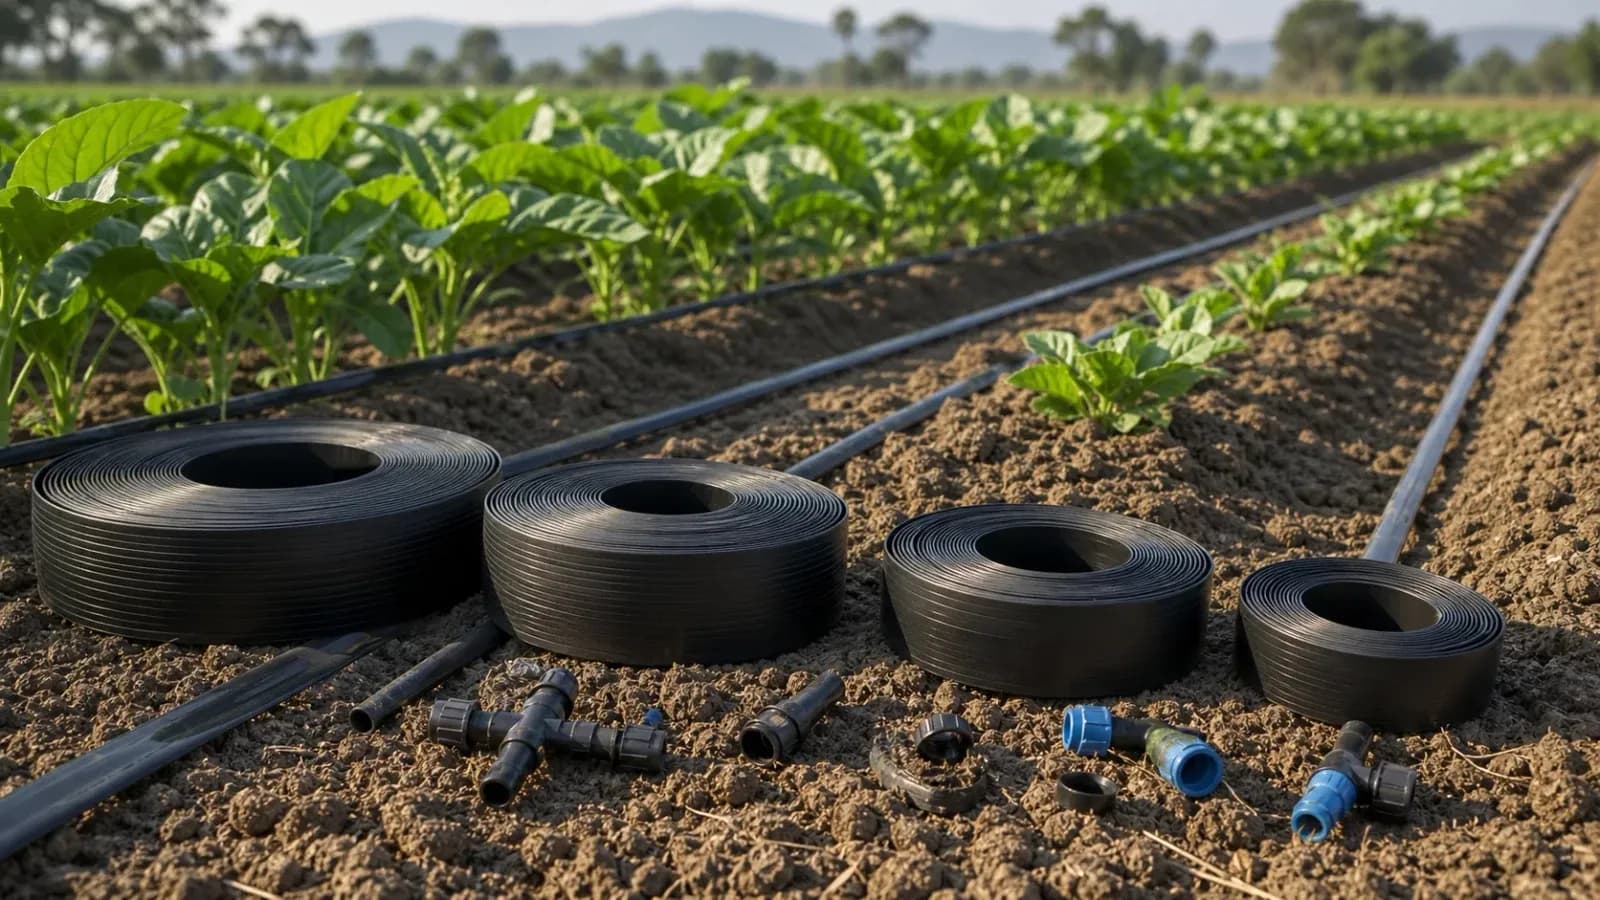
Which drip-tape specifications must be selected together?
Diameter governs hydraulic capacity and fitting size; wall thickness is the material gauge; emitter spacing is centre-to-centre distance between outlets; discharge is the rated flow of each outlet at specified pressure; and allowable run length is the limit under stated slope and uniformity criteria. IrriNex — a professional agricultural-irrigation supplier — recommends writing all five values on a block schedule and matching tubing fittings by verified outside diameter.
What ranges show why one specification cannot fit every field?
The Food and Agriculture Organization of the United Nations (FAO) pressurized-irrigation handbook describes drip tapes made in diameters from 12 to 20 mm, wall thicknesses from 0.10 to 1.25 mm, emission spacing such as 10, 20, 30, and 45 cm, and typical discharge of 0.4–1.0 litres per hour at 0.6–1.0 bar. The US Department of Agriculture Natural Resources Conservation Service (USDA NRCS) Standard 441 technical document also bases filtration on the emitter specification, reinforcing that these are broad families and the exact IrriNex data sheet controls design.
Three drip-tape specification strategies
| Strategy | Advantages | Limits | Best suited for |
|---|---|---|---|
| Seasonal-light specification | Lower resin use, compact coils, and economical single-crop deployment | Least tolerant of stretching, stones, retrieval, and inexperienced handling | Best suited for carefully prepared annual beds with planned replacement |
| Reusable-medium specification | Balances handling strength, coil size, and retrieval potential | Still needs careful lifting, inspection, repair, and protected storage | Best suited for growers with trained crews and a reuse procedure |
| Robust-service specification | Greater resistance to handling and challenging field contact | Higher cost, weight, storage volume, and not a cure for poor hydraulics | Best suited for rocky sites, repeated access, or longer service goals |
How to choose drip-tape specifications in 5 steps
1. Define the crop-strip wetting target
Record row centres, plant spacing, root-zone width and depth, germination need, and soil texture for each block. Conduct a short wetting test because coarse soil spreads water less laterally than fine soil, so plant spacing alone cannot set emitter spacing.
2. Set run length, elevation, and zone flow
Measure the actual longest lateral and elevation profile from header to end, then decide which rows operate together. Longer rows and closer emitters increase flow and friction, so identify hydraulic limits before choosing a coil diameter.
3. Select diameter and wall for capacity and handling
Choose diameter from the model’s run-length table, not the existing adapter, then choose wall according to installation method, rocks, traffic, retrieval skill, and service goal. Confirm nominal and actual dimensions before ordering connections.
4. Coordinate spacing, discharge, and pressure
Select spacing that creates overlapping wetting along the crop strip and discharge that stays below soil intake without making runtime impractical. Verify rated pressure, regulator range, slope allowance, and total block litres per minute on the same data sheet.
5. Cross-check filtration and write the block schedule
Use the emitter specification to select the required filtration grade and cleaning capacity. Record tape model, diameter, wall, spacing, discharge, pressure, maximum row, rows per zone, adapters, coil quantity, and a small contingency allowance for repairs.

Conclusion: issue a specification, not a guess
Choose wall thickness for field durability only after diameter, spacing, discharge, pressure, and run length satisfy the hydraulic target. First, create one written schedule per crop block; second, verify it against the exact current run-length table before purchase. For a specification review, contact the IrriNex technical team.