Guide debutant pour installer une irrigation goutte-a-goutte
Une premiere installation goutte-a-goutte n'est pas compliquee si vous la traitez comme un petit systeme hydraulique, pas comme un simple assemblage de pieces. Le plus important est de planifier le reseau avant d'acheter, puis de monter les composants dans le bon ordre en tenant compte de la pression, de l'espacement des cultures et de la qualite de l'eau.
Si vous commencez avec une seule zone bien pensee, vous avez beaucoup plus de chances d'obtenir un systeme fiable qu'en essayant de couvrir une grande surface avec un montage improvise.
Pourquoi le goutte-a-goutte convient bien aux debutants
Le goutte-a-goutte apporte l'eau pres des racines, limite l'evaporation et s'adapte bien aux planches, aux lignes de culture, aux arbustes et aux serres. Il peut aussi etre agrandi progressivement, ce qui en fait une bonne porte d'entree pour les producteurs qui veulent commencer par une petite surface puis etendre le reseau.
Etape 1 : faire le plan avant d'acheter
L'erreur de debutant la plus frequente est d'acheter les pieces avant de dessiner le systeme. Commencez plutot par les questions de base :
- Quelles plantes ou cultures doivent etre irriguees ?
- Quelle est la taille de la zone ?
- Le terrain est-il plat ou en pente ?
- Quelle pression et quel debit sont disponibles a la source ?
- Peut-on separer en zones les plantes qui n'ont pas les memes besoins ?
Si votre projet est base sur des rangs de culture, notre solution goutte-a-goutte pour cultures maraicheres donne un bon apercu de l'organisation du filtrage, de la pression et de la distribution.
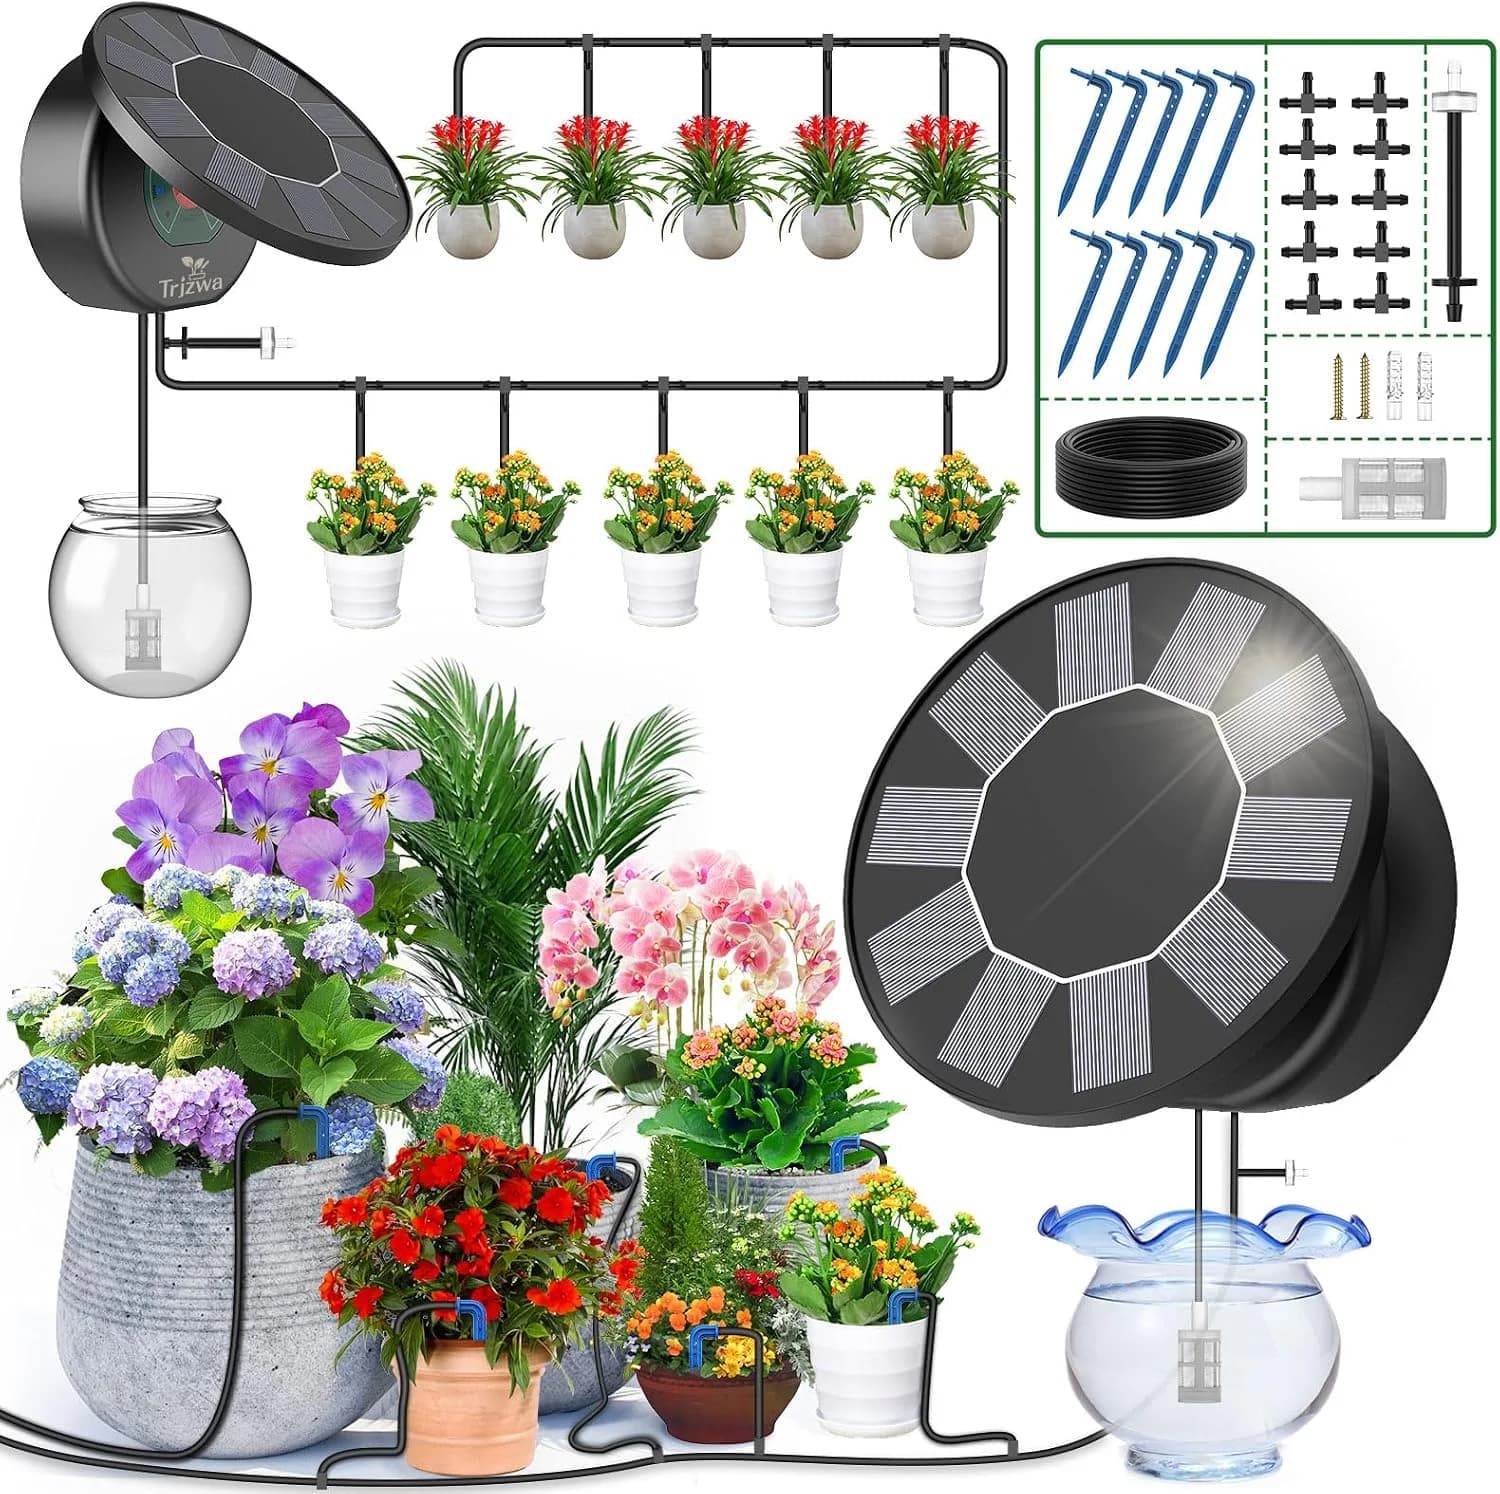
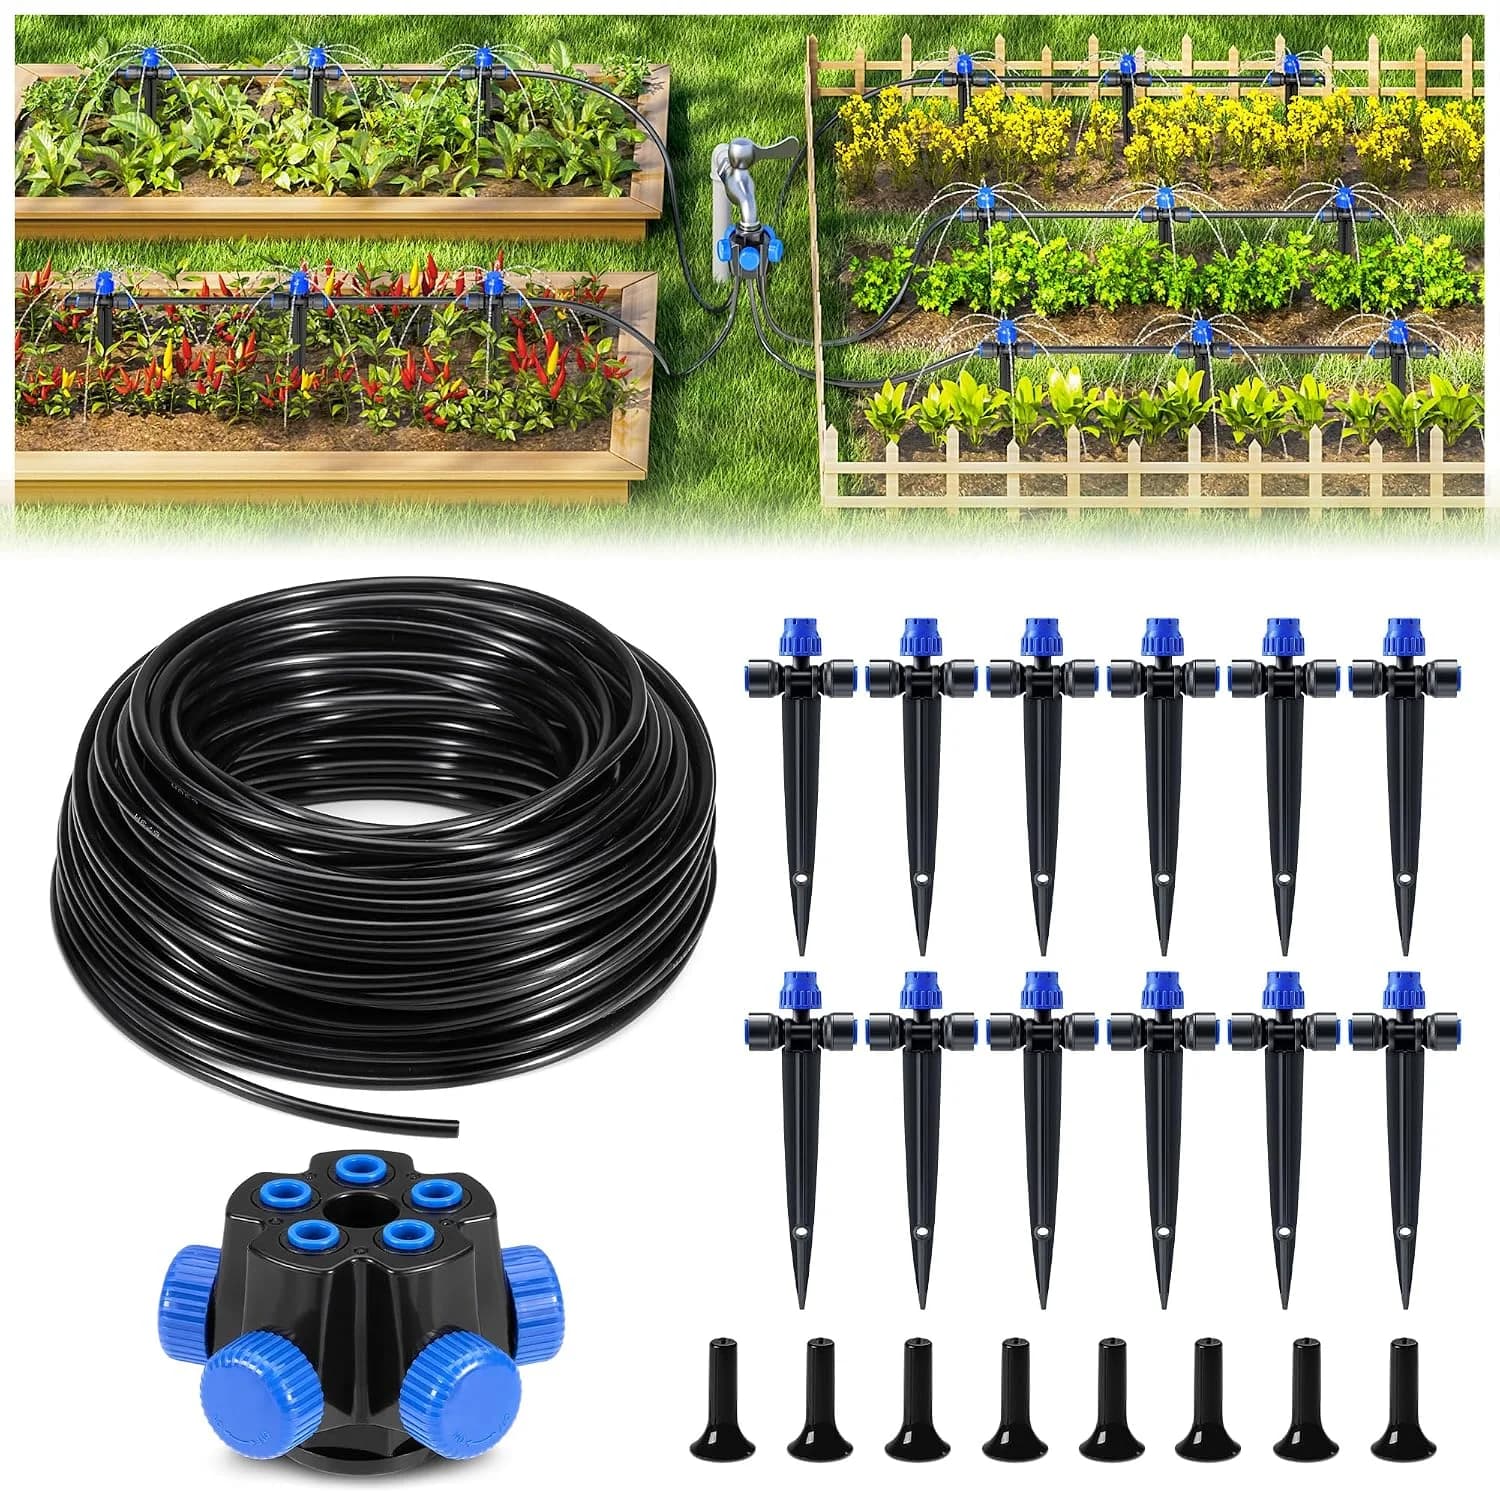
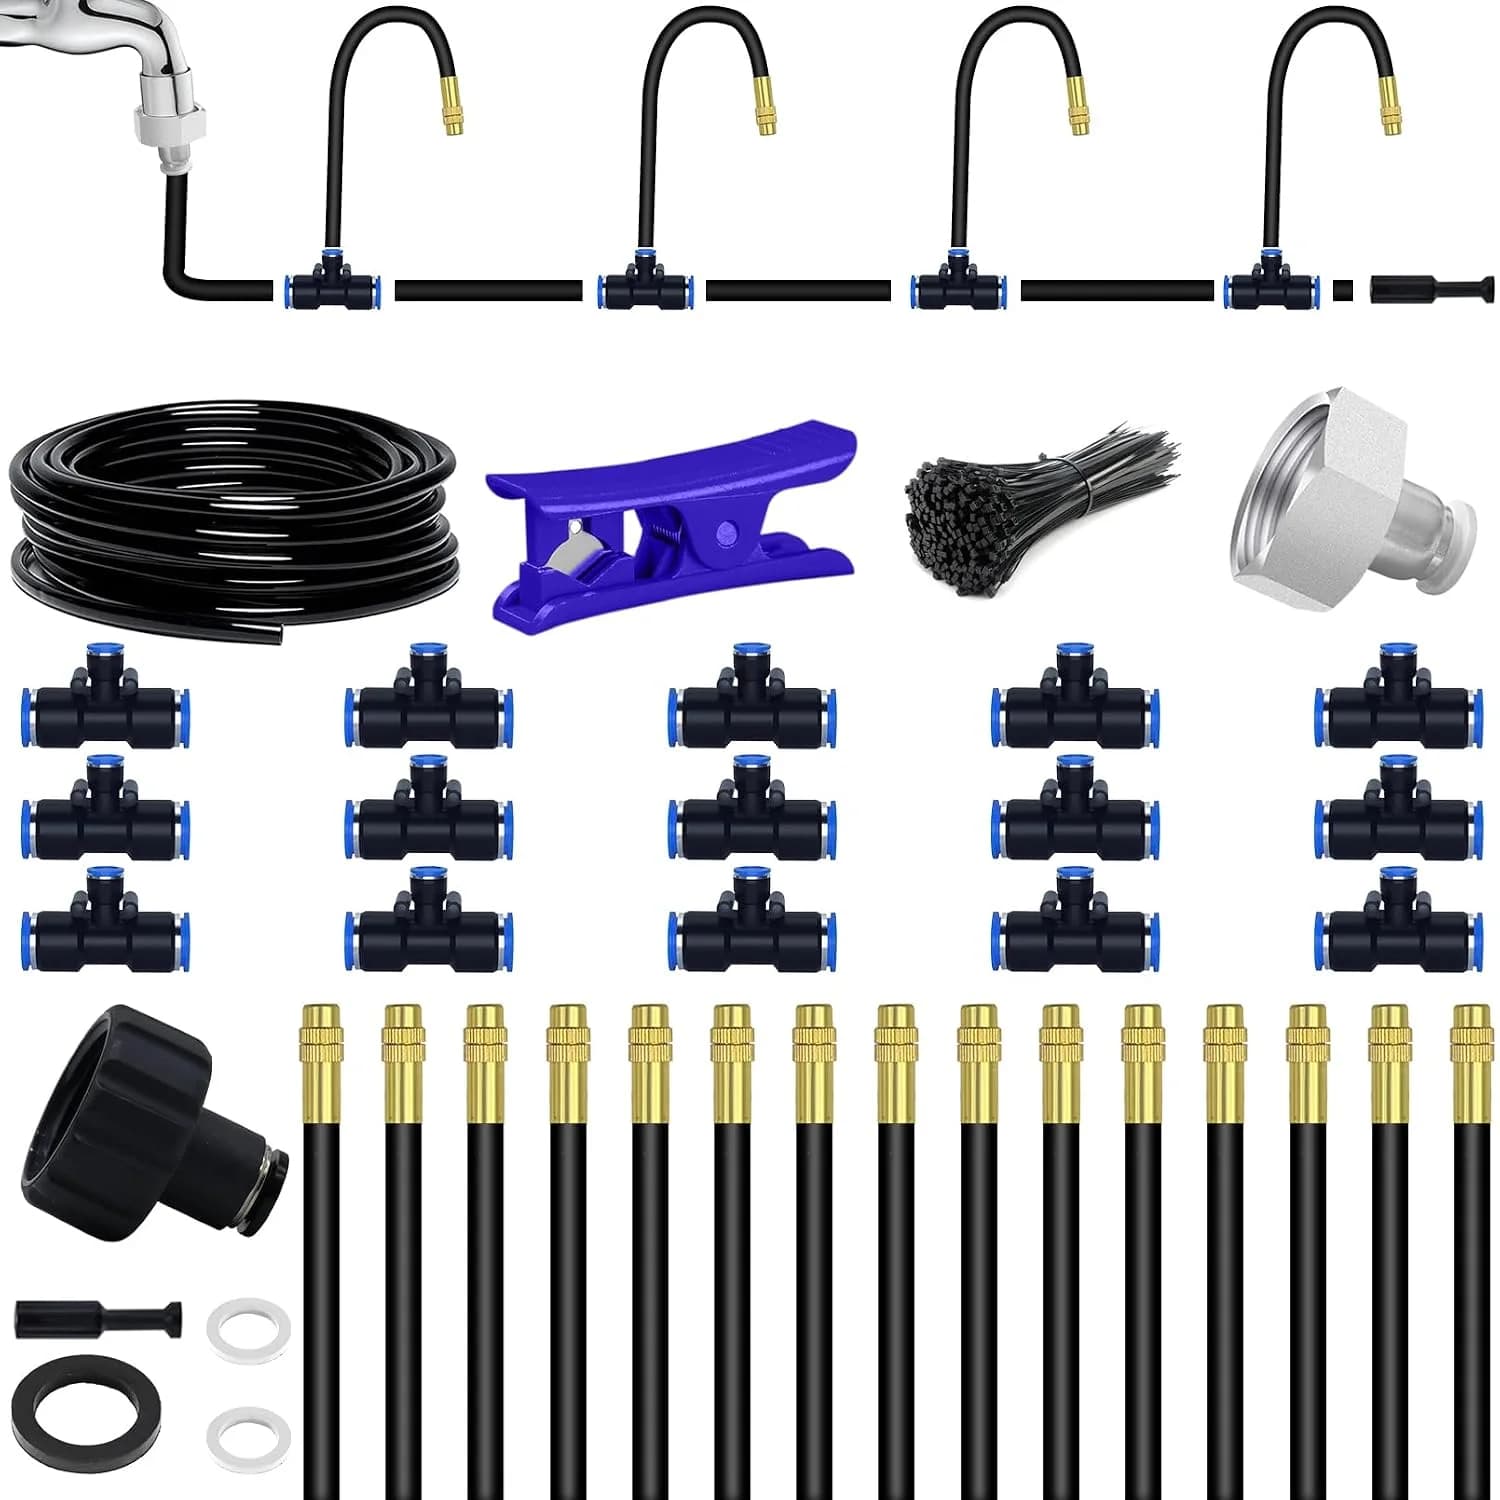
Etape 2 : choisir les composants indispensables
Une installation de base comprend en general un dispositif anti-retour, un filtre, un regulateur de pression, une conduite principale, des lignes de distribution, des goutteurs ou du ruban, des raccords, des bouchons de fin de ligne et, si besoin, un programmateur.
La qualite de l'eau compte des le depart. Si la source contient du sable, des algues ou des debris organiques, le bon filtre vous evite une bonne partie des problemes futurs. Avant de figer votre liste de materiel, regardez notre guide de choix de systeme de filtration.
Etape 3 : respecter l'ordre de montage
- Installer le filtre et le regulateur a la source d'eau.
- Poser la conduite principale avec un cheminement simple et accessible.
- Ajouter les derivations ou percer les points de sortie selon l'implantation des plantes.
- Mettre en place les lignes goutte-a-goutte ou le ruban sur les rangs.
- Rincer le reseau avant de fermer les extremites.
- Installer les bouchons et faire un essai complet sous pression.
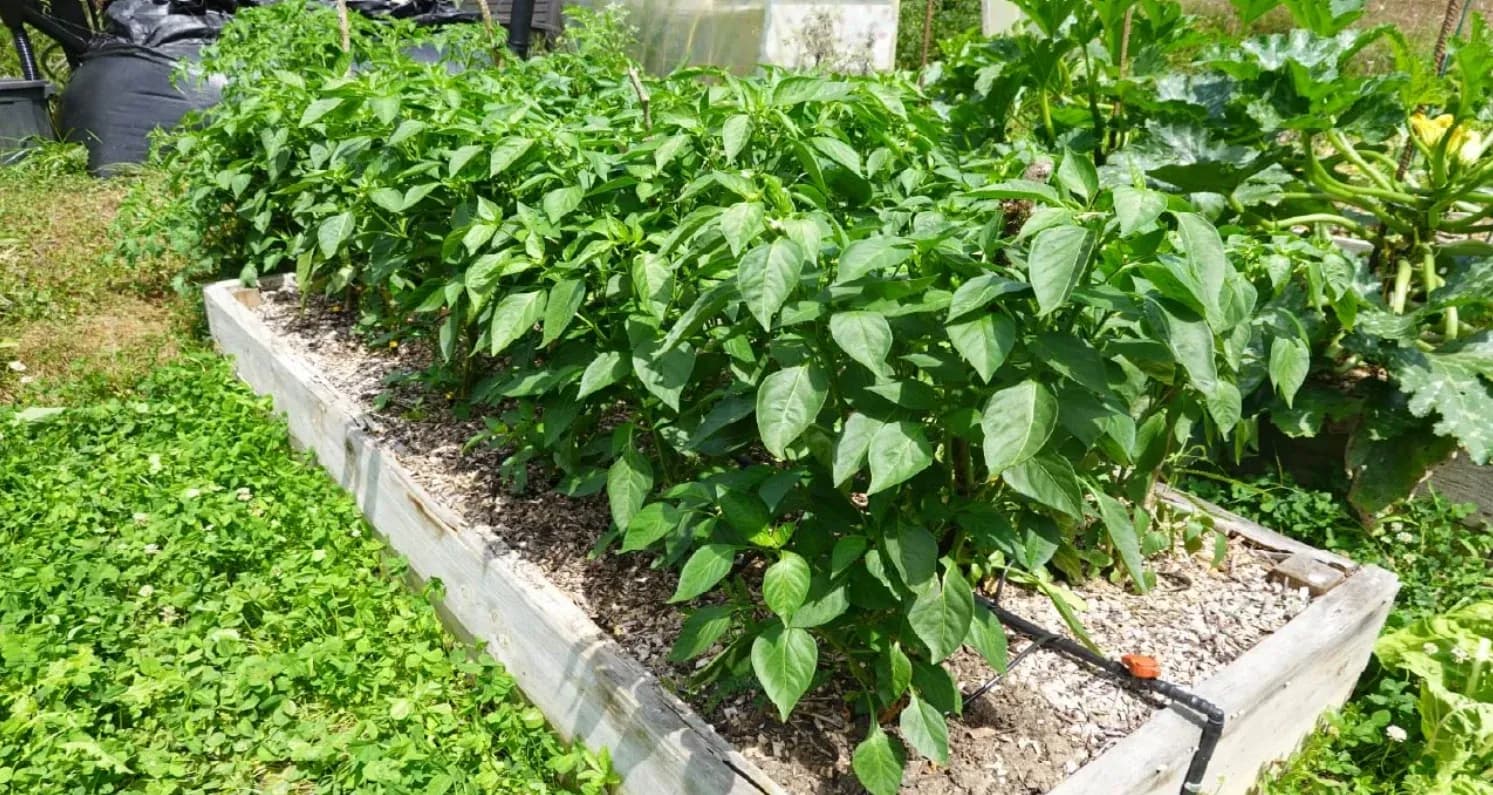
Au demarrage, parcourez toute la zone. Cherchez les fuites, les goutteurs faibles, les tubes plies et les secteurs trop ou pas assez arroses.
Erreurs de debutant a eviter
Oublier le regulateur de pression
La plupart des systemes goutte-a-goutte travaillent a une pression plus faible que celle d'un reseau domestique. Sans regulation, les goutteurs et les raccords deviennent beaucoup plus vulnerables.
Ne pas filtrer l'eau
Le colmatage est l'une des raisons les plus rapides pour lesquelles un reseau neuf semble "mal fonctionner". La filtration doit etre consideree comme un equipement de base.
Charger une ligne au-dela de ce qu'elle peut porter
Si la longueur de ligne ou le nombre de goutteurs depasse ce que la source peut soutenir, la pression chute en fin de parcours et l'arrosage devient inegal.
Melanger des plantes aux besoins tres differents
Des legumes, des arbustes et des plantes peu gourmandes ne devraient pas partager exactement la meme duree d'arrosage.
Laisser les tubes sans maintien
Le paillage et les agrafes de maintien aident a proteger les lignes contre les UV, les passages et les deplacements accidentels.
Pour limiter encore les pertes d'eau apres installation, voir aussi nos conseils pour economiser l'eau en irrigation.
Entretien courant apres la mise en service
- Rincer regulierement conduite principale et laterales
- Verifier les goutteurs pour detecter colmatage ou debit irregulier
- Nettoyer les filtres selon un planning simple
- Repérer les zones trop humides, trop seches, fissures ou plis
- Vidanger et proteger le systeme si le gel est possible
En resume
Une premiere installation reussie n'a pas besoin d'etre grande. Un petit reseau bien sectorise, avec une eau propre et une pression stable, donne souvent de meilleurs resultats qu'un systeme plus ambitieux monte sans vraie preparation. Commencez par une zone facile a observer, corrigez ce qu'il faut, puis agrandissez.
Si vous travaillez en culture protegee, consultez notre solution goutte-a-goutte pour serre. Pour verifier votre liste de pieces ou votre plan, contactez IrriNex.